Shamrock Vase Craft: Thumbprint Flower Jars
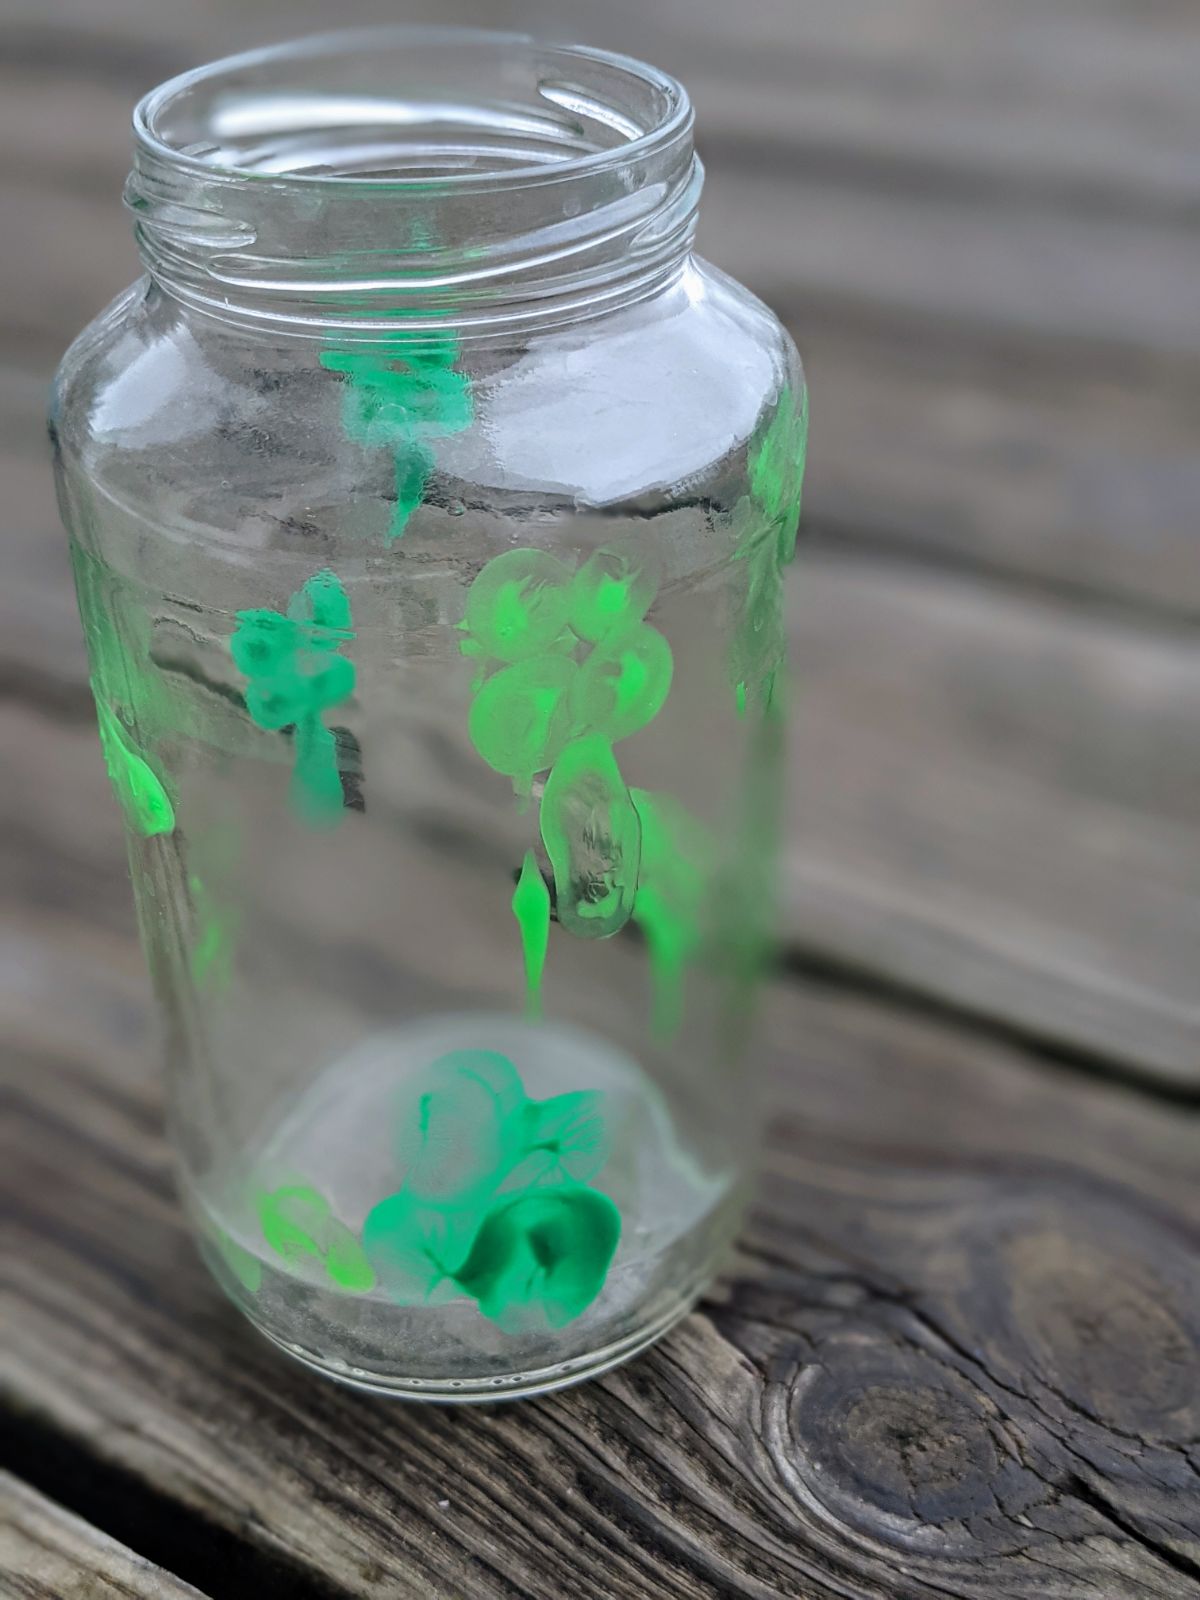
As a mom to two school-aged kids, I am always looking for fun things to do around the holidays. For St. Patrick’s Day, my girls made a cool clover / shamrock vase craft. Instead of shamrock handprints, they made thumbprint four-leaf clover vases from old sauce jars we’d saved.
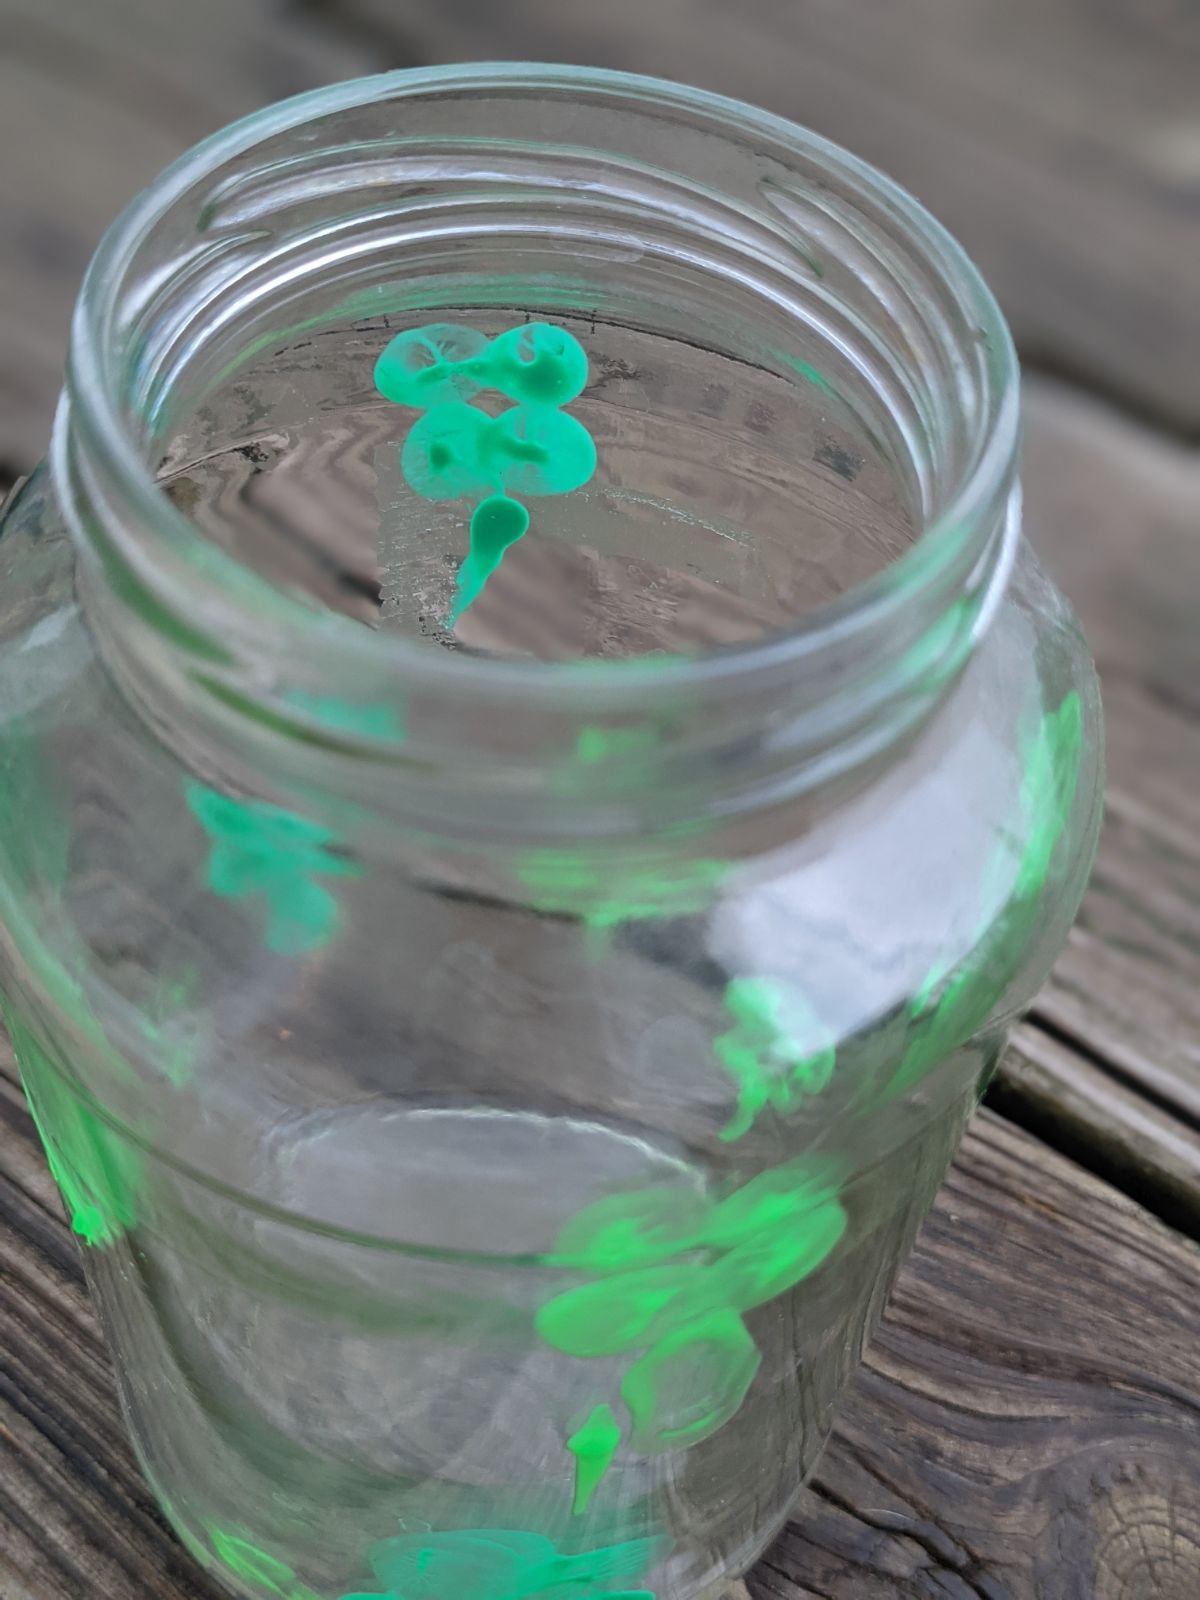
Similar to making thumbprint flowers, you use bright green puffy paint and make this lucky clover project instead!
Of course, it is easily switched to shamrock vases if you prefer only 3 leaves, we found these flower jars took a little trial and error effort on our part. We just preferred the look of a four-leaf clover project!
I’m happy to share our process and invite you to share your own ideas, feedback, and questions in the comments.
Personally, I think this thumbprint shamrock project turned out adorable! My kids weren’t in love with the shamrock clover vases at first, but I think they came around.
How to Make Thumbprint Clover Flower Jars
We enjoy fresh-cut flowers in our home throughout the warmer months. It’s also nice to make a few sentimental crafts over the years, showing off our kids’ handprints, fingerprints, or thumbprints. Those finished crafts become treasured keepsakes for a lifetime.
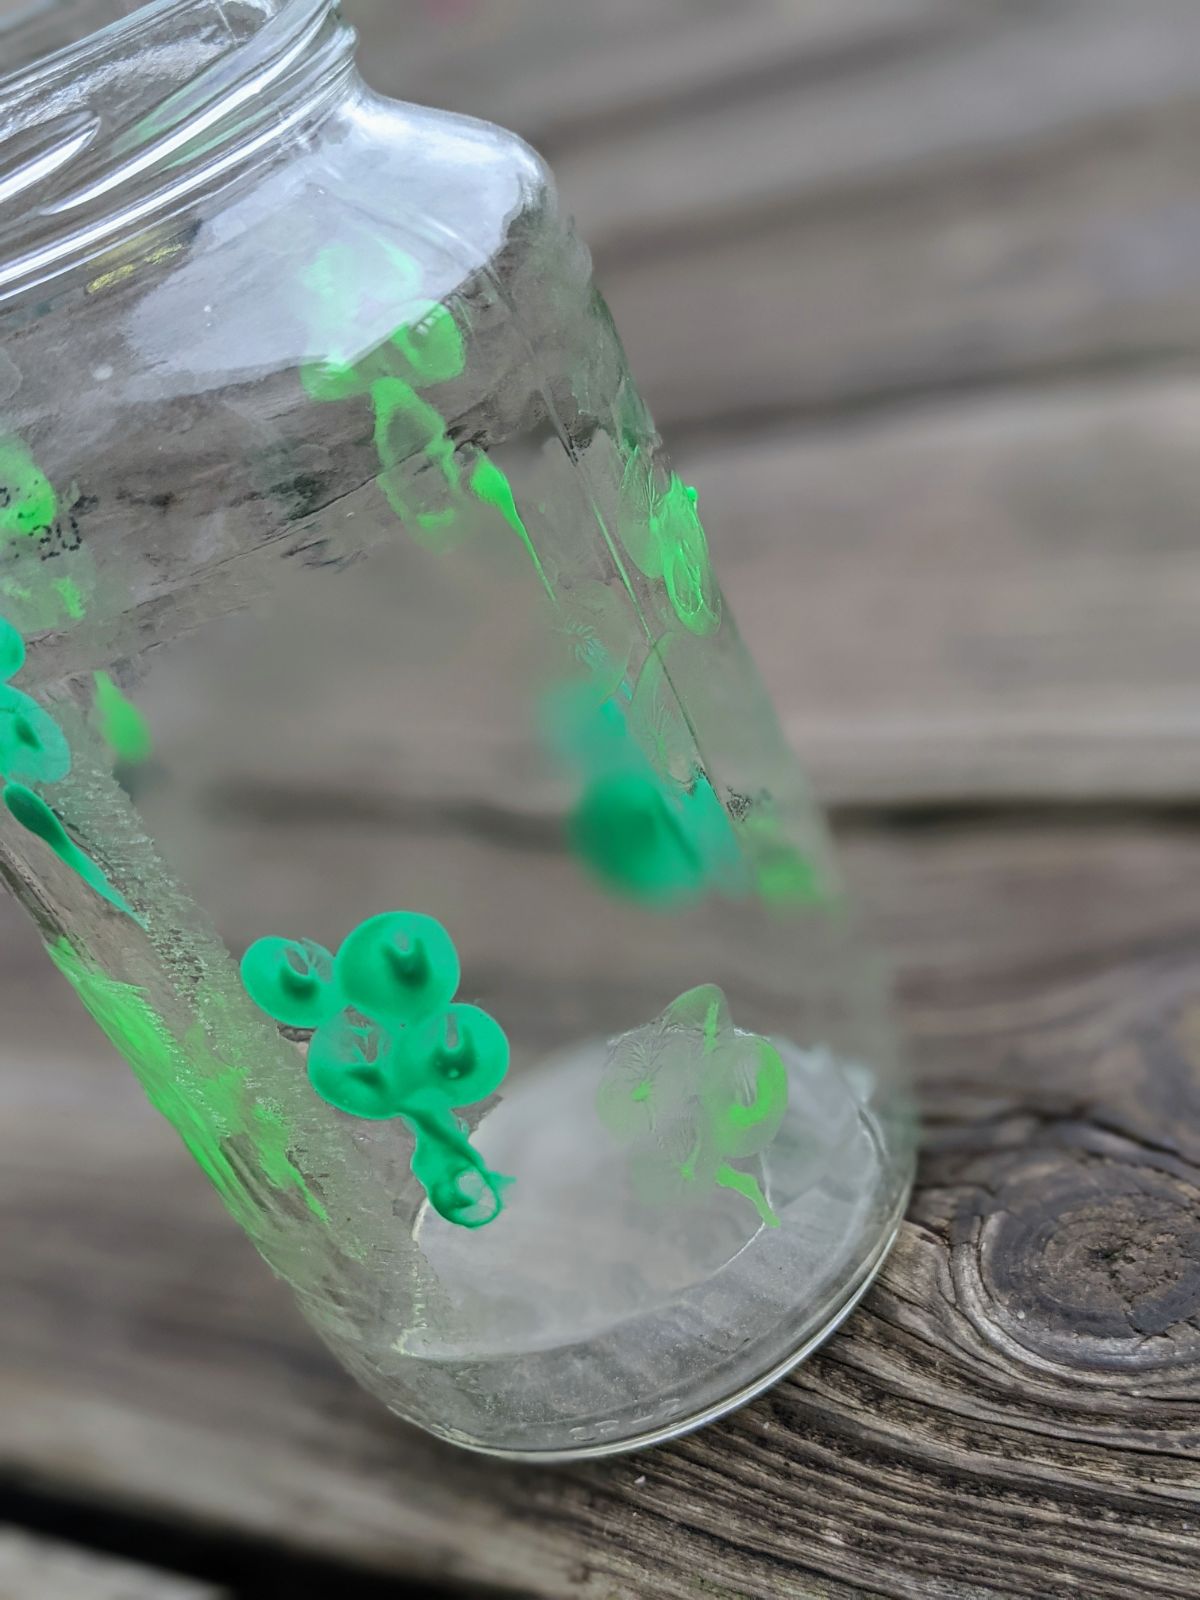
Here’s how to make thumbprint clover vases as flower jars for a St. Patrick’s Day shamrock craft.
Thumbprint Shamrocks Materials:
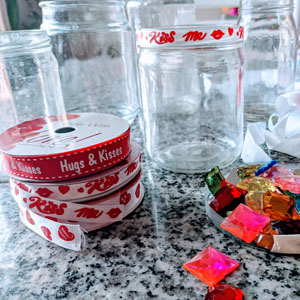
- Empty, clear glass jars
- Green puffy paint
- Paper towels
- Cotton tips (Q-tips)
Thumbprint Clover Vase Instructions:
Here’s how we made our thumbprint vase shamrock project:
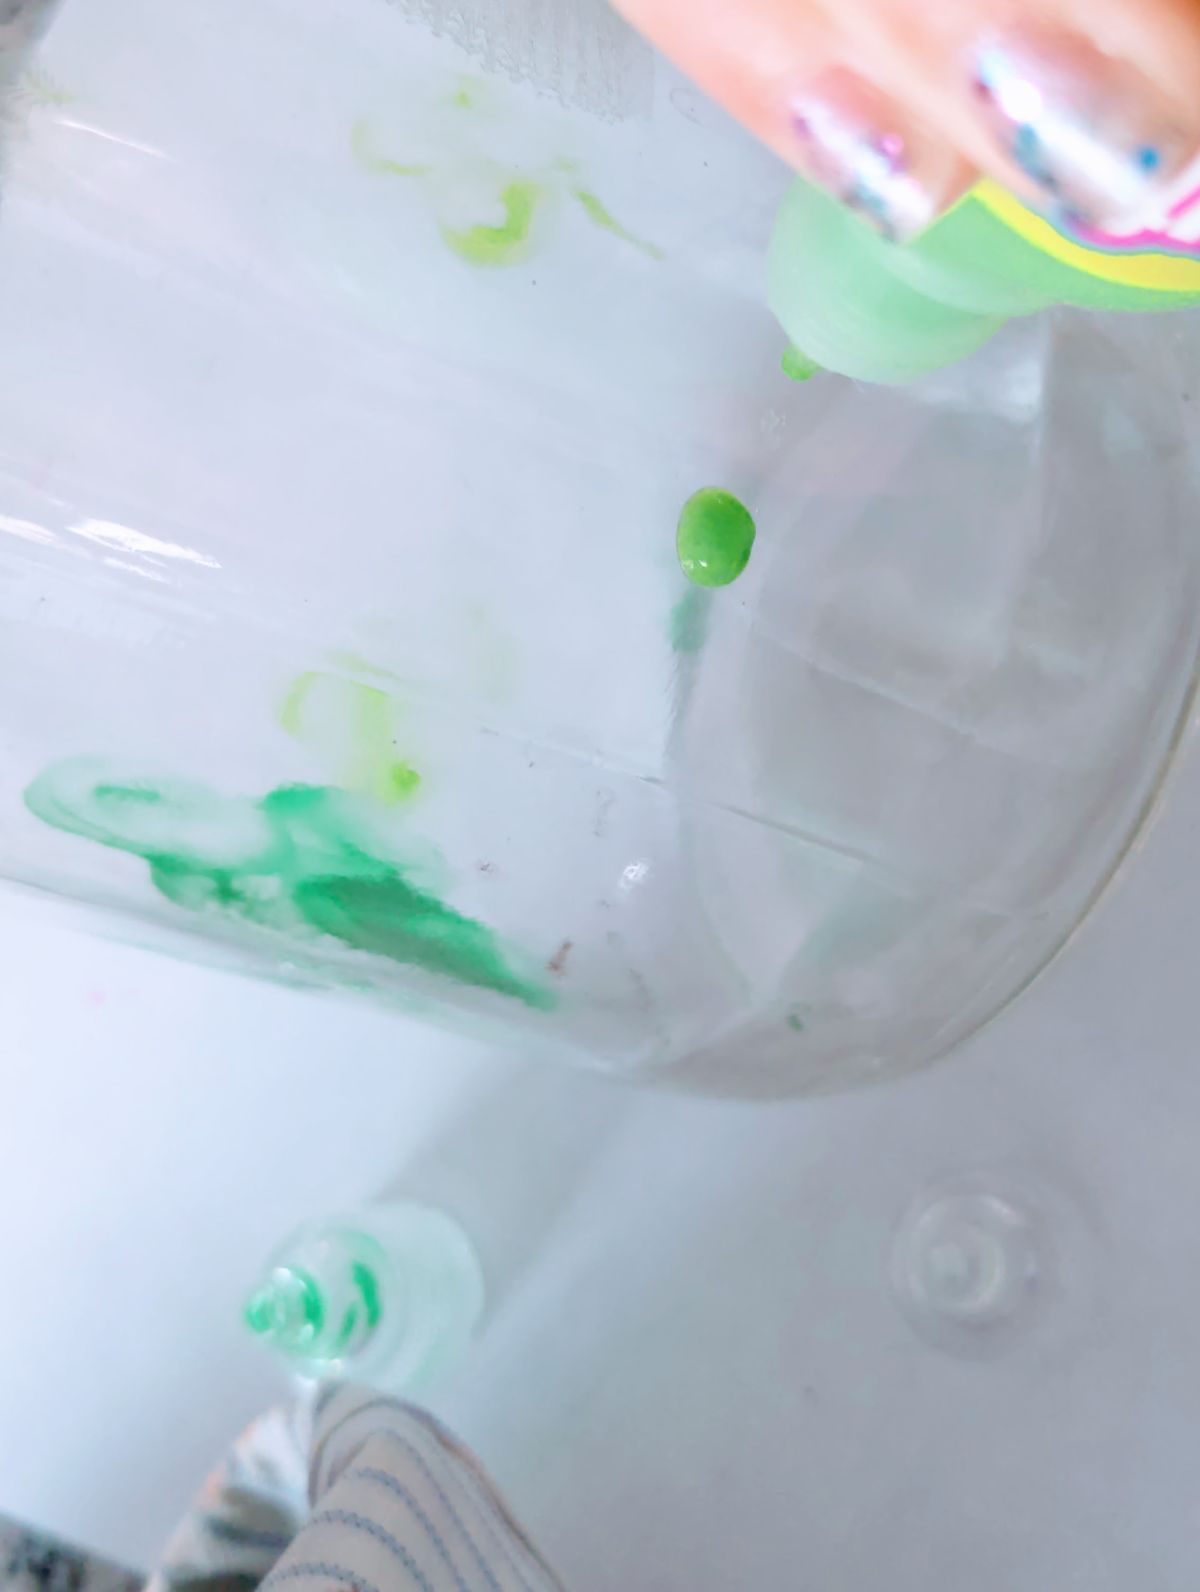
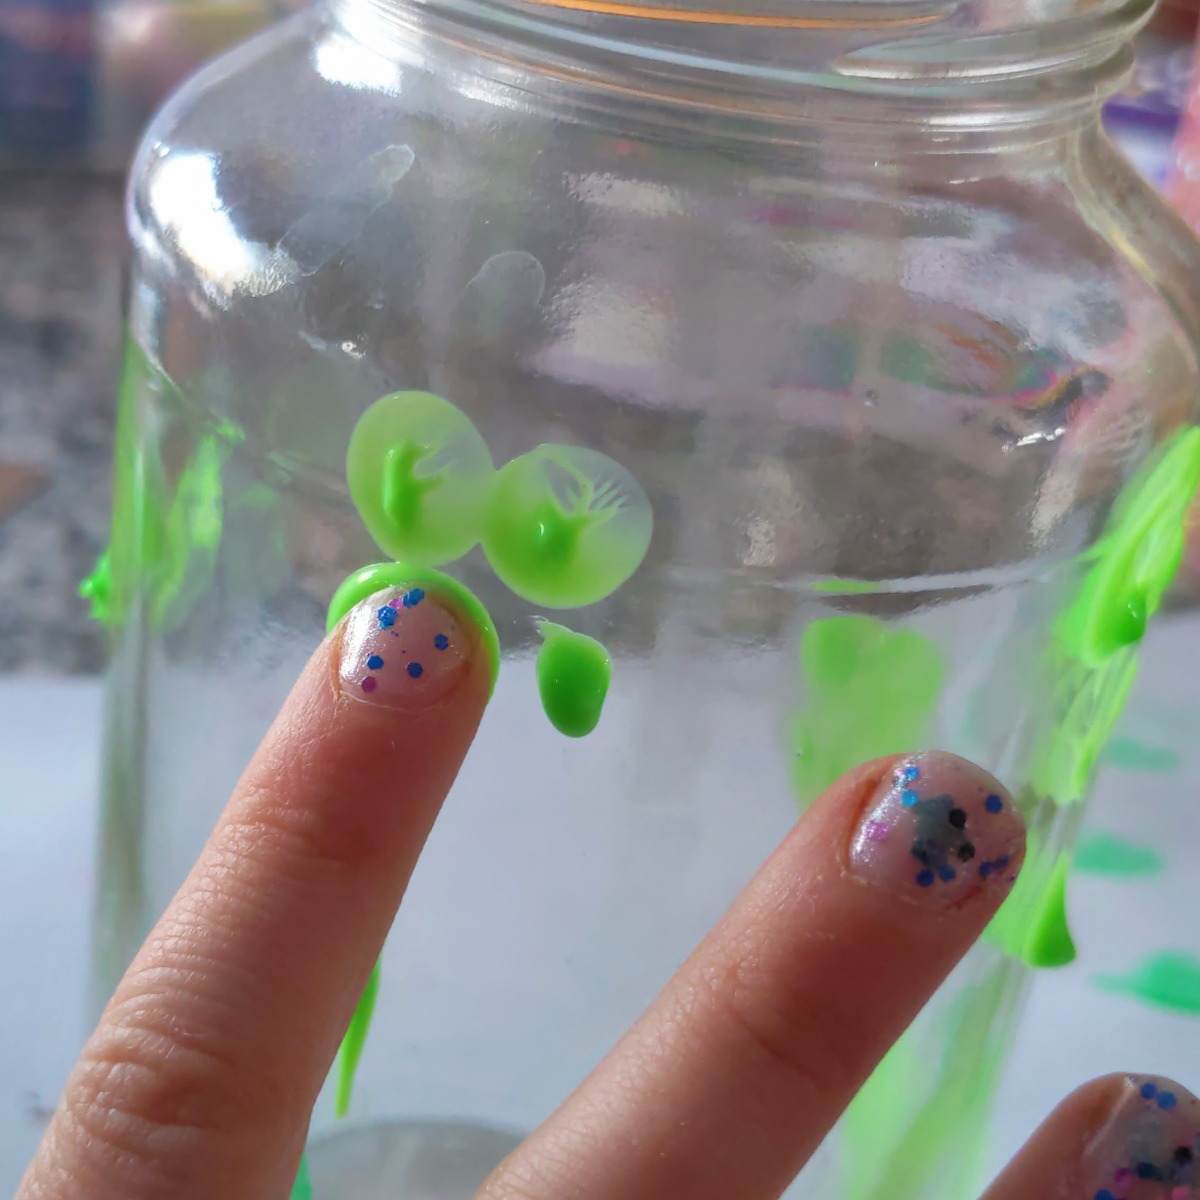
- Start with a clean, empty glass jar and make a small dot of green puffy paint where you want the first shamrock or clover to be.
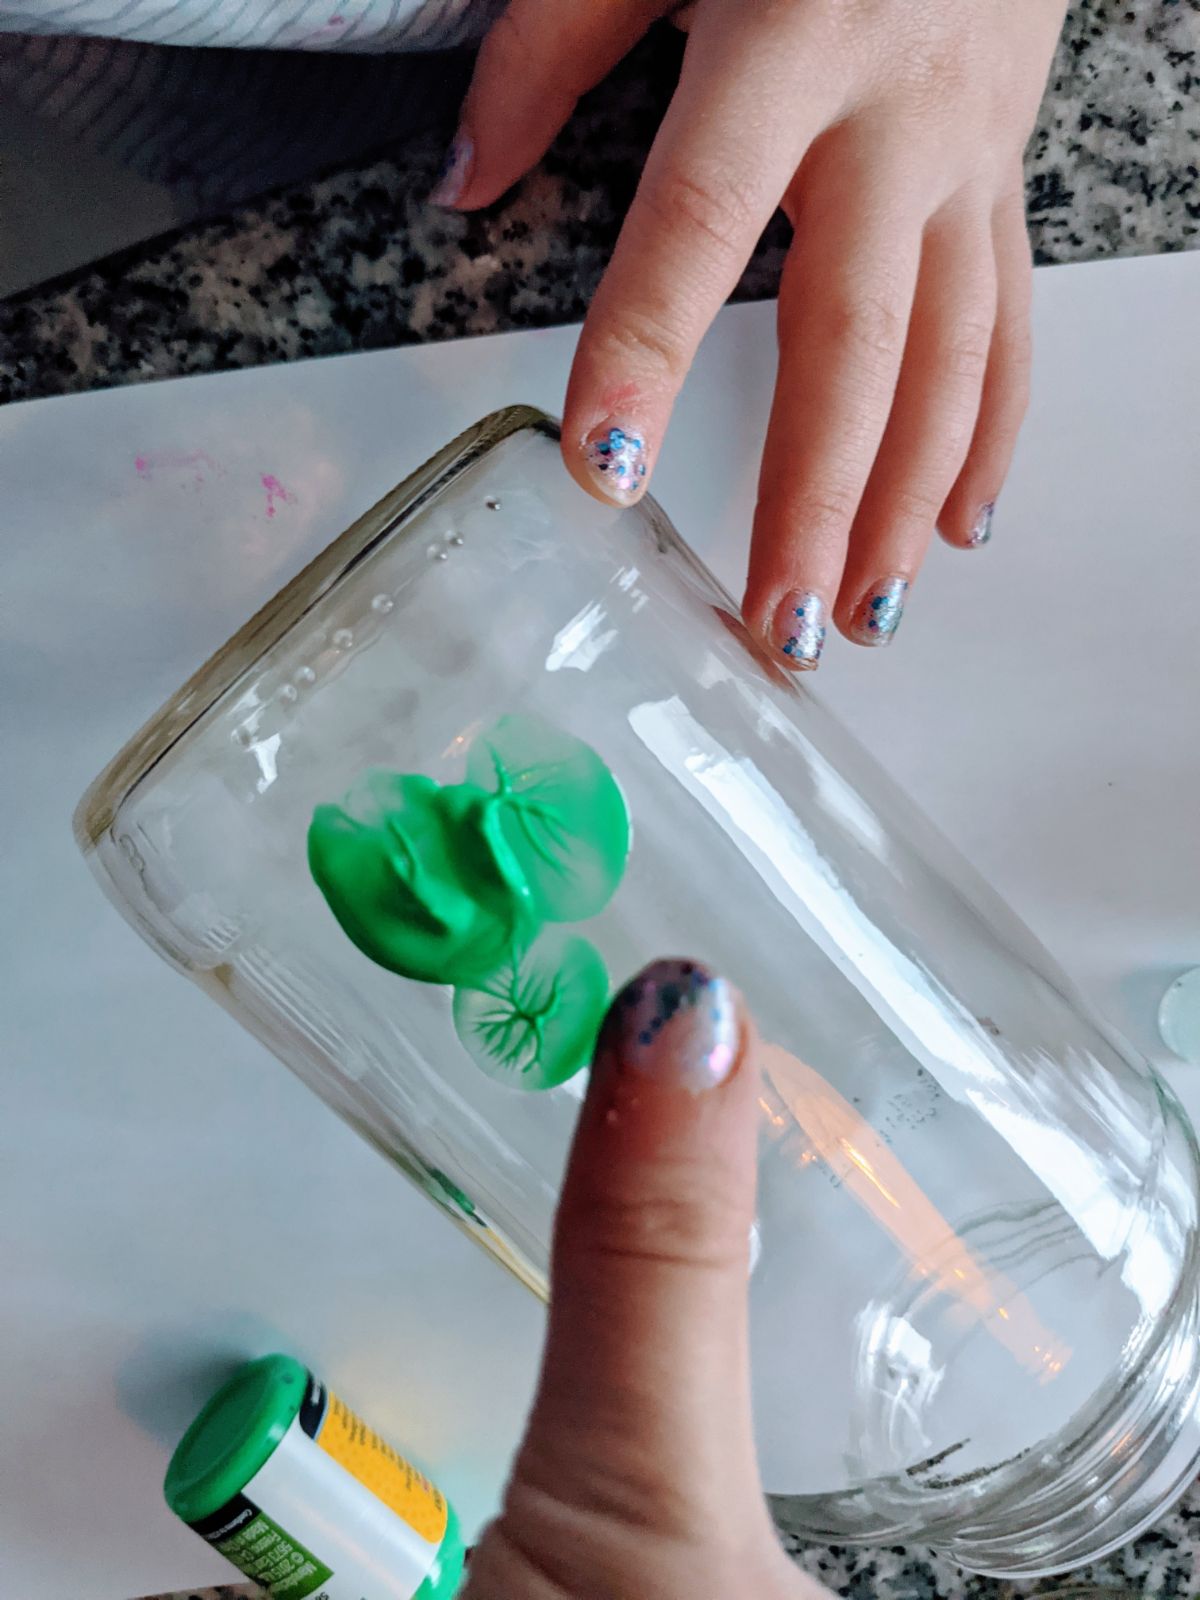
- Press your thumb into the paint to flatten the dot.
- Make another dot of green puffy paint next to the first dot.
- Flatten that dot with your thumb as well.
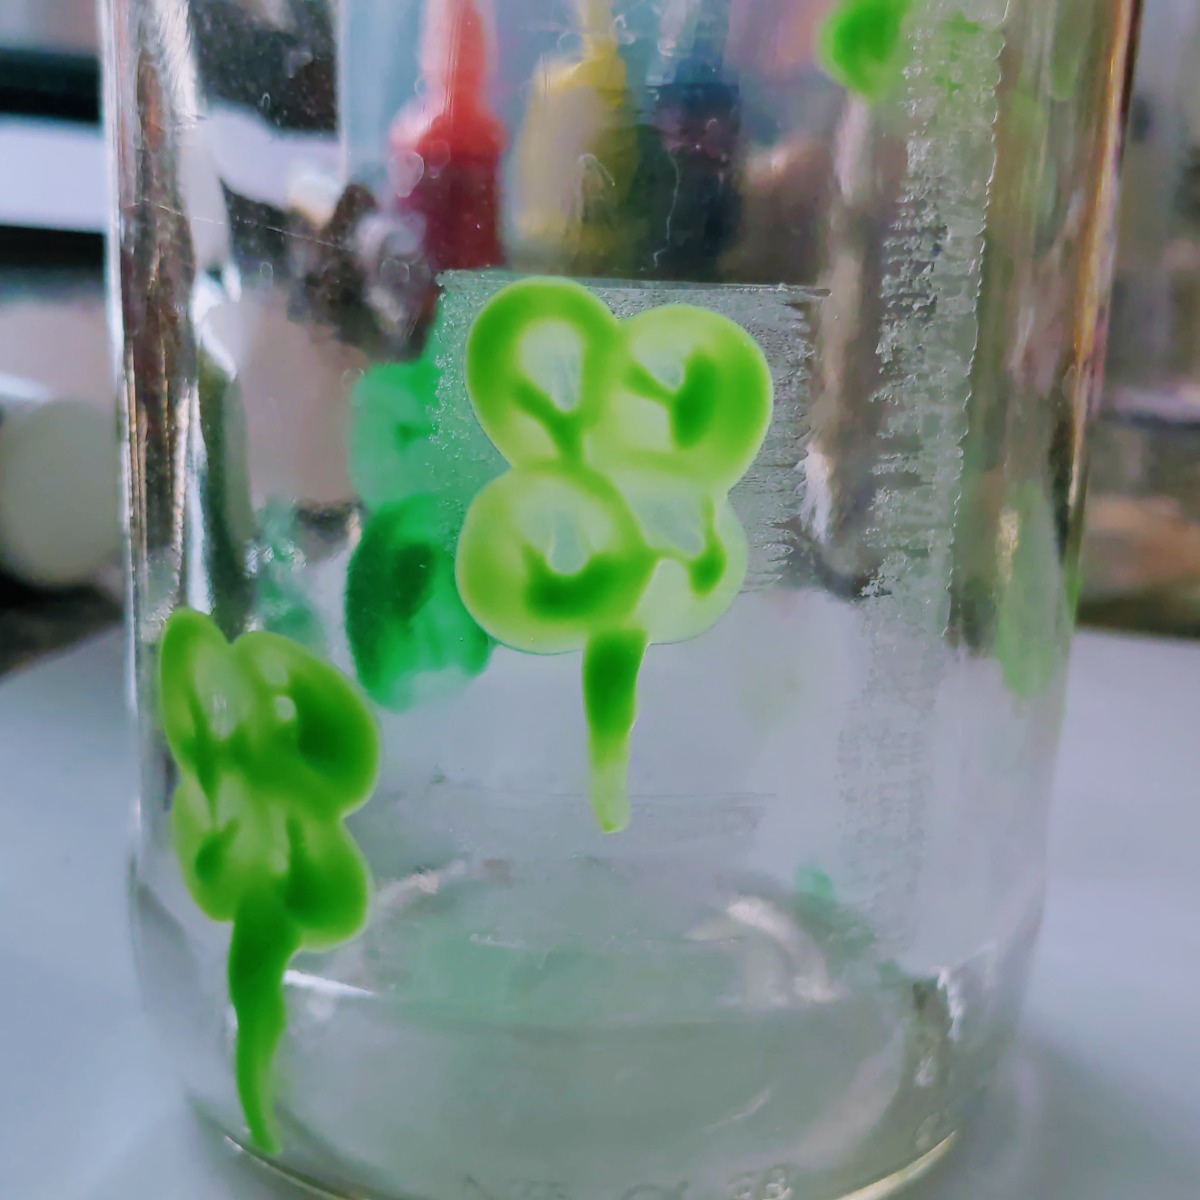
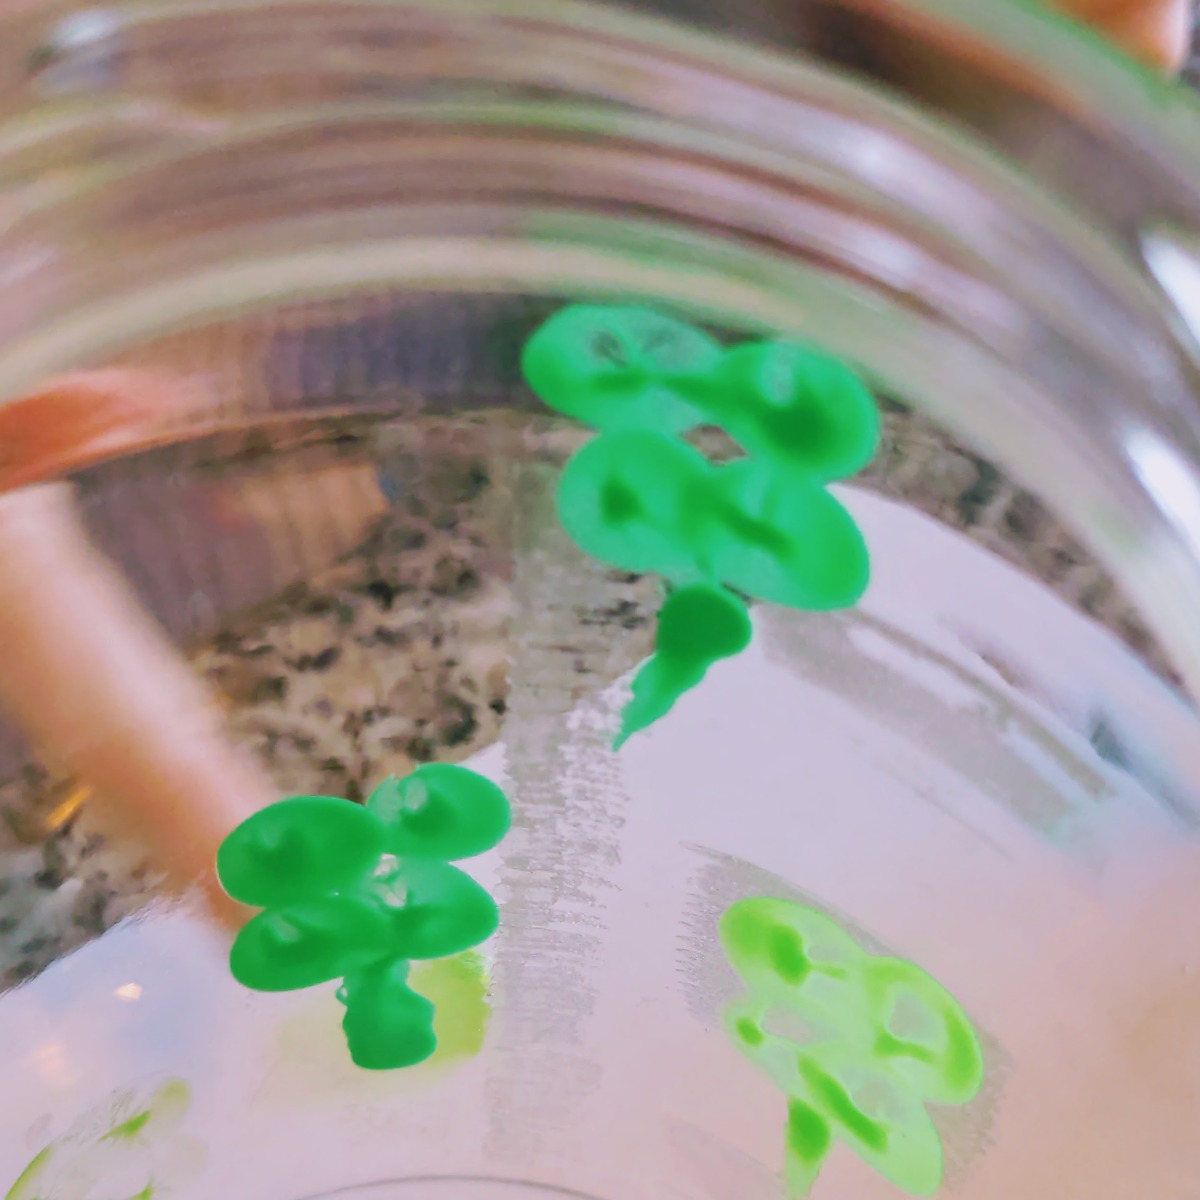
- Next, make a third and final dot on top in between the two for a shamrock thumbprint design. For a four-leaf clover thumbprint design, repeat the process with two more dots and thumbprints directly below those you’ve already made.
- Make a line of puffy paint from the bottom of the thumbprints downward for the stem.
- If desired, gently flatten the stem with your thumb.
- Repeat steps 1 through 7 for as many clovers or shamrocks as you wish to include on your flower jar.
- When done, allow the shamrock project to dry in a safe place out of the way for at least 24 hours before handling it.
Shamrock Thumbprint Craft Tips
Both our girls made their own shamrock jars with puffy paint thumbprint clovers. I will treasure these handmade St. Patrick’s Day vases for all the future years to come.
In fact, I can’t wait to put some green zinnias and maybe some bells of Ireland in the jars this summer!
Making these four-leaf-clover / shamrock vases only took a few minutes once we got past the squabbles and fusses that sometimes erupt in our home.
Watching my daughters each use just one thumb to make a clover (plus a stem) was really a sweet experience just the same.
Shamrock Vase Project Hints
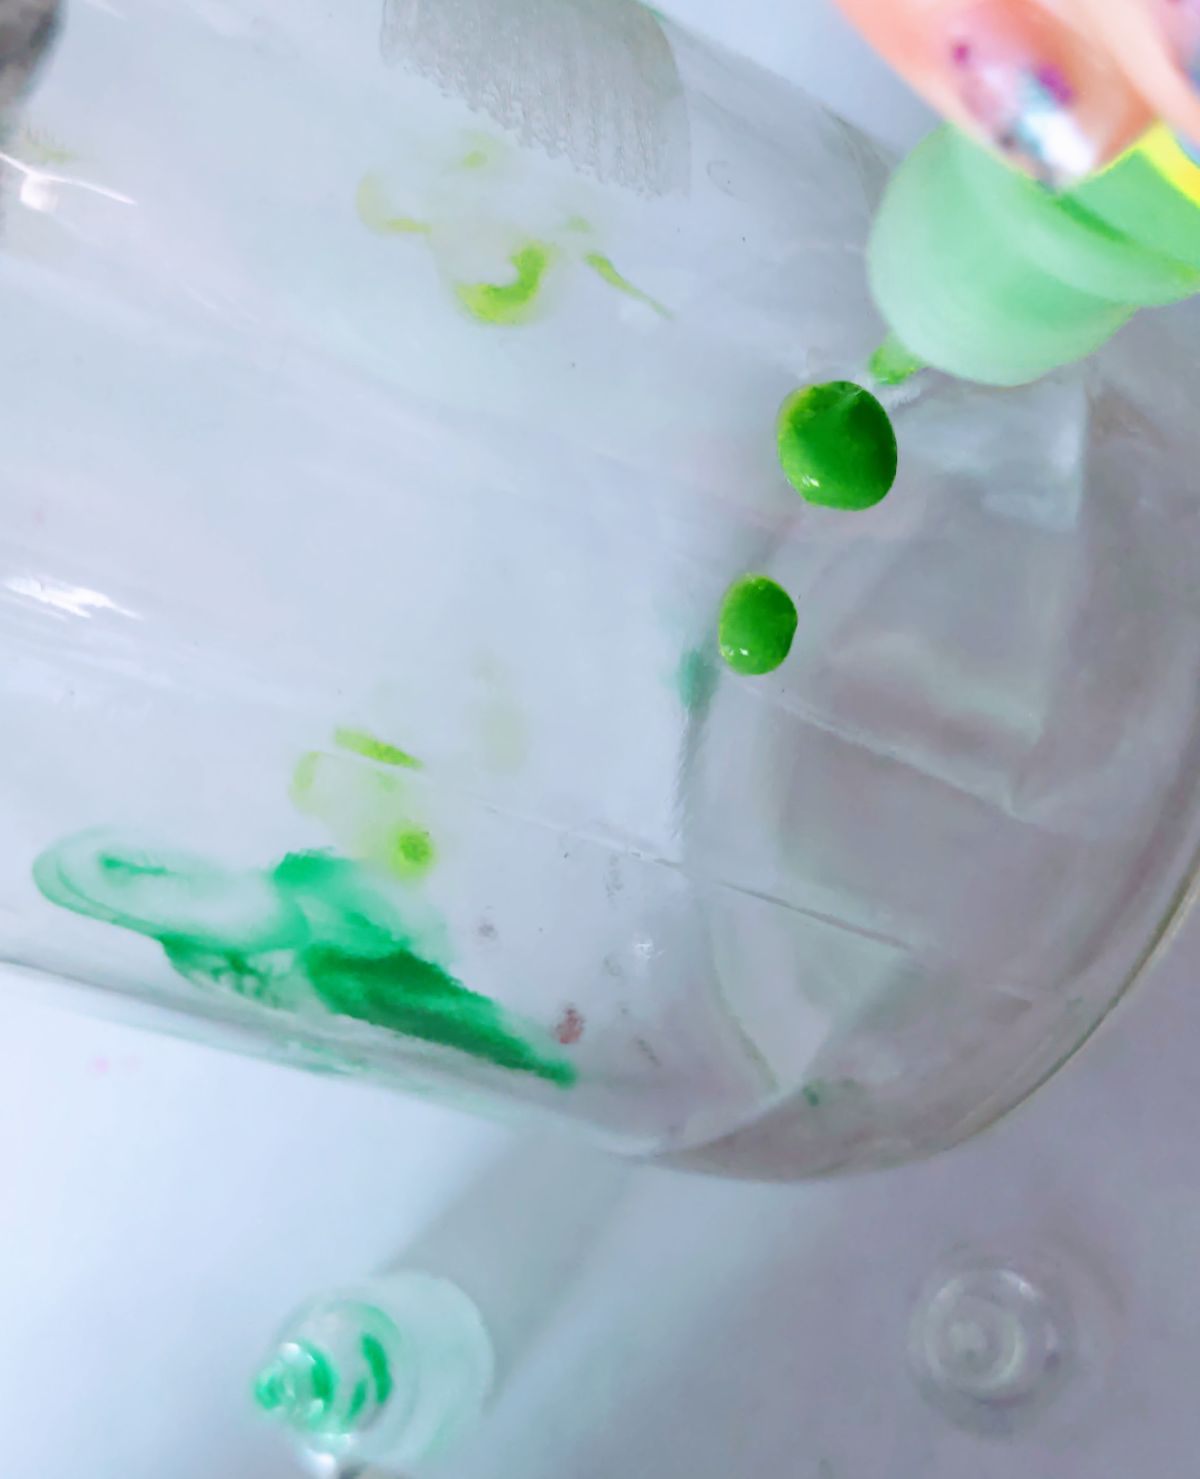
By the way, here are a few tricks we figured out, since the jars didn’t work out perfectly on our first tries:
- A little bit goes a long way! A small dot less than the size of a pencil eraser should be just plenty!
- Dot the puffy paint directly on the jar instead of onto your thumb or fingertip.
- Press firmly and lift thumb straight up and off the jar.
- Use a paper towel to wipe away large areas that you don’t wish to keep.
- Touch up small areas with a Q-tip.
Thumb + Clover (Puffy Paint) = Keepsake Jars!
By the way, this shamrock project is one of our first keepsake crafts made with fingerprints or thumbprints for the St. Patrick’s Day holiday. As such, I am really thankful to have these clover flower jars made by my kids. (Along with the other vases made from empty candle jars and other crafts they make for me!)
This shamrock thumbprint craft is so simple to make with very little supervision. You can even help younger kids make one with their tiny thumbprints!
Our website features affiliate links to products that we personally believe in. If you make a purchase from a link on our site, we may earn a small commission at no cost to you. Thank you! This helps our girls chase their garden dreams! Thanks for your support. (View full affiliate disclaimer at the end of the page.)
What are some other good shamrock project ideas?
With St. Patrick’s Day in mind and at heart, you can try a bunch of different shamrock projects to celebrate the holiday. Making a shamrock with paint and handprints or thumbprints / fingerprints is classic mommy and kid craft to help capture a moment in time. You can also try flower pressing techniques with shamrocks or a four-leaf-clover if you’re lucky enough to find them. Press them inside parchment paper or between two pieces of clear contact paper.
Plant a Kiss on Me! I’m Irish (Not really!)
As much as I love the holiday and so many things, I am not at all Irish. I am Italian and a bit of a mutt beyond that. 🙂 Still, I loved the fun ceramic pots that said “Plant a Kiss on Me” that I saw for sale around this time of year.
Here’s our Google Web Story on making these precious DIY shamrock jars.
Oh, and if you liked our clover project, be sure to check out our post on St. Patrick’s Day decorating with plants and more in your yard and indoor spaces. I bought a really cute shamrock vase to use as a propagation jar!
Do you have any other cool shamrock thumbprint craft ideas or thoughts on making clover vases? If you have any feedback, ideas, or questions to share, please leave us a comment and we will be sure to get right back to you in the comments section!
Happy St. Patrick’s Day!
03.11.23 – Updated to improve spacing and bring new info to focus on shamrock vase creation and shamrock thumbprint craft using puffy paint to make a clover / flower. Shortened title and updated some H3s. Included a link to St. Pat’s decorating. Added a few more photos on 3/12/23.
03.13.23 – Updated featured image and added a few more pictures and a Google Web Story and then republished from March 15, 2022.

