Raised Garden Stake Fence (4×4 and more): Food-Safe, Easy DIY
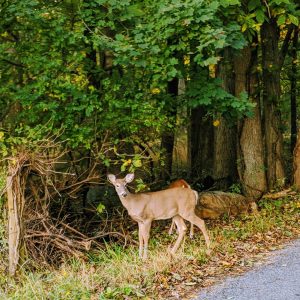
If you read my blog, you know we struggle with groundhogs and bunnies in the garden. Ironic, isn’t it? (: Well, it’s also very frustrating, so I’ve finally come up with a solution – DIY raised garden stake fence barriers that fit perfectly and use food-safe materials.
I *know* I can’t possibly be the only gardener dealing with groundhogs in the garden and other pests.
Wouldn’t it be amazing if all the 4ft-by-4ft raised garden beds came with their own perfectly measured fences?! I might recommend that to someone one of these days. 🙂
Well, anyway, not to worry. I’ve come up with a solution that works for my needs! And hopefully it can help you, too.
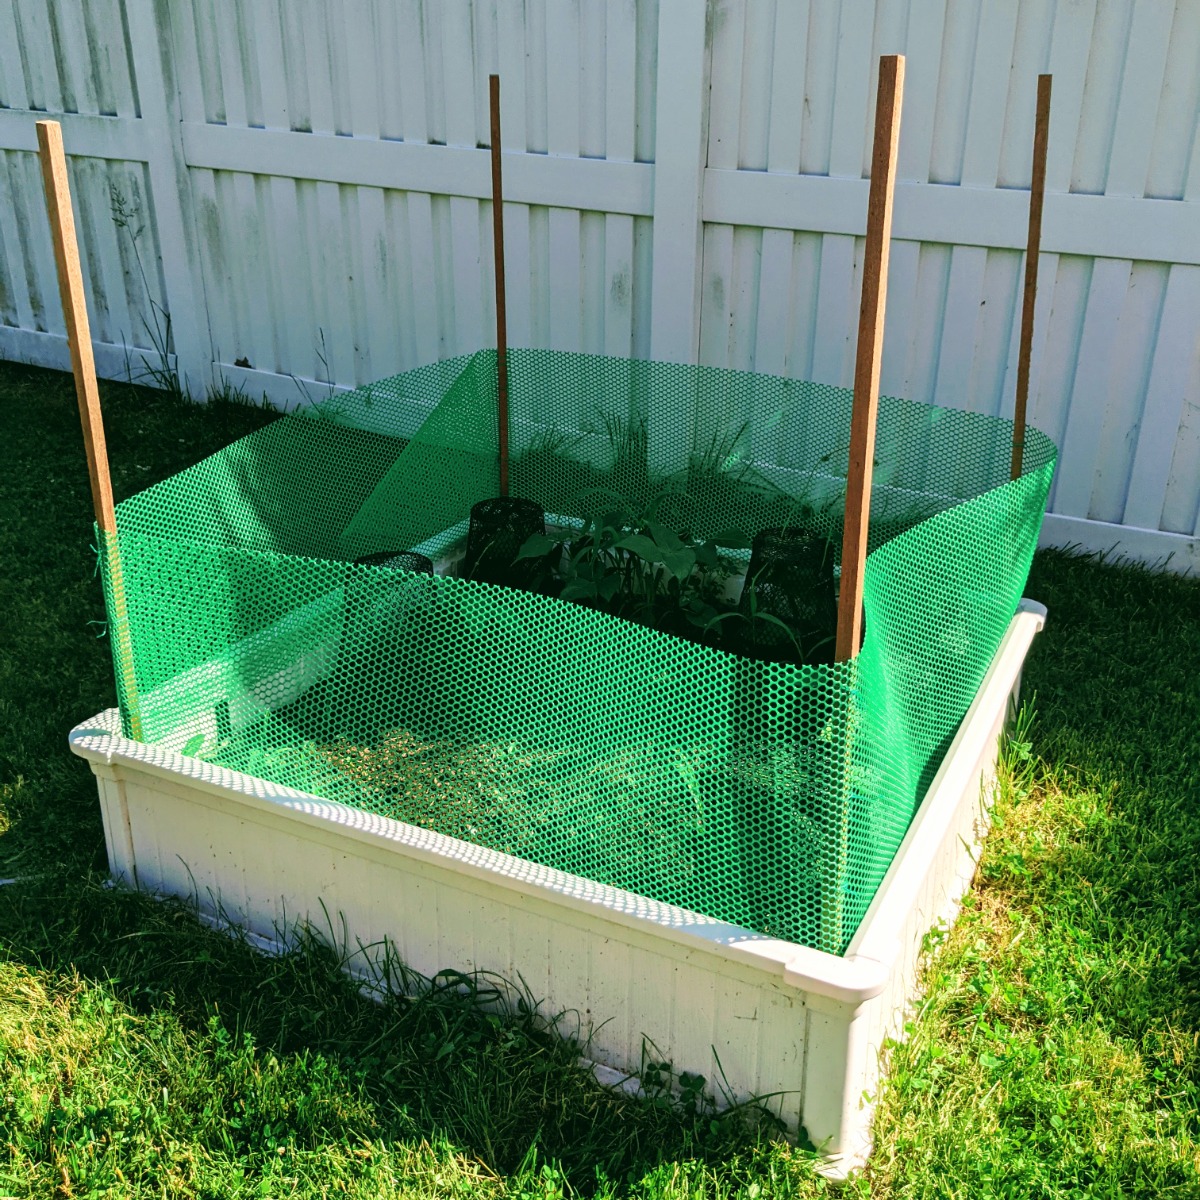
Check out my own invention – the garden stake fence. It’s removable, portable, customizable and (somewhat) reusable. Make it as big or small as you need! As short or tall as you need!
I am going to show you EXACTLY how to make these reusable, removable, DIY garden stake fences using food-safe plastic chicken fencing, wood stakes, and twist-ties.
I’m channeling my inner gardening MacGyver, can you tell? I guess I need more than a rubber band, a toothpick, and a straw, but here we go!
Show Me Fencing for 4×4 Raised Garden Beds
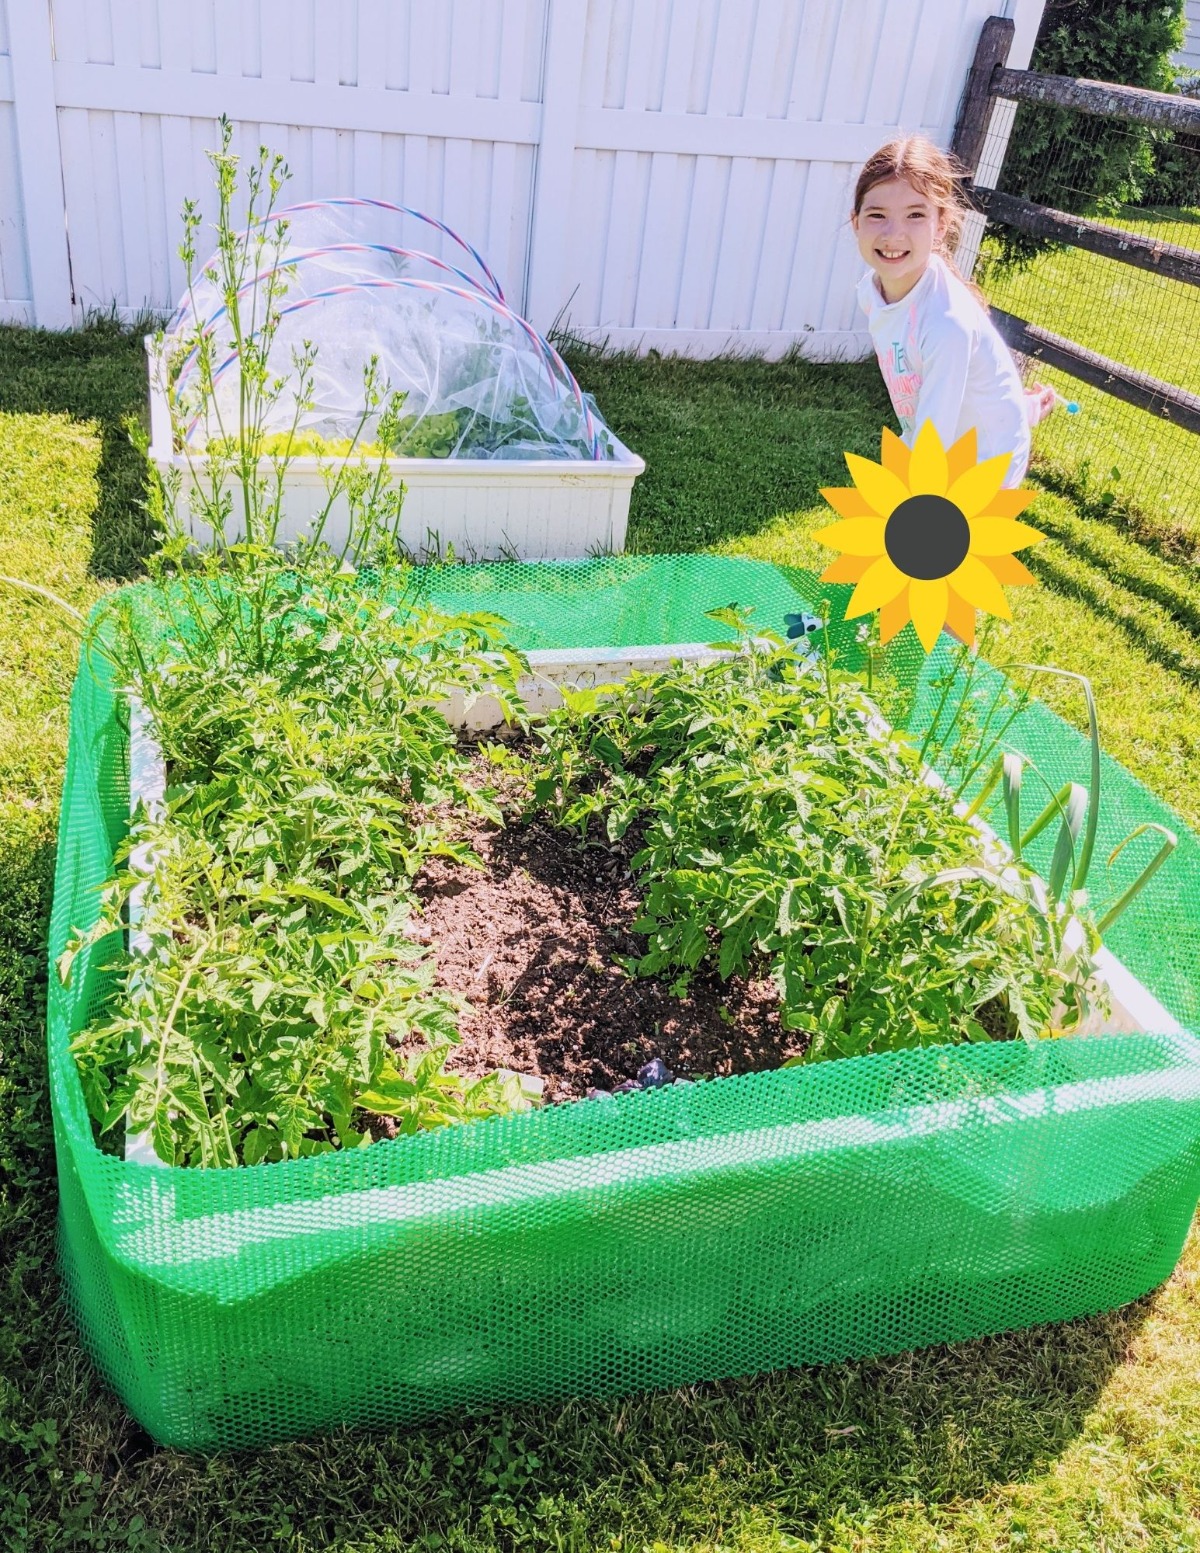
Well, here it is! This is what I came up with to keep bunnies and groundhogs out of my gardens.
I am confident most people of all ages and experiences can handle this project. I used no tools other than common scissors to tackle this.
How to Make Fences for Raised Garden Beds
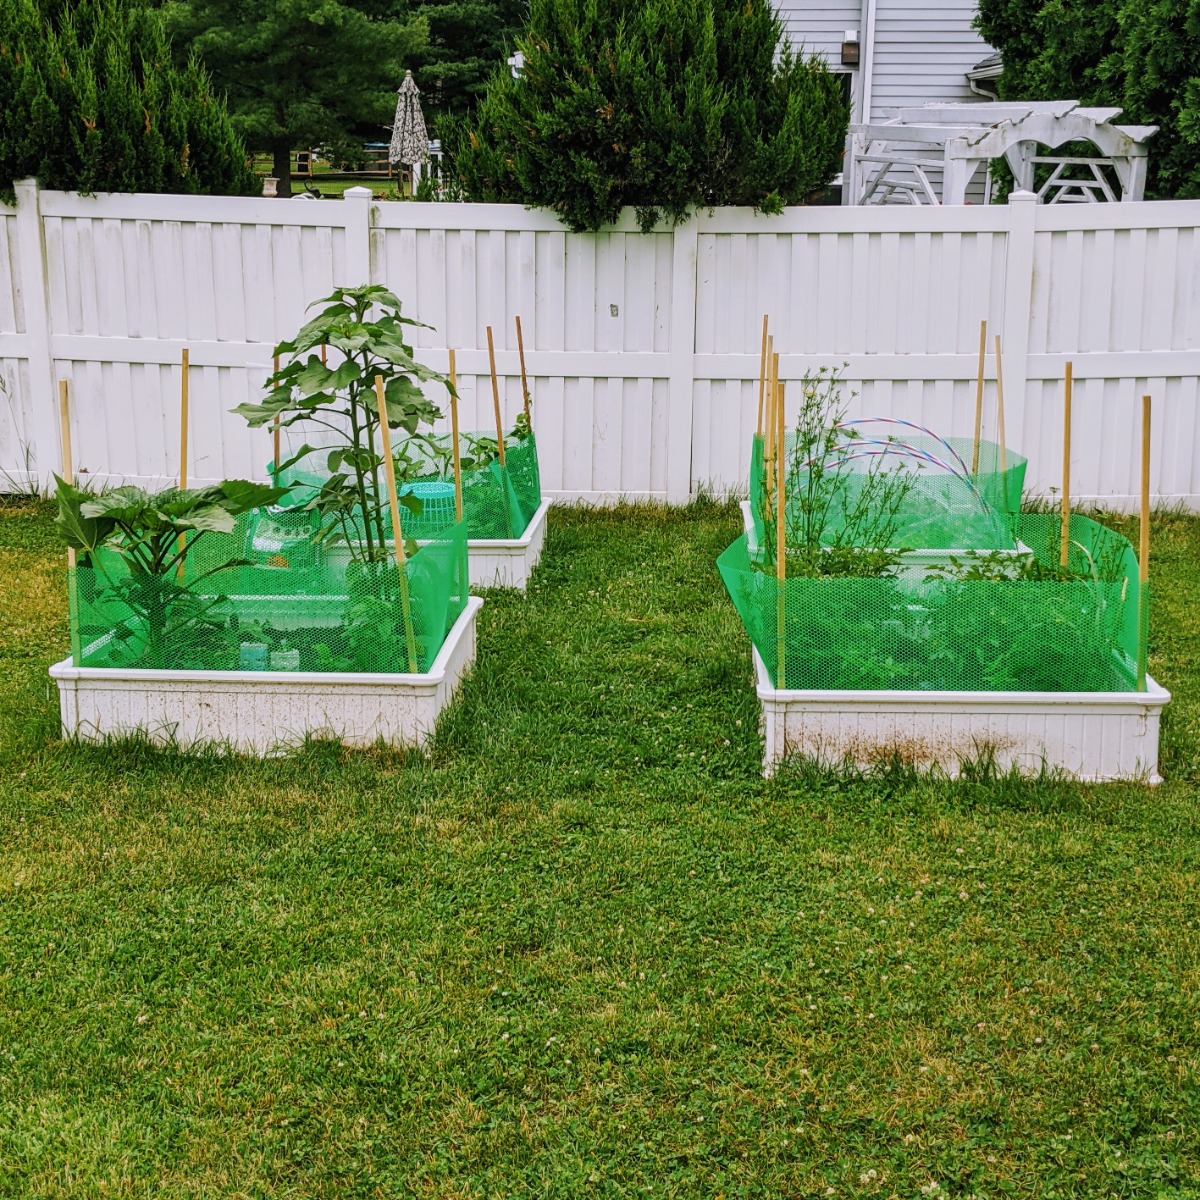
Keep in mind you can make these easy fences for raised garden beds of any size! My beds are 48 inches on all sides, so I worked with those numbers.
If you don’t have 4×4 raised beds like I do, you’ll just need to do the math to figure out how much plastic chicken wire you need.
At any rate, here are my own instructions for the easiest Keep-Out animal fencing for raised garden beds!
DIY Garden Fencing Materials
First, gather these materials for your raised garden stake fence:
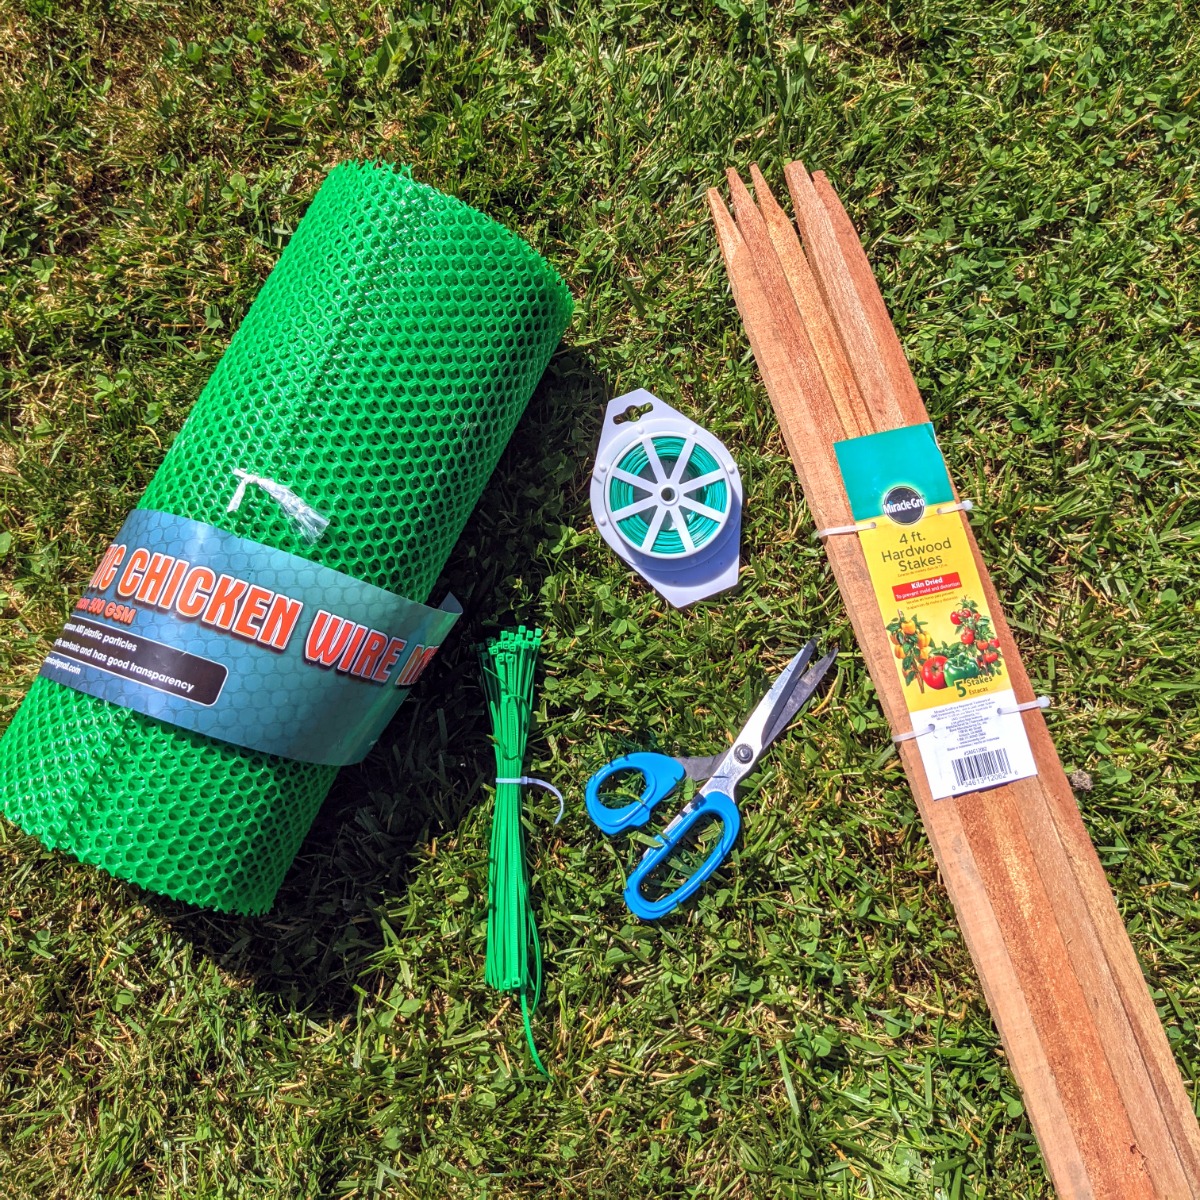
- Food-Safe Plastic Chicken Wire / Plastic Mesh (I chose ABS plastic chicken wire mesh. It reminds me of old-school strawberry containers!)
- 48” Tall Wooden Stakes – I purchased 48” garden stakes at Home Depot for about $1.98 each. (Amazon has them a bit cheaper if you need 25.) You can choose whatever works for you!
- Twist Ties or Plant Ties – I get so many uses out of these plant ties! They worked perfectly for this project, making it strong yet temporary for easy removal when needed.
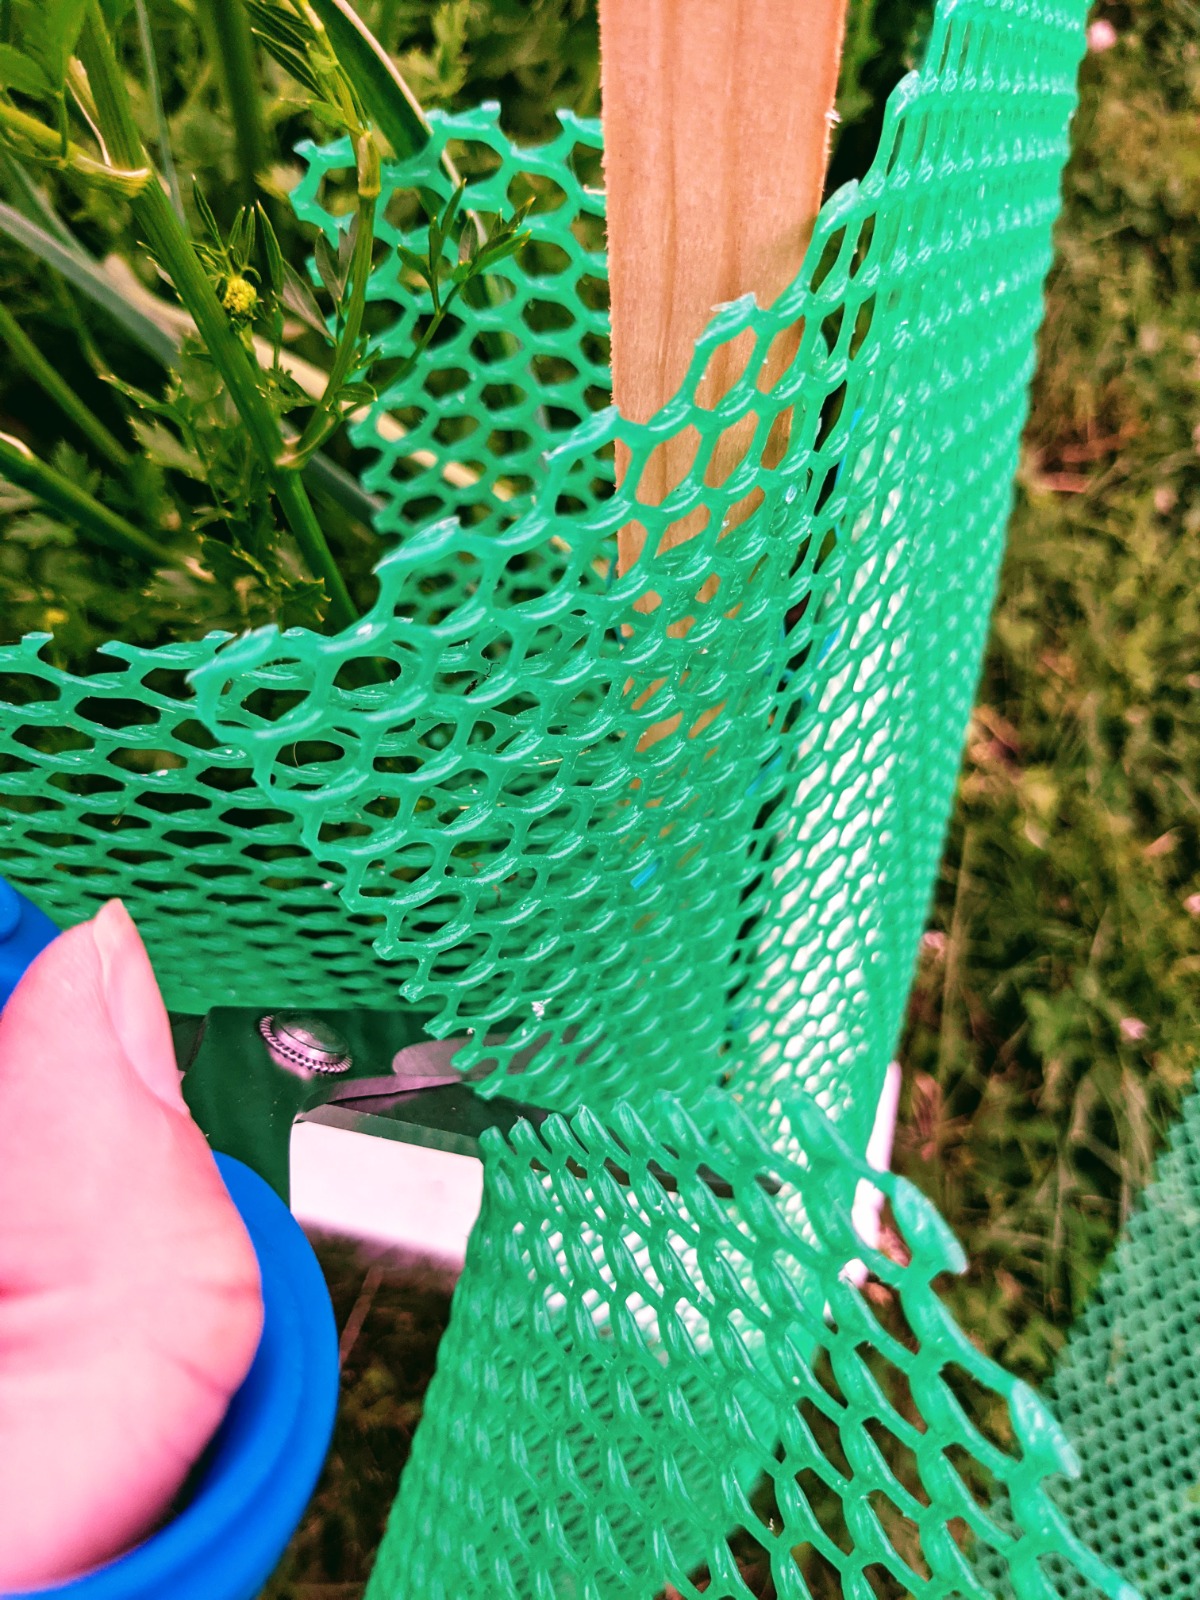
- Scissors – I used my regular old kitchen scissors. You can use the snips that come with the plastic chicken wire or any other cutting implement that you prefer.
Truly, this project is quick and easy – that’s all you need!
Note: I purchased a roll that was roughly double what I needed to cover one bed so I could literally roll it out and cut it in half. This allowed me to create fencing for two raised garden beds. For the other two raised beds, I actually measured and had a small amount left over to use around a planter on my deck.
DIY Raised Bed Fencing Instructions
Follow these steps to make easy and effective garden fencing for raised beds.
- First, place one 4-ft tall stake in each corner of your raised garden bed. (For long beds, you may want to put center posts as well.)
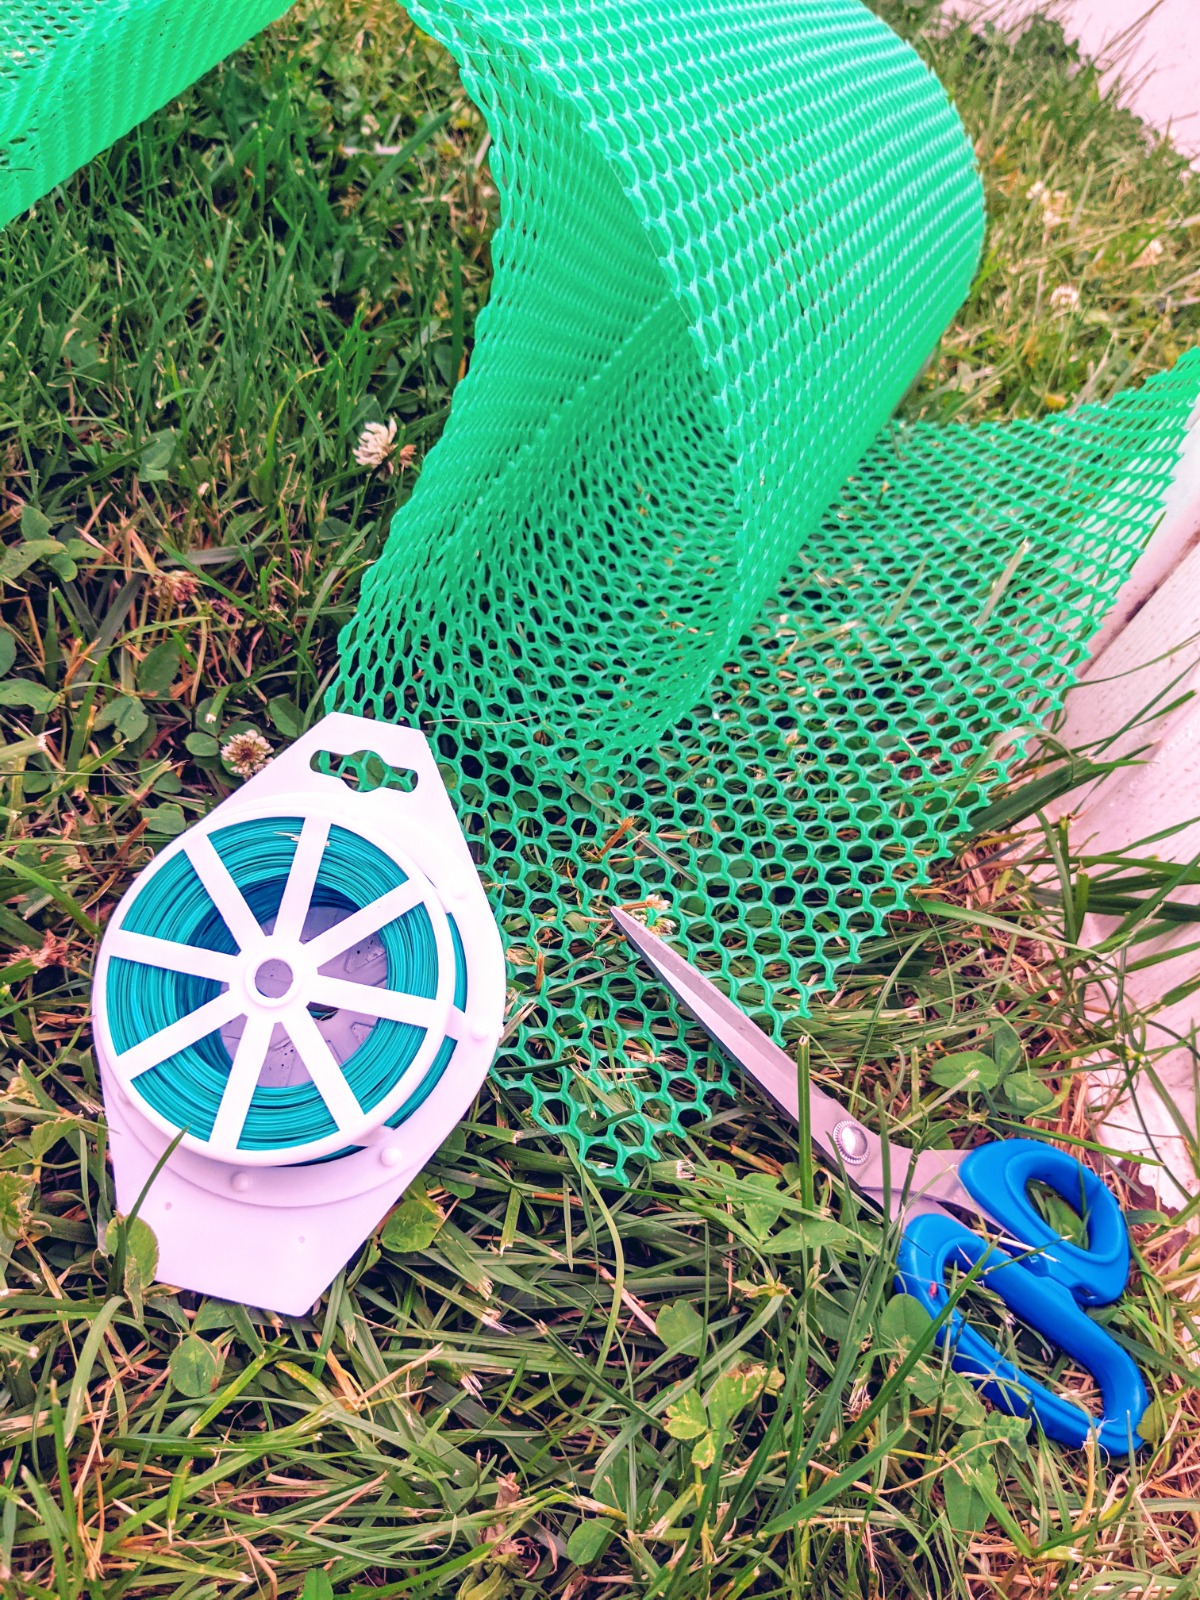
- Then, unroll the plastic chicken wire mesh.
- Measure the correct sizing by wrapping it all the way around the outside of your garden bed.
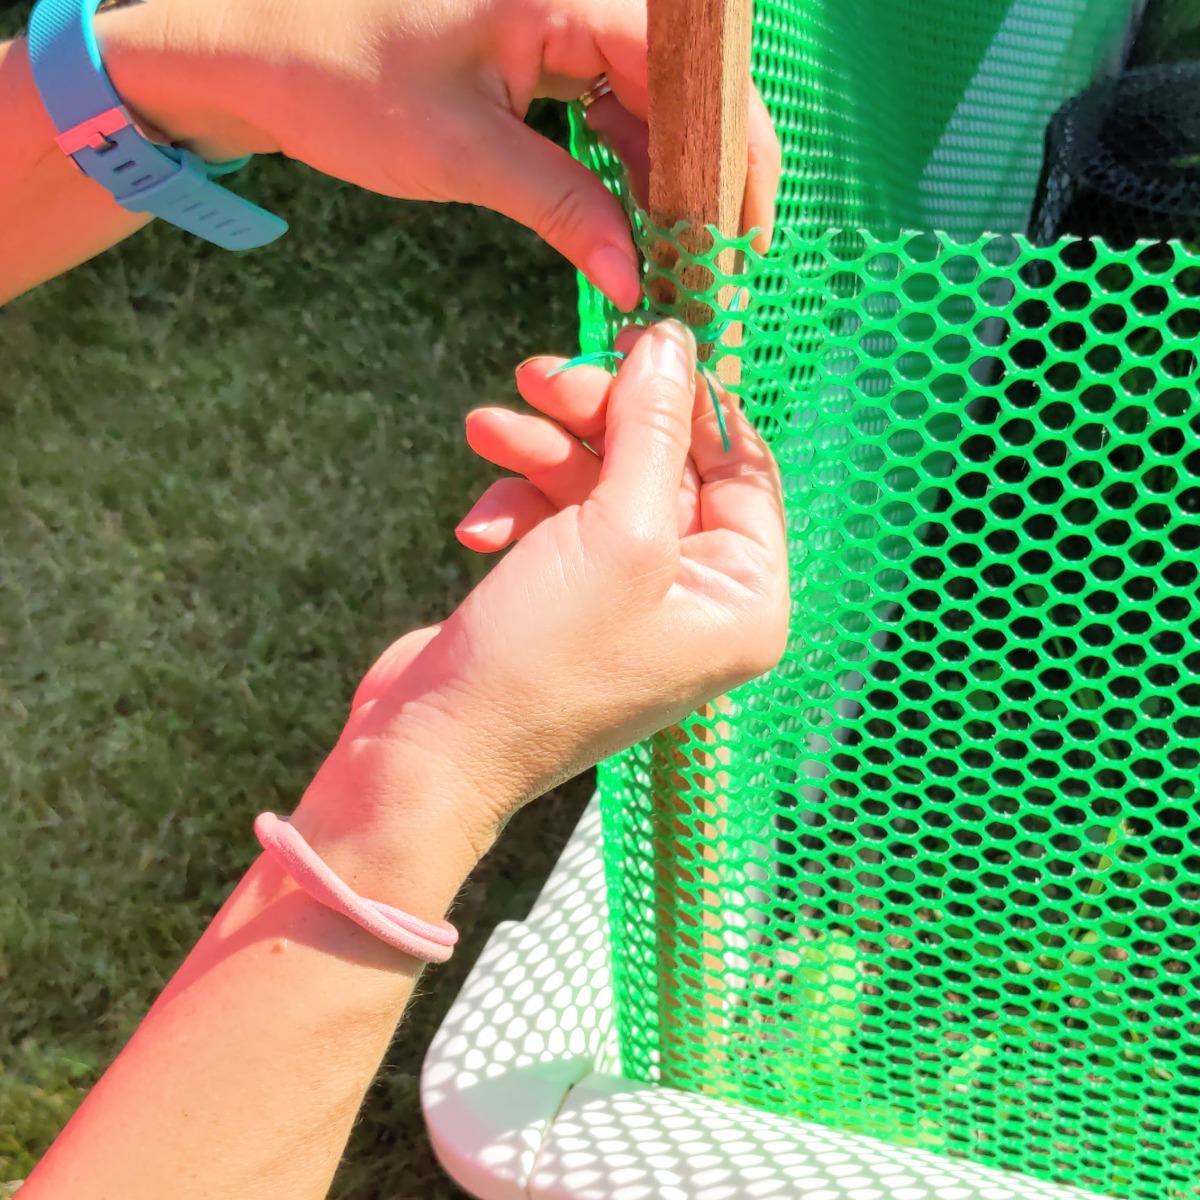
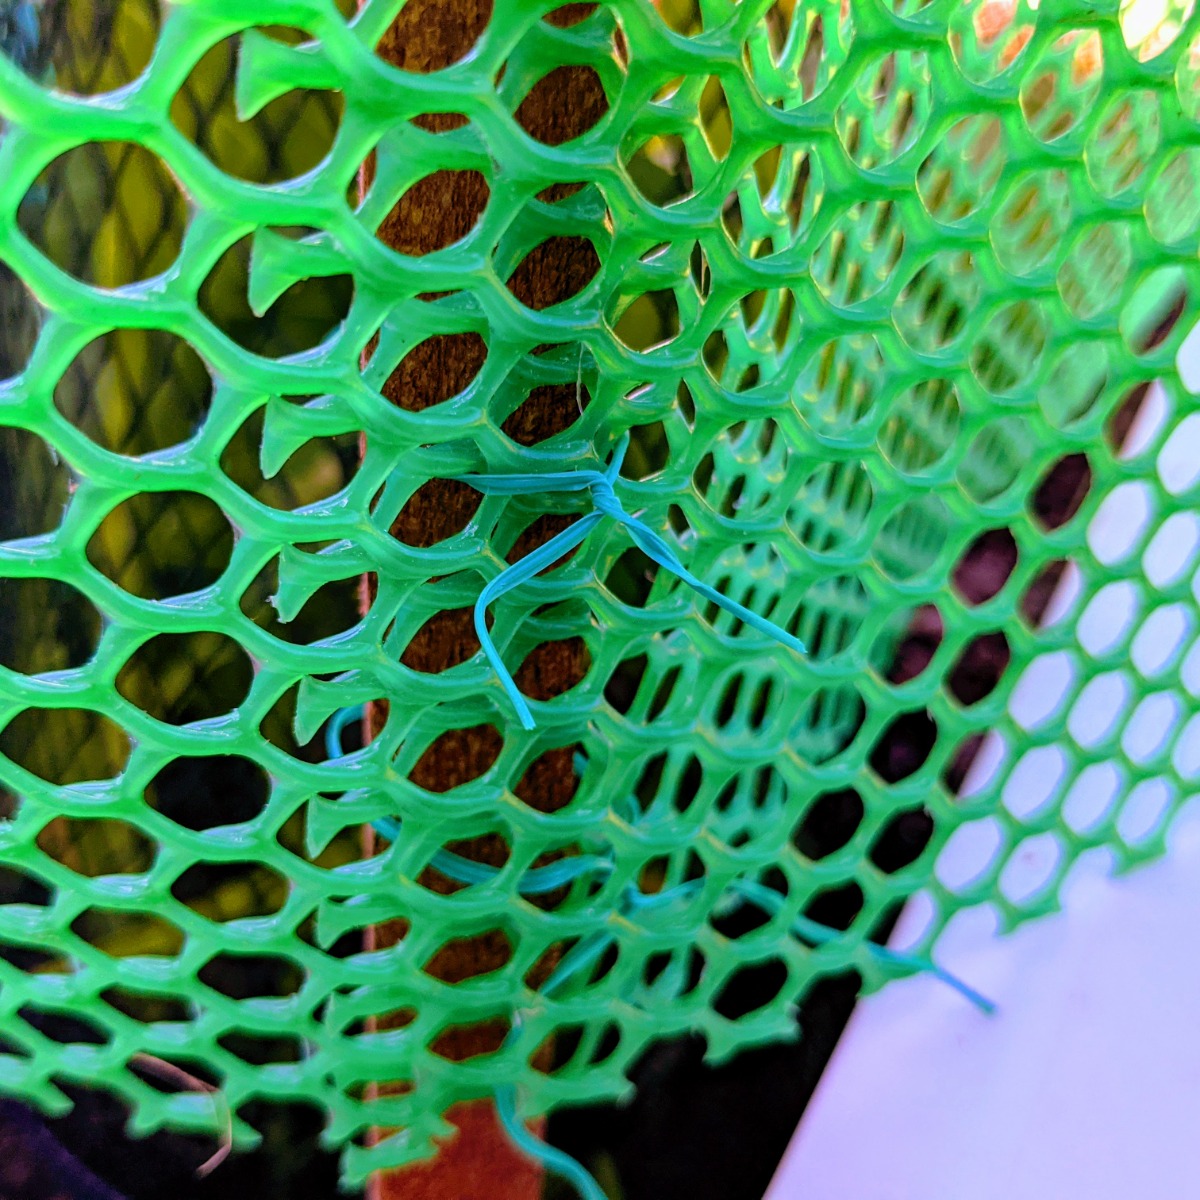
- Cut a length of twist tie that is long enough to go through the fencing and around the stake.
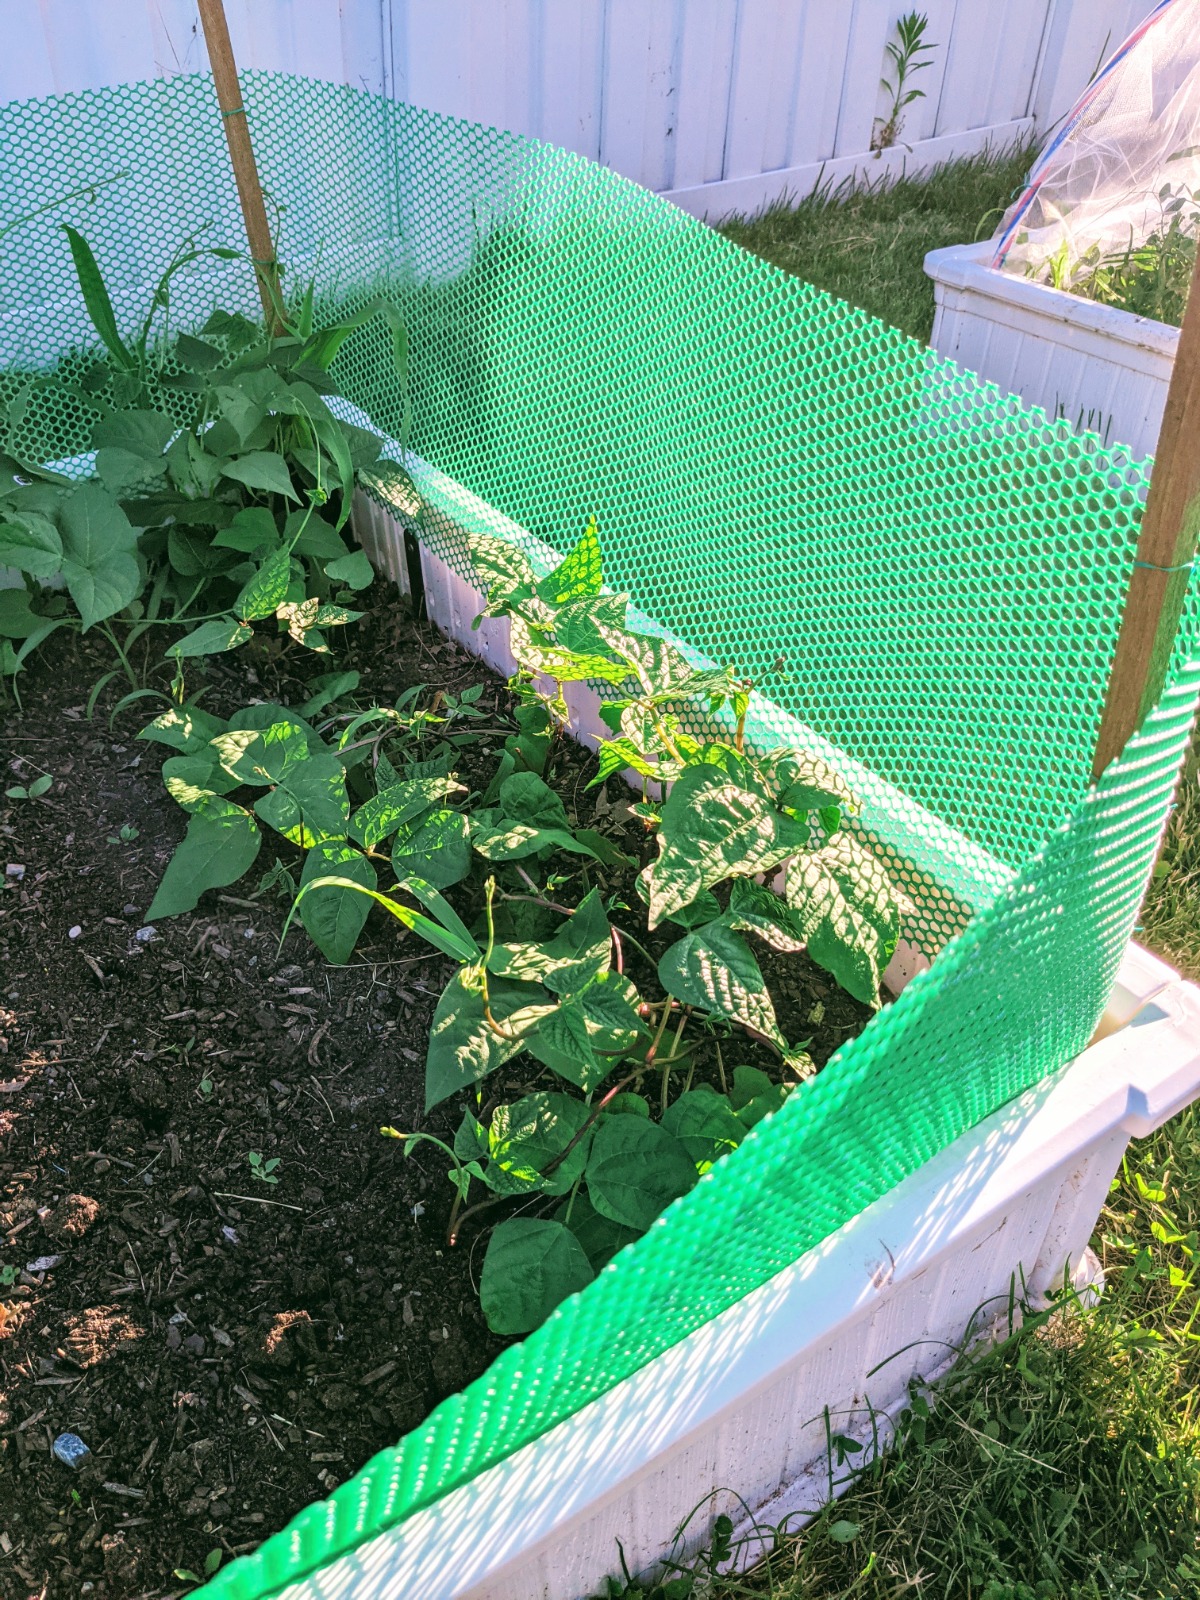
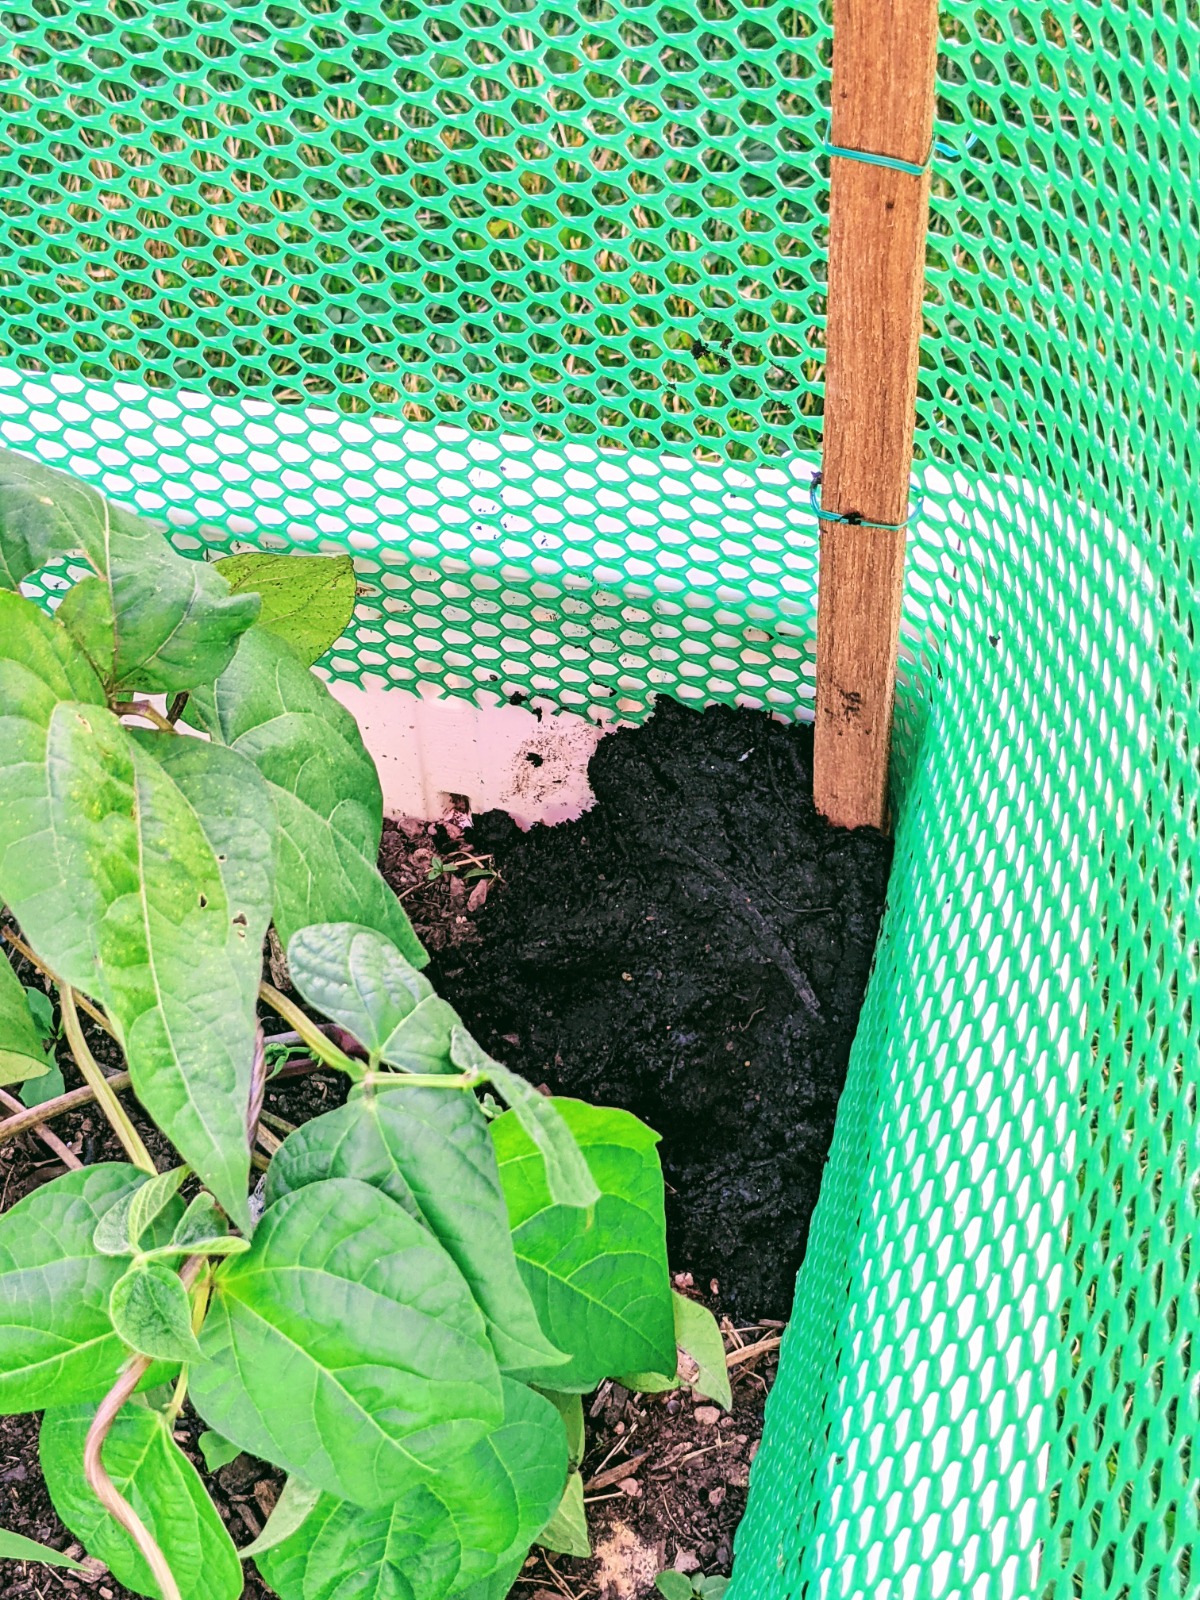
- Line up the fencing so it is about 1-inch below (and inside) the wall of the garden bed. This helps keep animals from sneaking inside.
- Attach the end of the food-safe plastic chicken fencing to the first corner stake using the twist tie. Connect it starting at the top of the fencing.

- Use another length of twist tie to connect the middle of the fencing to the same stake.
- Finally, connect the lowest point of the fencing to the stake with another twist tie.
- Wrap the fencing around the garden bed until you get to the next corner stake.
- Tuck the fencing inside the raised bed so it remains at the same level as the original stake.
- Next, connect the second stake at the top, middle, and bottom of the fencing as with the steps above.
- Continue wrapping the plastic food-safe garden fencing around the raised bed and attaching to the rest of the stakes. Make sure you tuck in and pull the fence slightly taut to reduce slack.
- When you get back to the starting point, pull the fencing a bit past the original end. It should overlap a bit.
- Measure twice and when you are sure, cut the fence straight down. (If you have a piece of fencing that is already the perfect length, disregard.)

- Attach the final end of the fencing to the original stake, top, middle, and bottom again.
- Fortify the base of the stakes by piling up some extra garden soil or rocks to add stability.
Place one 4-ft tall stake in each corner of your raised garden bed. (For long beds, you may want to put center posts as well.)
Our website features affiliate links to products that we personally believe in. If you make a purchase from a link on our site, we may earn a small commission at no cost to you. Thank you! This helps our girls chase their garden dreams! Thanks for your support. (View full affiliate disclaimer at the end of the page.)
4×4 Raised Garden Stake Fence
Set aside an hour or two and you can get these DIY garden fences installed pretty quickly!
Here are a few tips to keep in mind when making your own raised bed garden fences.
- Choose stakes that are taller than the height of the fencing you plan to use. Remember part of the stakes will be buried in the soil and part with be below the tops of the raised garden beds. This is why I chose 48” posts.
- Build up the base of the stakes. So far, the only trouble I’ve had is after a thunderstorm, the posts started to lean a bit. I did already fortify them with more soil, but I had to go back and pack it in again.
- Use extra fencing to make plant protectors for other spaces. This plastic fencing is great stuff! I am using it to protect a planter of lettuce on my deck as well. I may even buy more to protect other areas.
My 10-year-old daughter actually helped me to create and install them, and I’m really proud of the work we’ve done.
Another Gardener’s Perspective on Rabbit Fencing
Jim Tjepkema of Minneapolis, MN is a backyard gardener who grows vegetables and some fruit for family use and enjoyment.
“I use chicken wire because I like to avoid plastic whenever I can,” he says. “I don’t mind your use of plastic. Chicken wire can mostly support itself so it do doesn’t need tying up most of the time.”
“However, you need to be careful handling it because the ends of wires are sharp and can cut your hands,” he warns. “At the end of the season, I roll up the chicken wire and store it to use the next year.”
Jim adds, “I have used chicken wire that is 18 inches wide, which seems to be tall enough. Rabbits can jump over an 18-inch fence, but they don’t. I think they don’t want to be confined inside an area surrounded by an 18-inch fence. I use beds that are only slightly raised and not in boxes.”
He’s also noticed a few cases where rabbits pushed their way under his fences. This mainly occurs if he’s left a bit of space at the lower edge of the fence.
“I have started watching out for this and pushing the fences down tight to the ground where I notice they have been able to get under it,” he shares. “Many things can be used as posts. I even use thick sticks pruned from bushes and trees.”
Keep Critters Out of the Garden – How Did It Go?
After a single season using this method, I wanted to share my experience.
Setup for this easy raised bed fence couldn’t be much simpler.
The fencing effectively kept bunnies and other garden pests out of the raised beds.
In terms of durability, it does leave a bit to be desired. I noticed the sun took a good whack out of it and left the plastic fencing more brittle than I expected.
Some of the fencing broke while I was disassembling it. Other pieces snapped in half while I tried to roll them back up.
For this reason, I may consider additional options in the future, such as Jim’s chicken wire idea.
I truly hope my instructions are clear and helpful for you!
Do you have any questions about my method or other ideas for raised garden bed fencing?
Feel free to share other ideas or ask questions in the comments – we are always delighted to hear from you!
By the way, check out my installation post, too, if you like these white raised garden beds as much as I do.
And, I would love to help other gardeners keep their crops safe! Please share this post with others you know who may be struggling with garden pests eating all the veggies. We hope our post can also help someone!
Happy Gardening!
01.05.23 – Updated to add section on another gardener’s perspective. Also added update on how the DIY fence performed this year.
01.19.23 – Added link to Giantex beds.