Fun Mod Podge Use – DIY Decoupage Flower Pot
Try this clever Mod Podge use to make expensive-looking flower pots! Start with pretty floral paper and transform an ordinary terracotta pot into something extraordinary.
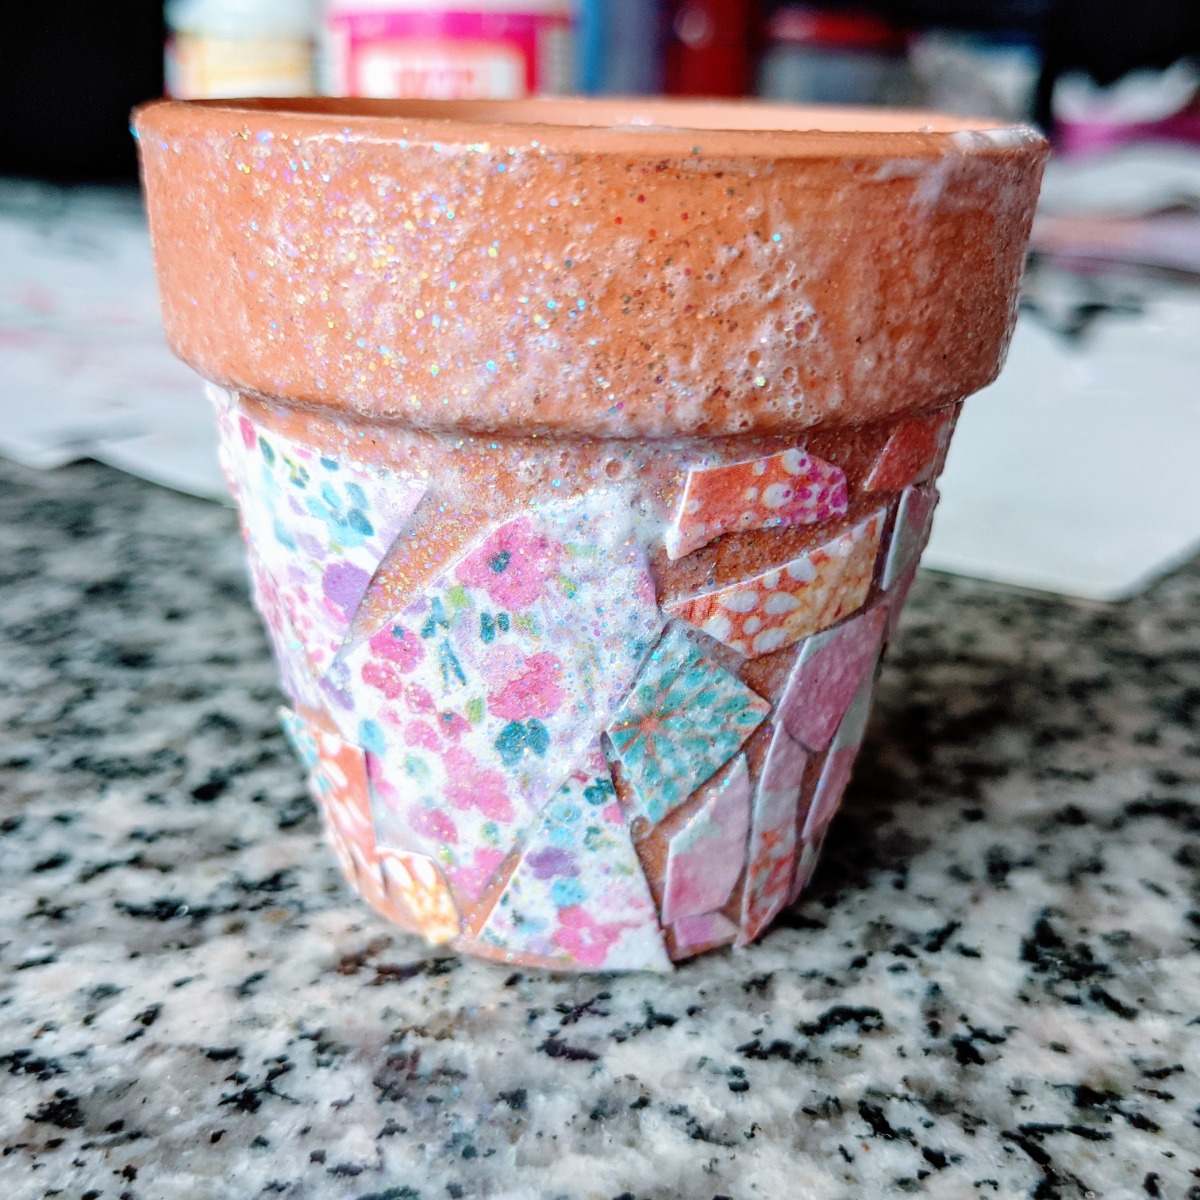
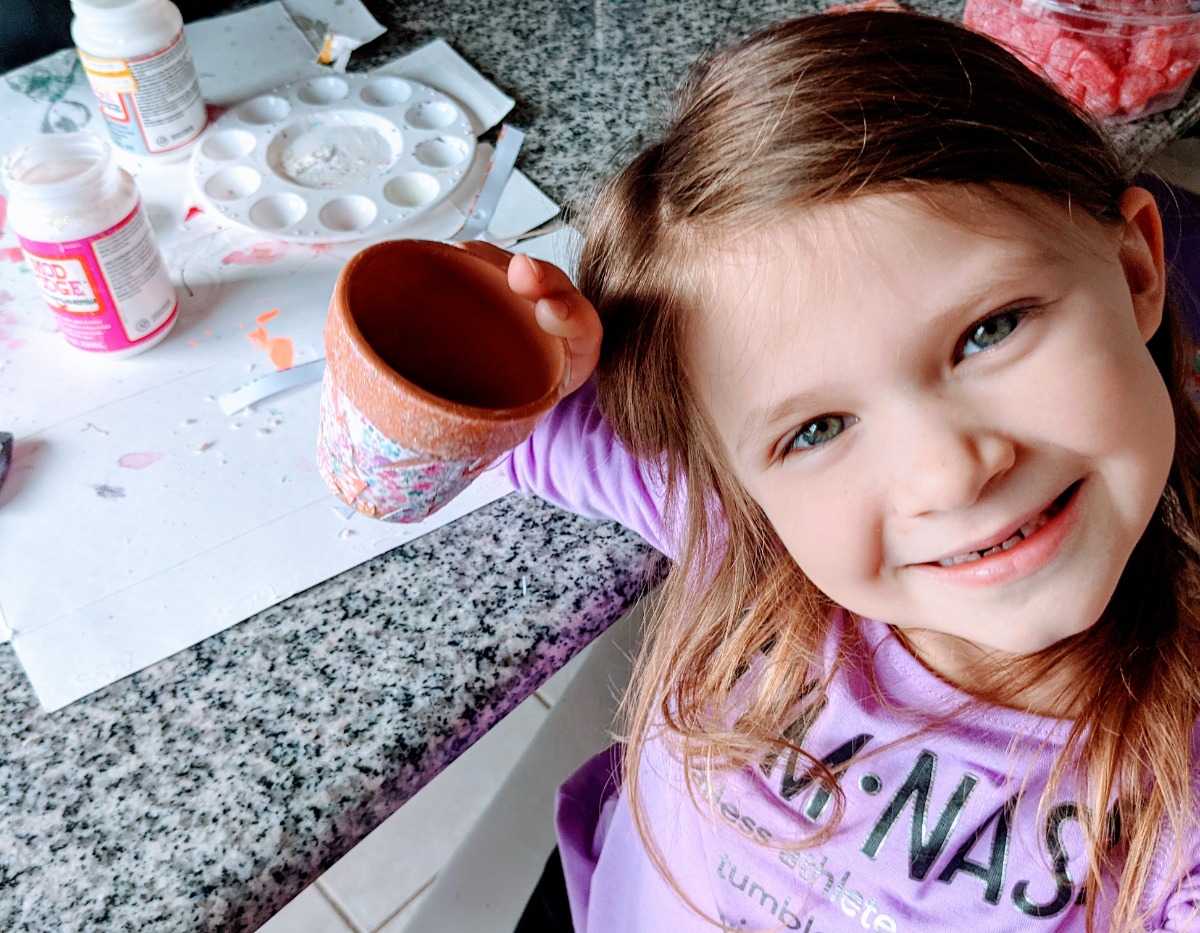
The vintage look and feel of this sweet mini flower pot has me by the heartstrings. I made this with my daughter as an after-school craft idea.
We love making gardening crafts and thought a mosaic decoupage flower pot would be the perfect craft project for a rainy day.
How do you decoupage?
When Mod Podging any craft item, you generally apply a coat of Mod Podge and then stick your decorative elements to the item. Continue working by completing the design or adding layers and textures if you like. You may also apply more decoupage glue on top to finalize the design.
How long does it take to use Mod Podge?
Each Mod Podge use can vary in time. Factors that impact the amount of time it takes to decoupage something may include the size of the item, the thickness of the coats you used, and the thickness of the items.
What are some good Mod Podge use ideas?
Use Mod Podge to add a protective coating to jigsaw puzzles or favorite artwork. Make fun kid crafts with Mod Podge, like glittery decoupage leaves. You can also apply the decoupage medium over painted rocks, shells, or other craft projects.
How to Decoupage Flower Pots
Take your time when preparing for this straightforward Mod Podge use at home.
Gather scissors, paper towels, Mod Podge, patterned paper or cardstock of your choice, and a foam brush applicator or similar.
Then, follow these simple steps to make pretty decoupage flower pots for planting.
- Choose decorative craft paper that you like and cut it into small bits. We cut triangles, squares, diamonds, and irregular shapes.
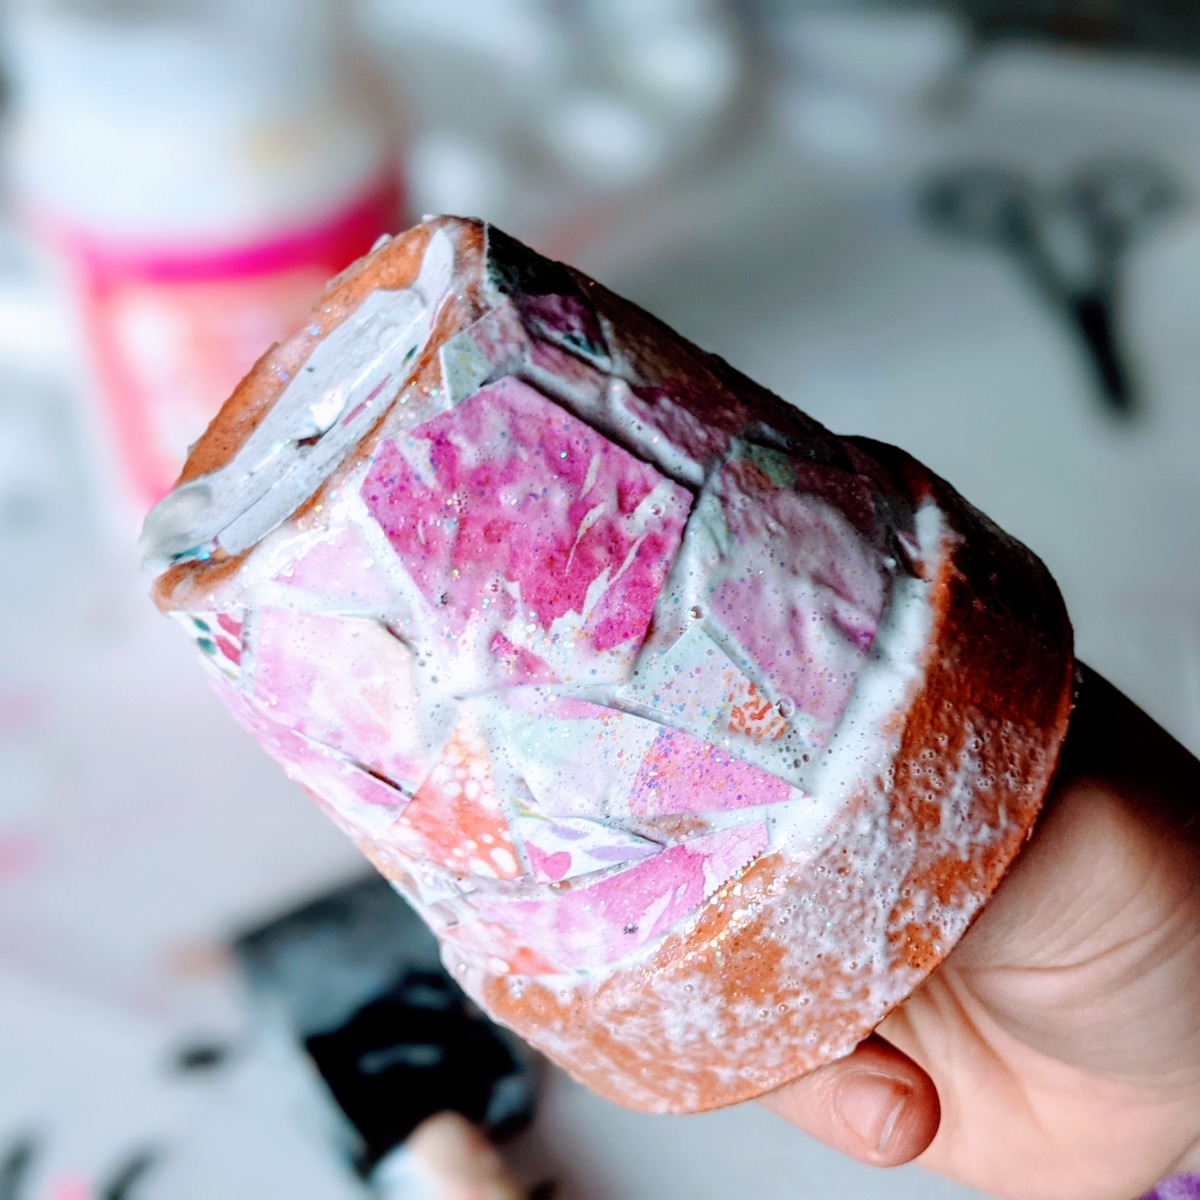
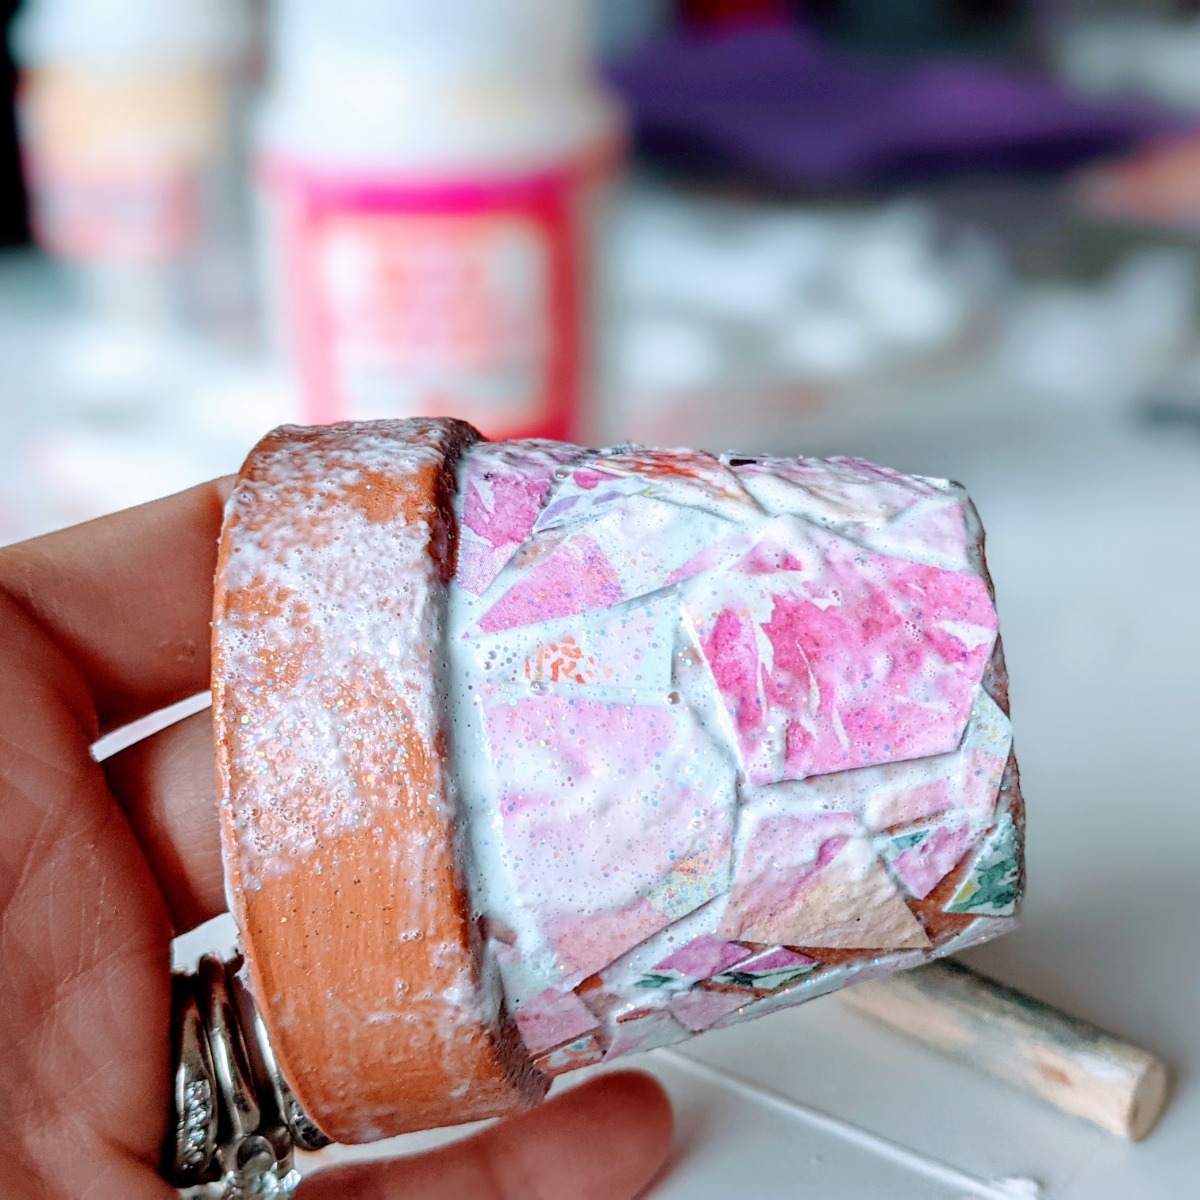
- Use a sponge applicator brush and apply a medium coat of Mod Podge to one section of the flower pot.
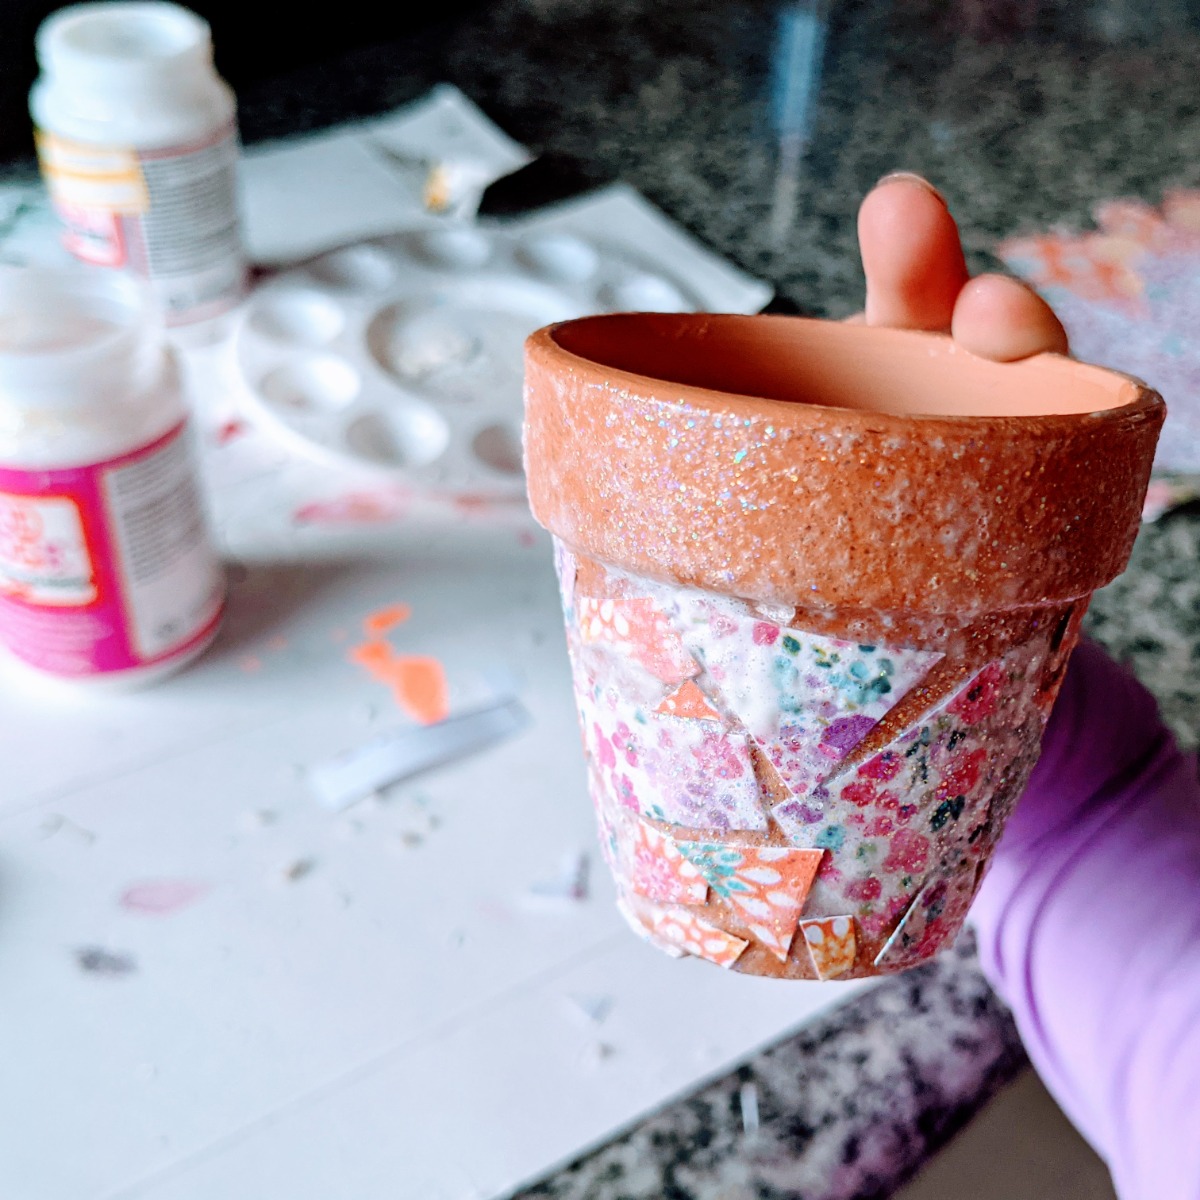
- Begin sticking little pieces of paper to the flower pot.

- After sticking on a section of mosaic pieces, apply more Mod Podge.
- When Mod Podging, remember that each coat needs time to dry. Leave at least an hour in between coats, or longer if it’s still sticky or wet.
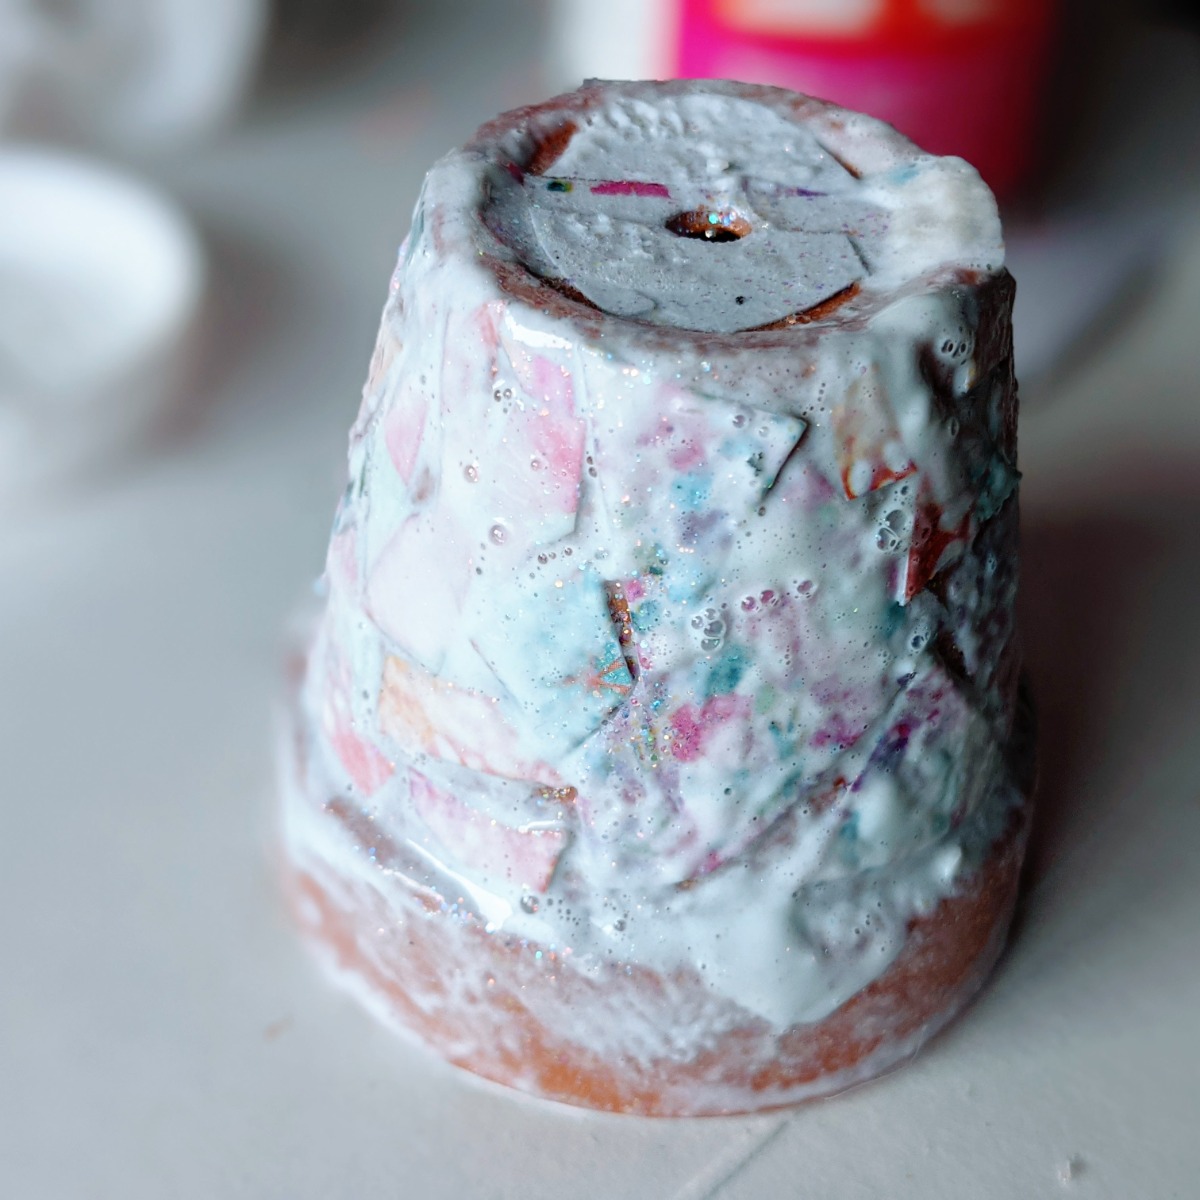
- Repeat until you cover the entire mini flower pot with decoupage.
- Allow the pot to dry thoroughly.
- Consider waterproofing the decoupage flower pot before using it outdoors.
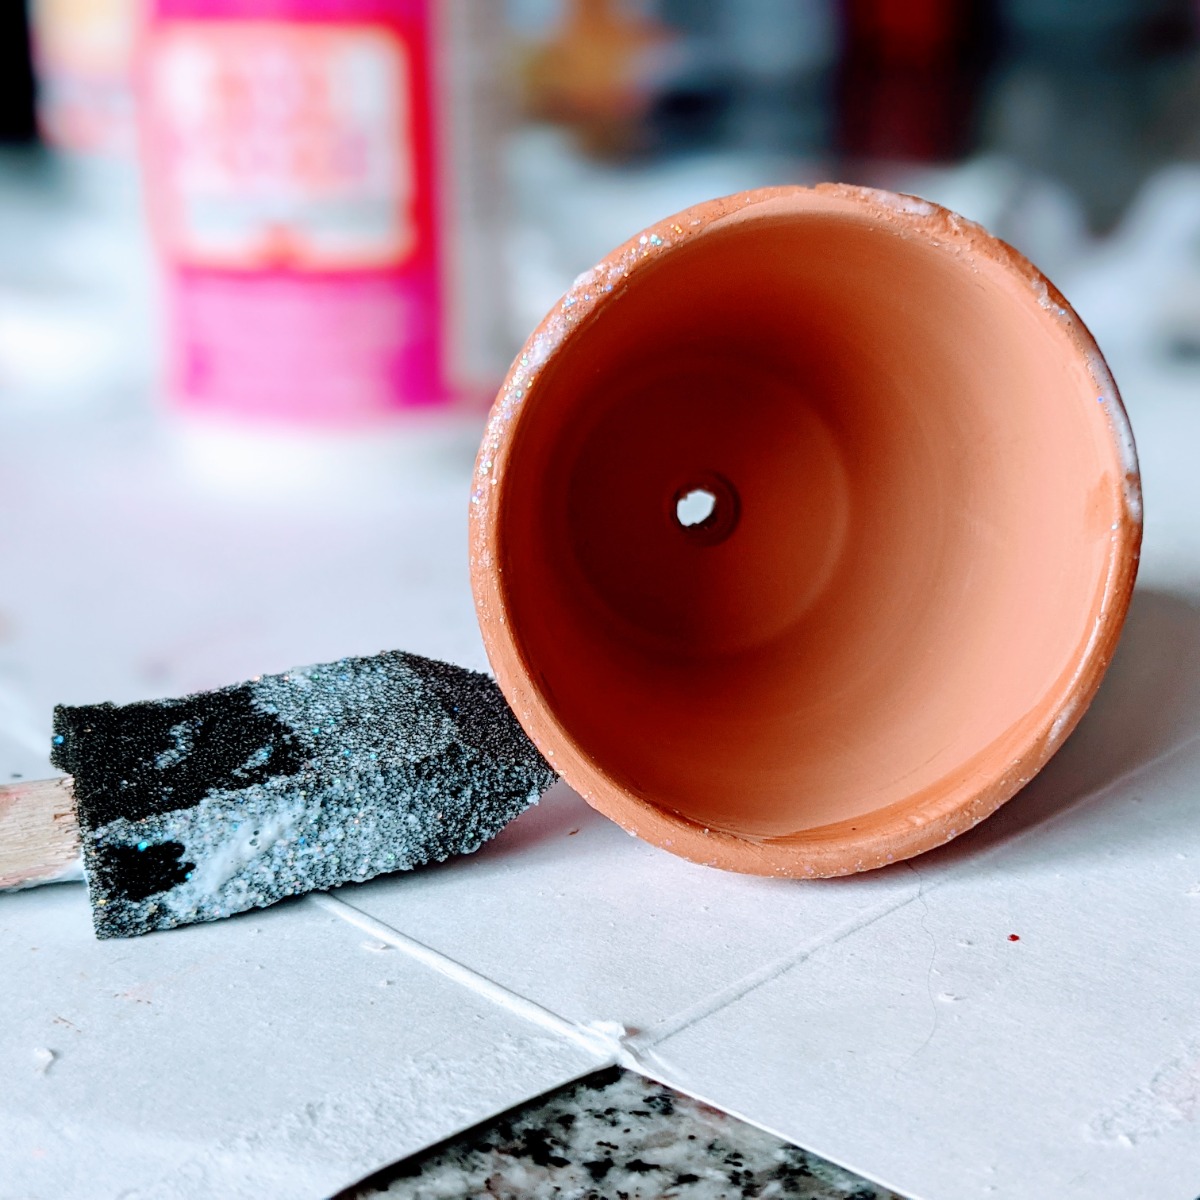
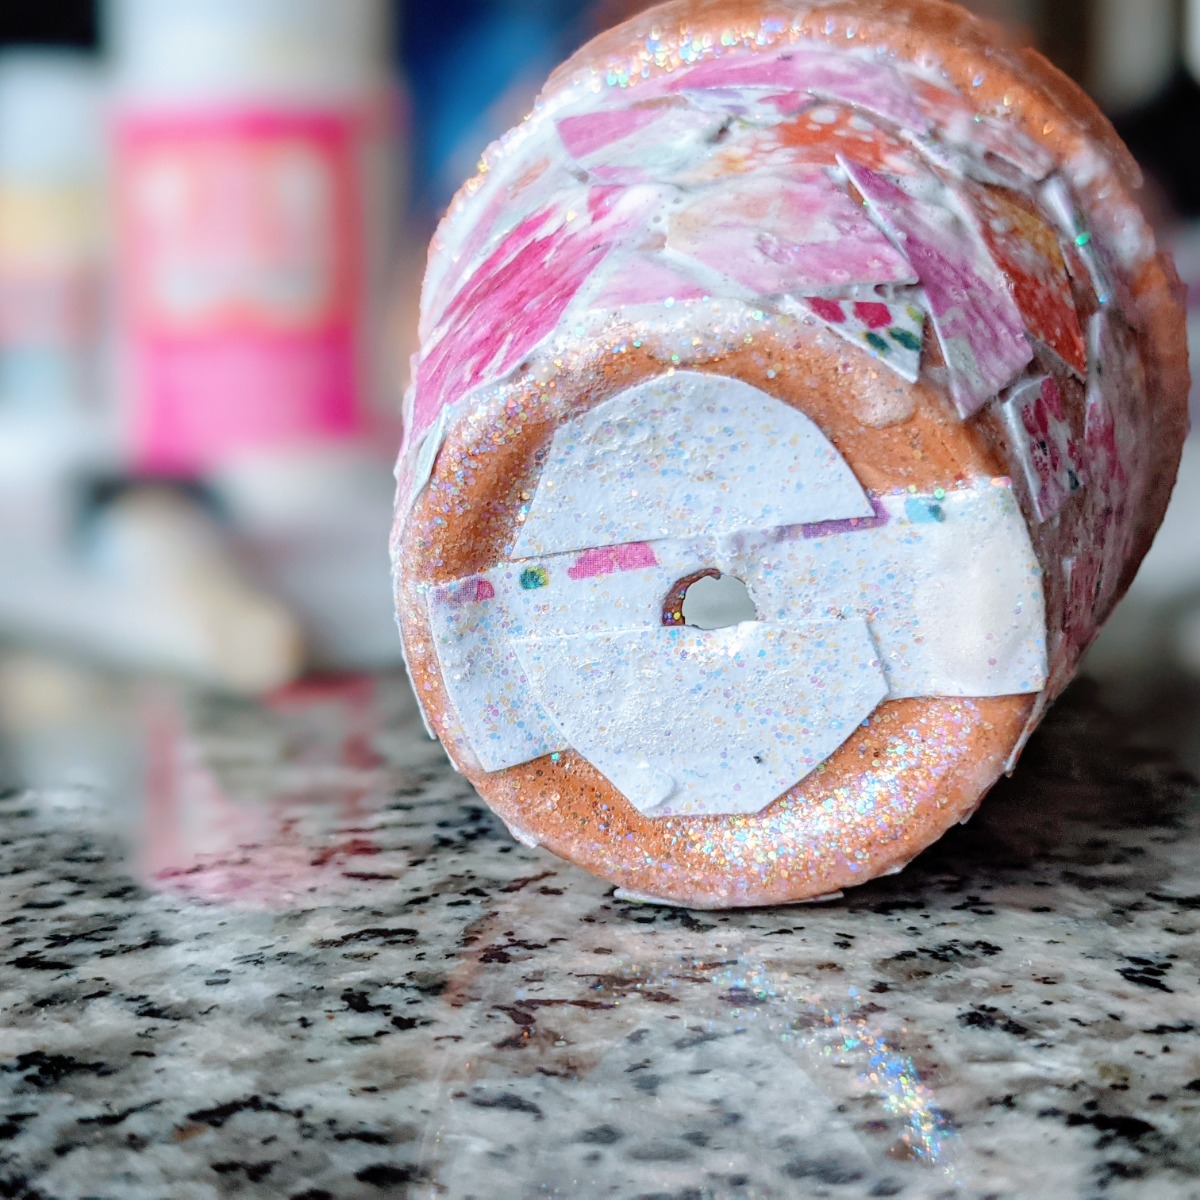
One more tip – We made sure to clear the opening in the bottom for drainage. Well, mostly. 🙂
Mod Podge Use for DIY Flower Pots
With several jars on our craft shelf, I’m always looking for another way to use Mod Podge. We have matte, shiny, glitter, and dishwasher-safe Mod Podge varieties.
Where to start?! I picked out the dishwasher-safe version hoping it would also be rain-proof! We’ll definitely plan to test that and get back to you!
In the meantime, why not make one of these cute mini mosaic flower pots?
The transformation from a clay pot to a decorative mosaic decoupage creation is a sweet upgrade if you ask me! And my little girl was too cute making her own creation!
(I also love how they call it “Modge Podge” – pretty sure I started that before I knew any better. 🙂
Lovely floral decoupage mosaic flower pots bring a touch of old fashioned charm to your gardening areas. Make your own mosaic clay pot with craft paper and decoupage!
Do you have any questions about this project or other tips and tricks to share? Please leave your thoughts in the comments below – we love hearing from you!
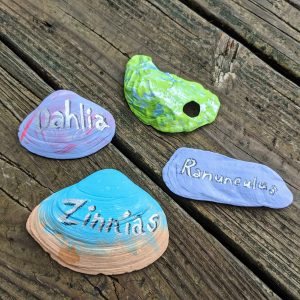
By the way – if you enjoyed this post, you might also like our craft ideas for bumble bee painted rocks and seashell plant markers!
Happy Gardening!