How to: Seashell Plant Labels for Outdoor Garden Beds
Every time we go to the beach, we always come home with seashells. It’s peaceful and serene and relieves my stress to walk with my girls along the shoreline picking up shells. Now we finally have a use for them – seashell plant labels for outdoor garden beds!
This garden craft works so well on a rainy day when you’d rather be out in the garden. Seashell plant labels make the best kid crafts after a trip to the beach, or any time you’re missing it.
Benefits of Shell Garden Markers
Coming from a beach bum, I am all about seashells in the garden! Here are some of my favorite benefits of this style of plant labels:
- Embracing Nature – You’re repurposing nature at its finest. Add a tropical and fun element to your garden.
- Permanence – Polish and make permanent your favorite shells. Waterproofing hand-painted seashells works way better than Sharpie plant markers and other tags.
- Kid-Friendly – This garden craft is just as lovely as it is kid-friendly. Get your little ones – or even your teenagers – involved in making memorable and useful art.
- Creative – Use fun craft supplies to make lovely designs that coordinate with your garden and its flowers and plants.
- Mark Perennials – So many times we lose track of spring bulbs or those we need to dig up at the end of the season, like Dahlias. Mark them well so you know exactly where they are.
Choosing Seashells for Garden Labels
When choosing shells for garden labels in an outdoor bed, size matters and so does shape. Consider the length of the plant and flower names you need to write or paint.
My favorite shells to use for garden markers are clam shells and oyster shells.
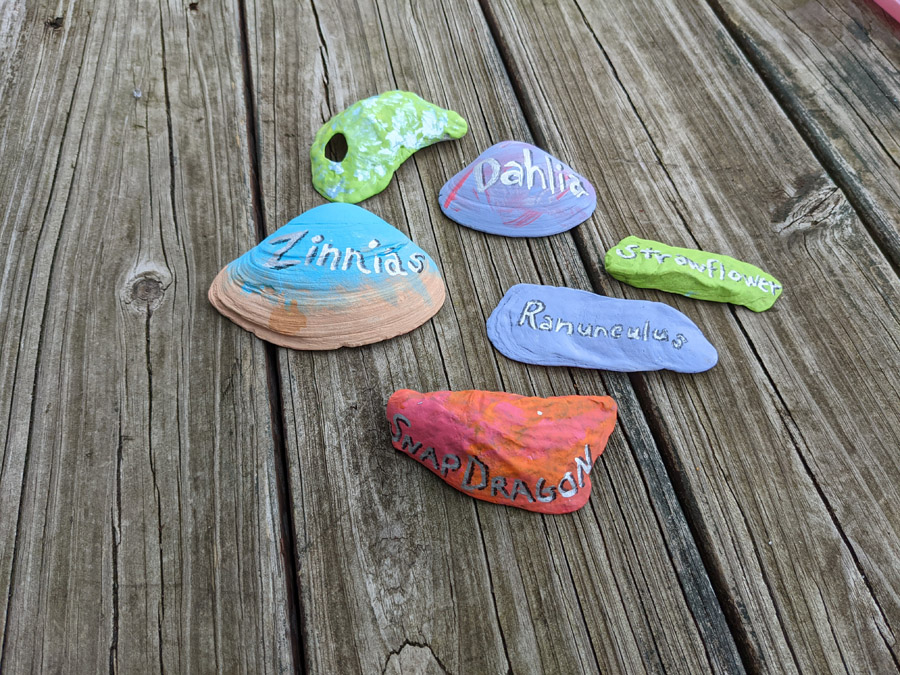
- I look for long, flat oyster shells to use for long flower names, such as Ranunculus and Snapdragon.
- I found that shorter names like Zinnias and Dahlias fit perfectly on clam shells that I painted just like the beach.
Also consider the color of the paint and the color of the shell. Lighter colors work best on lighter shells. If you’re painting dark gray shells, you may need several coats of paint.
How to Make Seashell Plant Labels for Outdoor Garden Beds
It’s so easy and fun to make seashell plant labels for your outdoor spaces. Here are some simple tips:
Materials:
- Seashells
- Acrylic Paint
- Paint Markers
- Mod Podge
- Clear Waterproofing Spray
- Paintbrushes
- Paint Palette or Paper Plate
- Cup of Water
- Paper Towels
- Newspaper or Cardboard
Steps:
- Put down some newspaper or cardboard to protect your work space.
- Choose some seashells to paint.
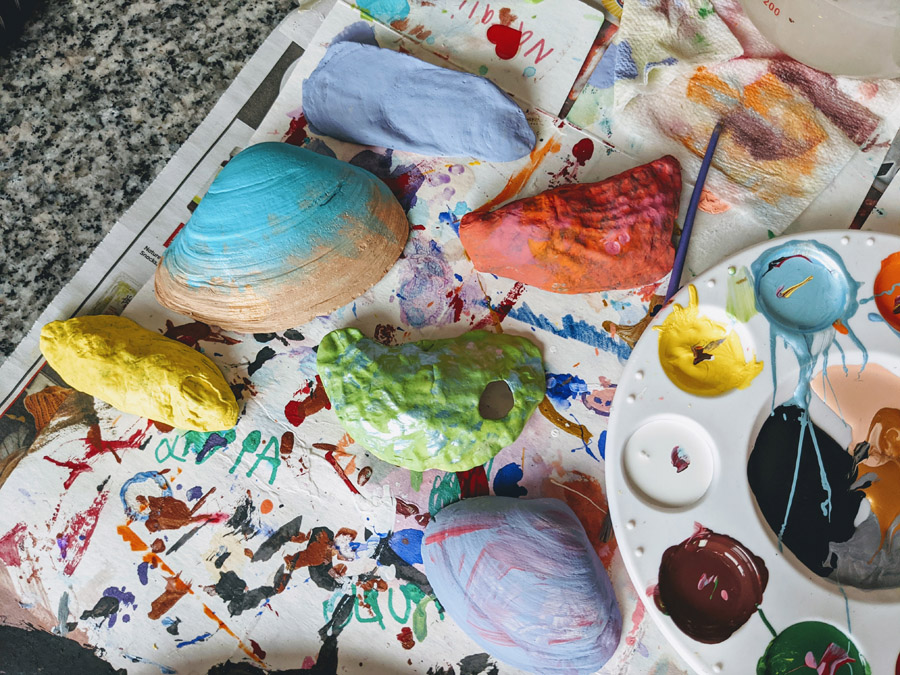
- Select your paint colors and add them to the palette or pour just a bit of each color on a paper plate.
- Fill a cup with water and fold a paper towel for rinsing and cleaning off the brush when switching colors.
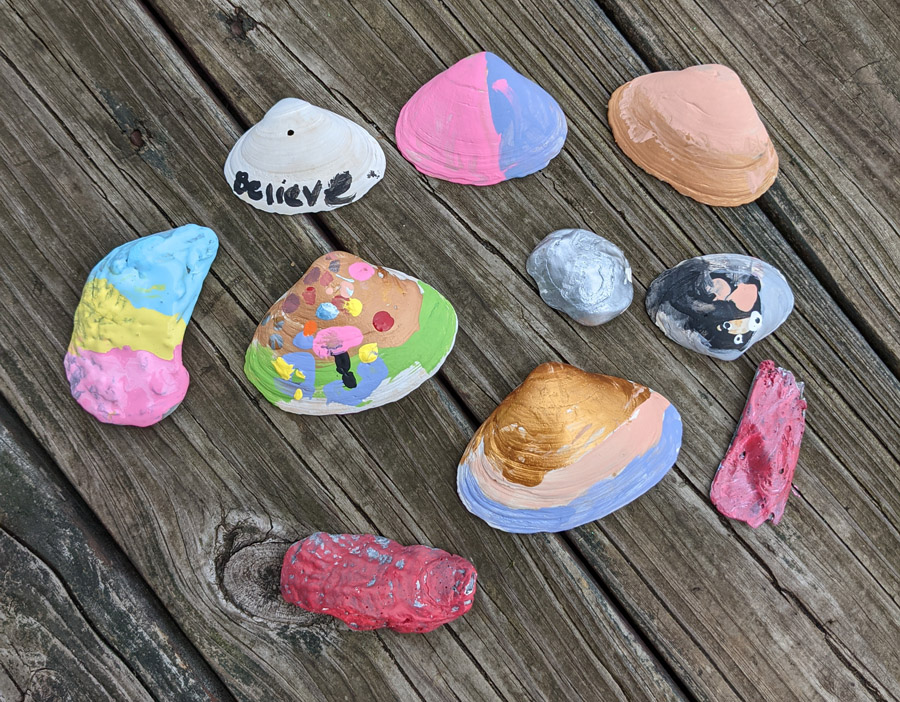
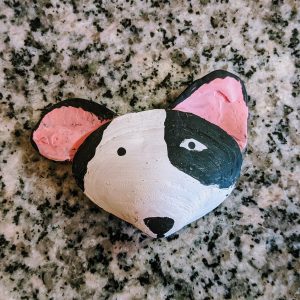
- Paint the base coat to desired coverage. Have fun with it! You can create designs and scenes, add patterns or go abstract.
- Allow the shells to dry.
- Add more paint if necessary.
- Once completely dry, use oil-based paint pens to write the name of your flowers or plants.
- Paint with Mod Podge once dry.
- Spray with clear waterproofing sealer to ready your plant labels for outside use.
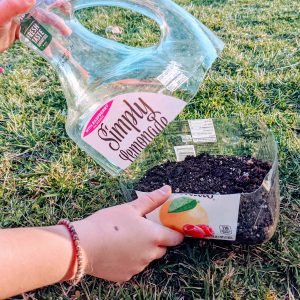
- Arrange them in your garden for staging before you plant anything or use them to mark existing flowers and new plantings.
TIP: Have the kids paint a few extra to set out for your neighbors, family, and friends! What a lovely surprise!
Final Thoughts: Shell Plant Labels for Outdoor Garden Areas
Seashells look gorgeous in the garden, painted or not. We’ve had conch shells in our gardens since we first moved here!
I love the idea of painting seashells instead of rocks, purely because collecting seashells is such a treasured hobby of ours.
We have no shortage of shells in our garage!
Are you looking for some fun ways to use seashells that have been collecting dust and taking up space? This is such a fun craft and a great way to use shells in the garden.
Do you love collecting seashells too?! Let’s chat in the comments!


I also love seashells. I made a seashell wreath with a driftwood backing. For the backing, I hot glued smaller pieces of driftwood, fitting them together to form a sturdy 12-14 inch circle. A couple places needed a little bit of thin wire for reinforcement.
Then start arranging and hot glueing shells as they fit, tucking into the wood, overlapping, as many shells as will fit and look nice. I also fitted in a tiny driftwood cross at the bottom of the wreath. I didn’t even varnish it, just left it natural. It only needs to be rinsed off when it collects dust and it can be hung indoors or outdoors. I’ve had it over three years and I like it very much.
Linda
Hi Linda,
So nice hearing from you and sharing a love of seashells! Your seashell wreath sounds gorgeous – would love to see it and try making something like that one day. How fortunate you’ve been to find enough driftwood to make such a unique project. Thanks very much for the detailed instructions – I will refer back to your comment to give it a shot with my girls if we’re able to gather enough driftwood or to find an alternative for the backing. Thanks very much for sharing. Wishing you all the best on your beach walks and in your garden! – Kate