How to Harvest Canna Lily Seeds – Easy Tips on Collecting Canna Seeds
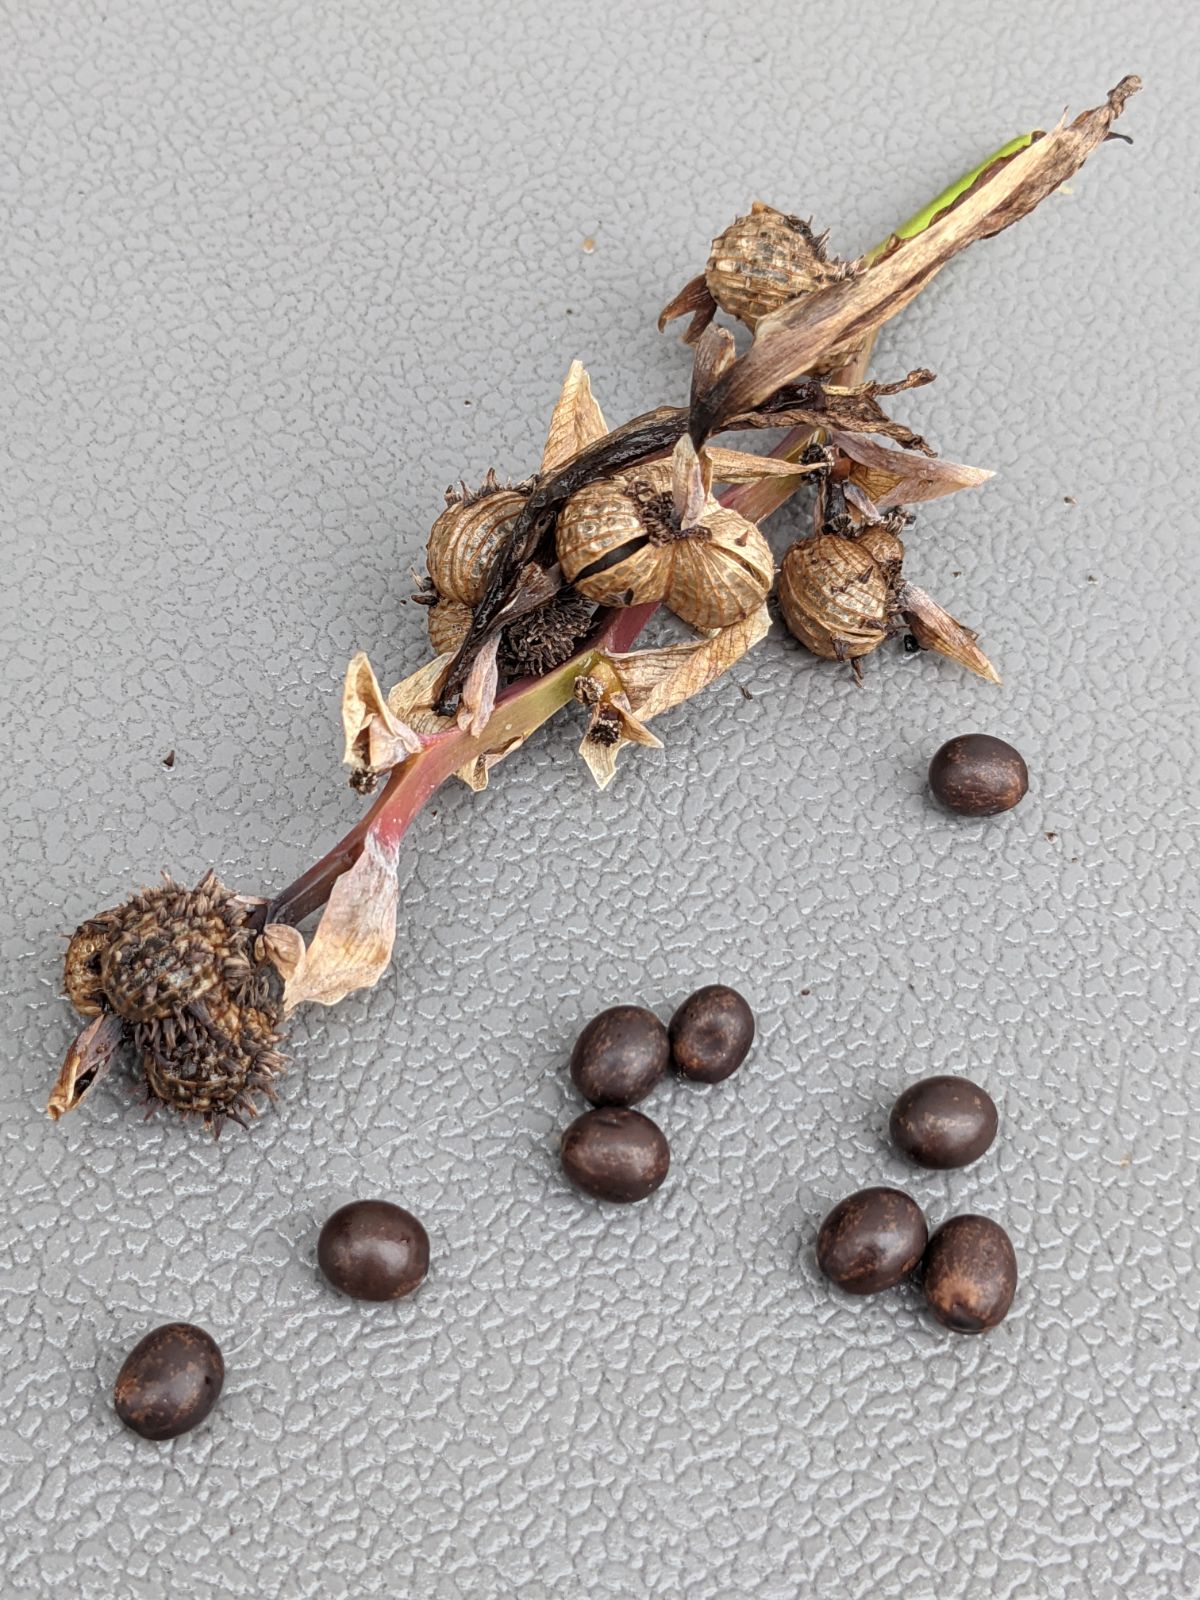
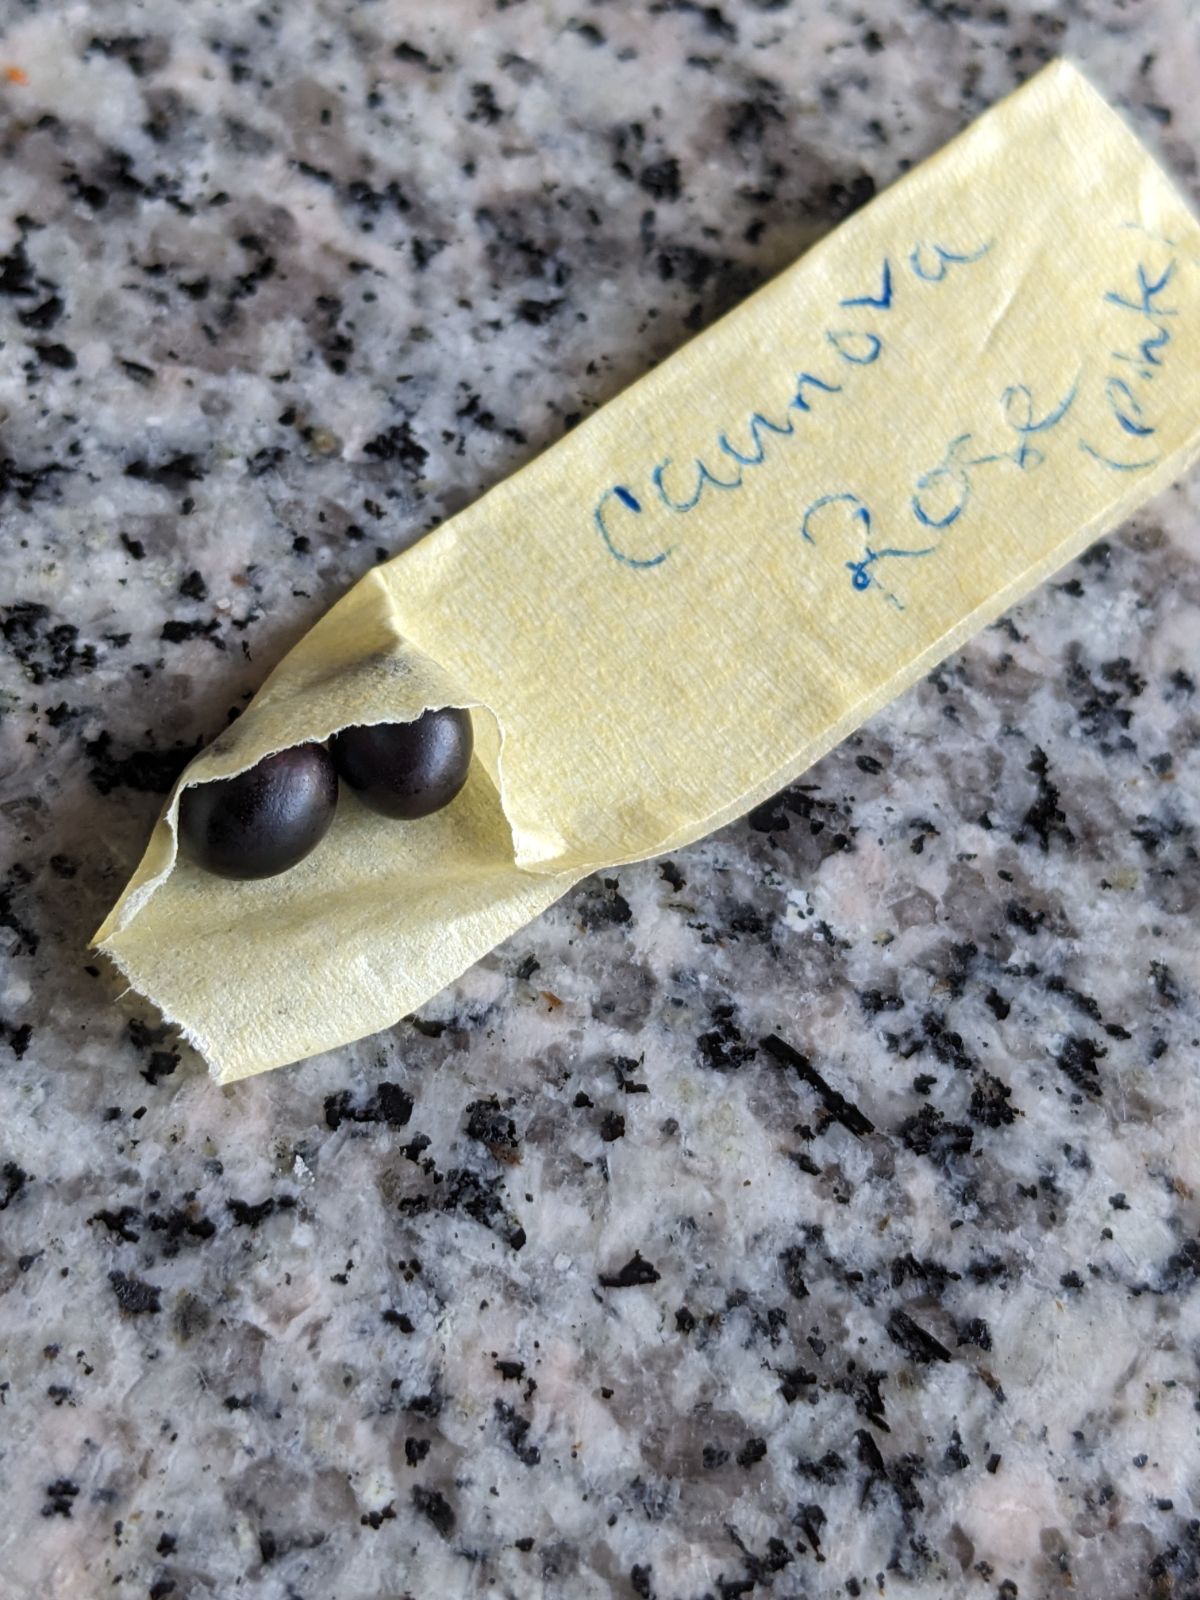
Saving canna lily seeds is quick, easy and fun! The jet-black seeds are round and hard like mini marbles. These seeds also store very well! Learn how to harvest canna lily seeds if you want to try growing your own tropical perennials from seed.
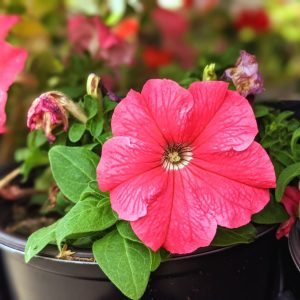
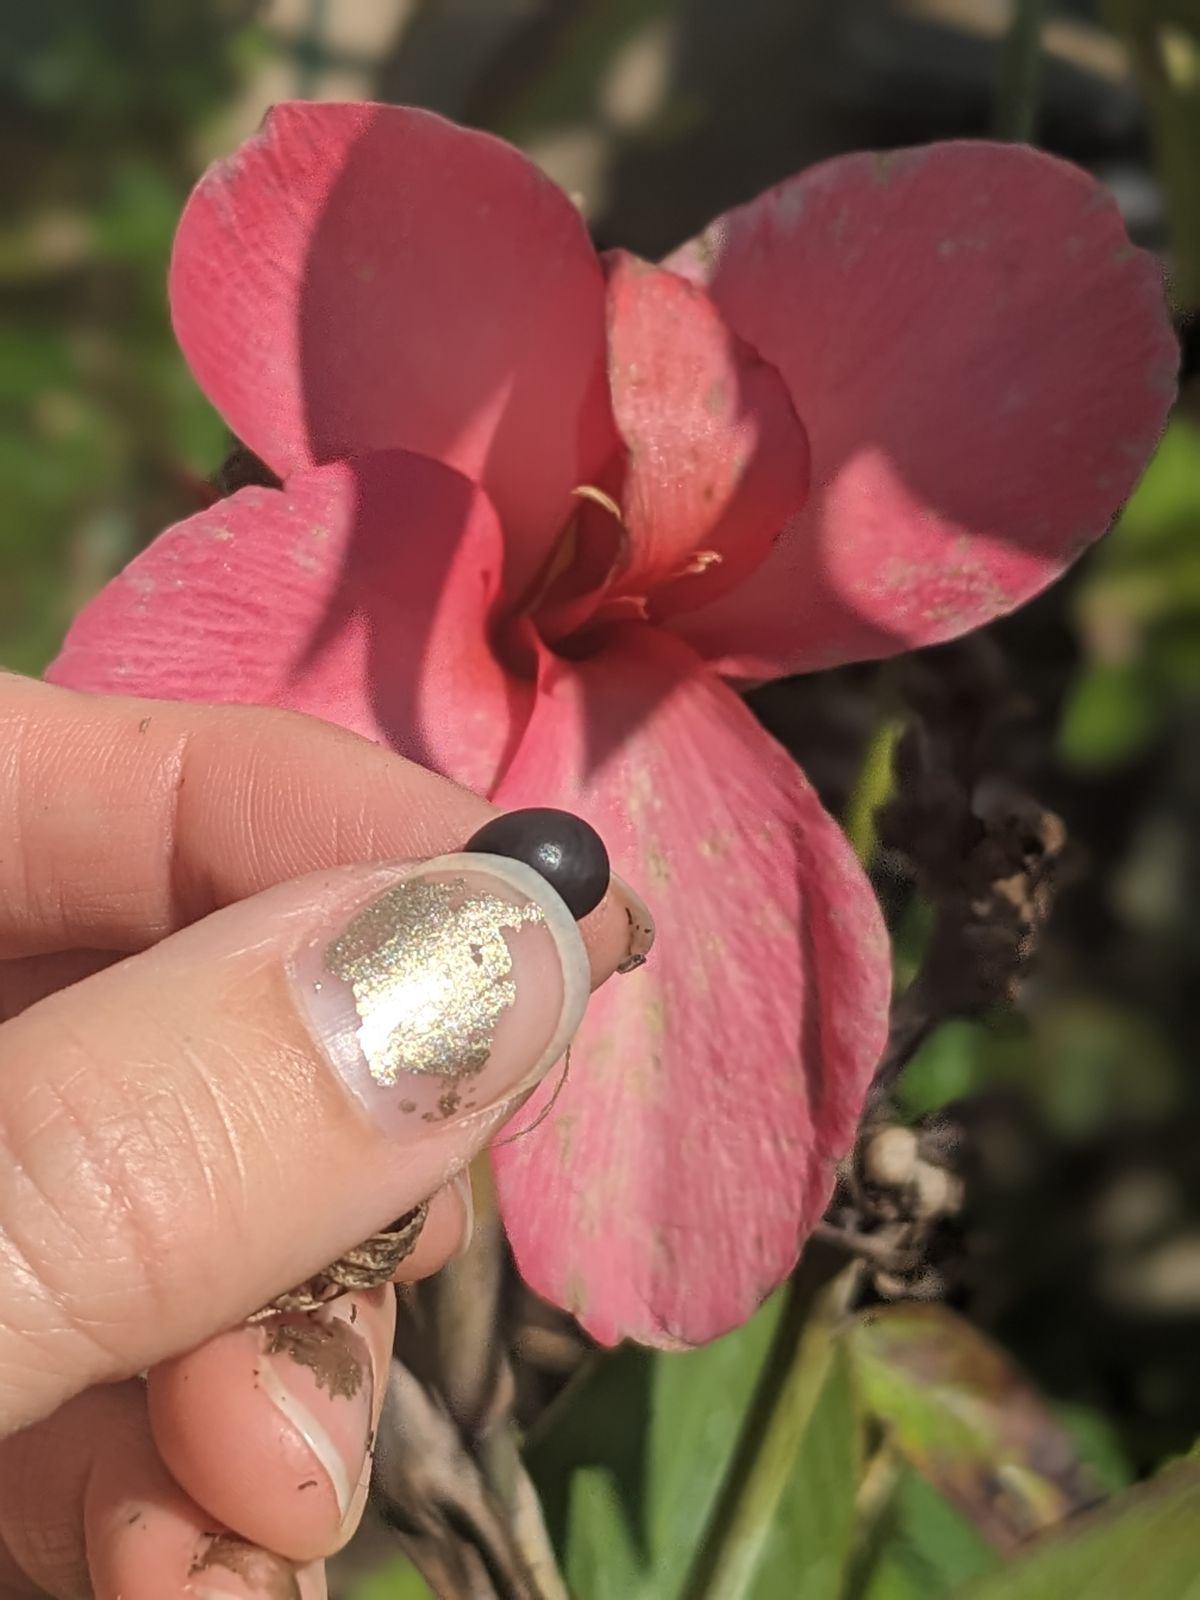
Lush, tropical leaves give cannas their distinctly exotic yet carefree appearance. Flowers in shades of red, yellow, orange, or even rose pink add a burst of color to your favorite outdoor spaces.
If you grow multiple colors and types of cannas, you might want to try saving canna seeds to see if you can grow new hybrids from your plants.
Saved canna lily seeds may contain genetic material largely from the self-parent or perhaps a combination of traits from two parent plants. The resulting offspring may look totally different than both plants!
Harvesting canna lily seeds is definitely worth a try, since it is so quick and easy to do.

Harvesting Canna Seeds: How To
Whether you try crossing cannas yourself or allow the pollinators to do their thing, follow these steps to get started saving seeds from your cannas.
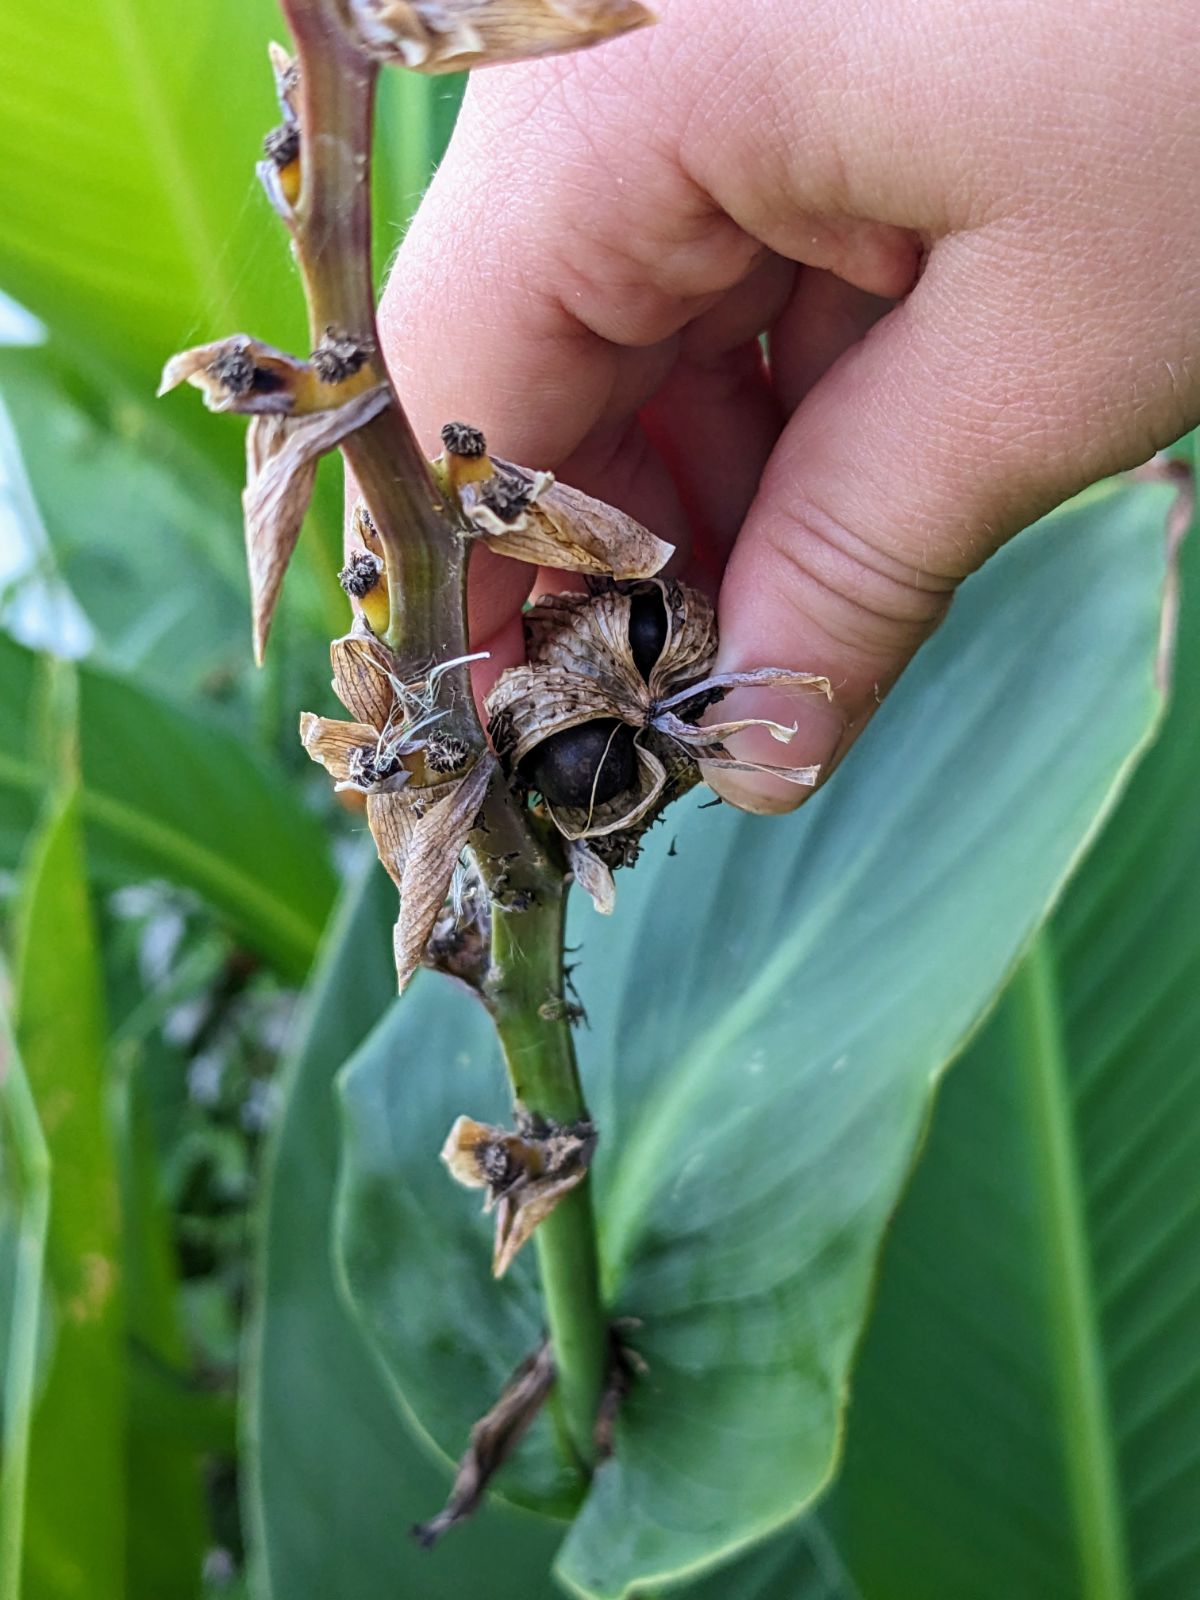
- Identify spent canna flowers and look for seed pods. (Seed pods are brown and surround the seeds.)
- Cut the spent blooms with seed pods off of the flower stalks. (Follow tips on how to deadhead cannas for best results.)
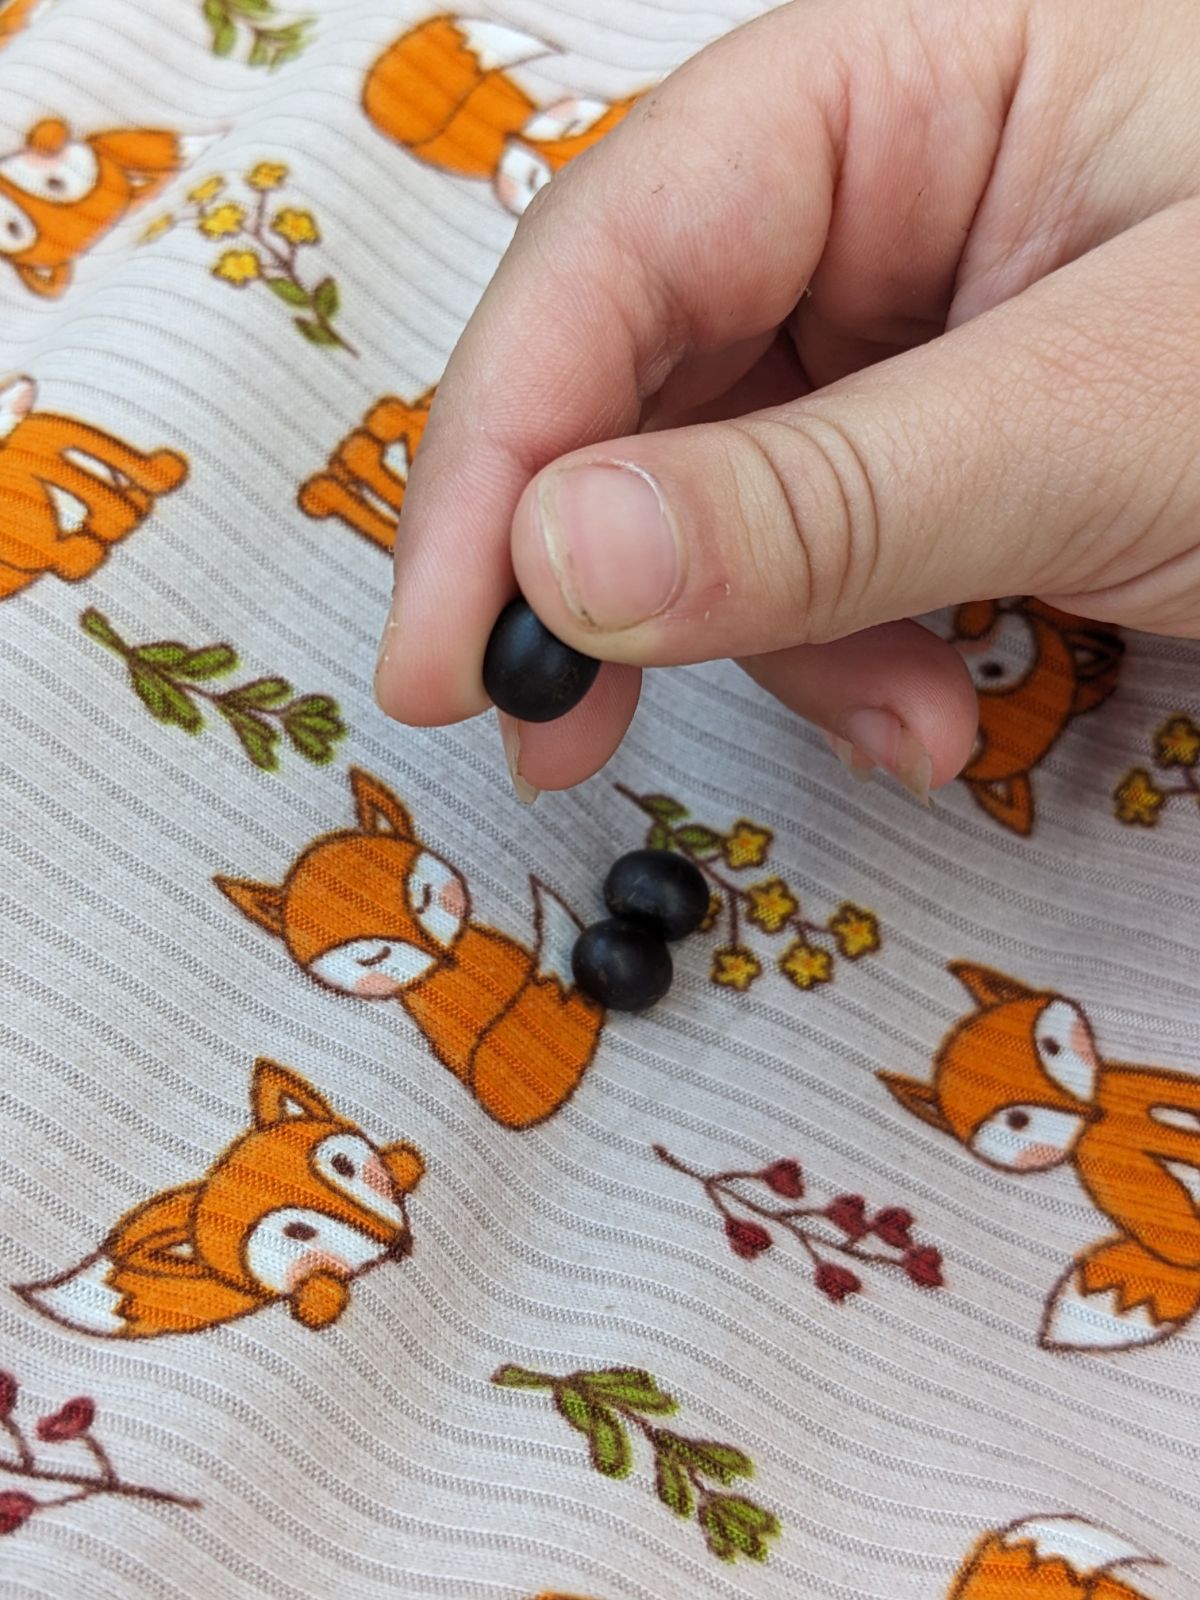
- Grasp the seed pods directly on either side of the round canna seeds. Place your forefinger and thumb on either side of the bump inside the canna lily seed pod.
- Squeeze gently to pop the seed out of the dried pod. Canna seed pods may resemble a wrapper. Aim to do this where you will not lose the seeds if they shoot quickly out of the pod.
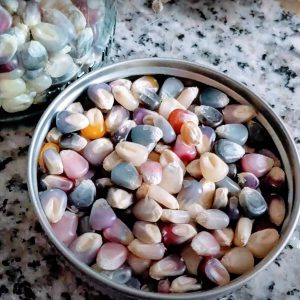
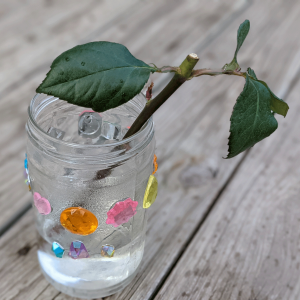
- Store the canna seeds in a plastic jar, glass jar, or paper seed envelope. These seeds are hardy and very strong. You will likely find they store very well!
How to Store Canna Lily Seeds
Storing canna seeds is almost foolproof as far as I am concerned. Every time I’ve saved canna seeds from my plants, they are rock-hard and bone-dry.
In fact, you pretty much need a Dremel to nick the seed coating so they can germinate! They’re rather impermeable.
Store canna seeds as you would any seeds, but since they’re very three-dimensional, you may need a larger container.
- Be sure to harvest canna seeds on a dry day.
- Inspect seeds for signs of moisture or any pests.
- Drop seeds gently into your chosen container or baggie.
- Label the seeds with the flower type and date. (If breeding cannas, list both parents or other needed identification.)
- Store canna seeds in a cool, dry, dark location, such as your basement.
For special seeds you want to keep separate, you might simply use masking tape and write the variety on the tape.
These seeds are hard as rocks and will survive the tape!
Best Containers for Storing Canna Seeds
- Empty Spice Jars
- Prescription Bottles or Vitamin Bottles (once empty)
- Paper Bags
- M&M Minis Containers
- Empty Play-Doh Containers
- Any Glass Jars, like Baby Food Jars or Similar
- Plastic Zip-seal Baggies
Since canna seeds are so impermeable, they don’t seem to mold or rot at all in my experience.
For this reason, I have no qualms about storing them in airtight bags or containers.
Canna Seeds Harvesting Tips
Keep these tips in mind when saving canna seeds for next season.
- Collect canna seeds on a dry, sunny day. Seed saving efforts are pretty much always more successful without any added moisture.
- Consider removing the spent canna blooms first, seed pod and all. Deadheading cannas may make it easier to collect the seeds without losing any in the process.
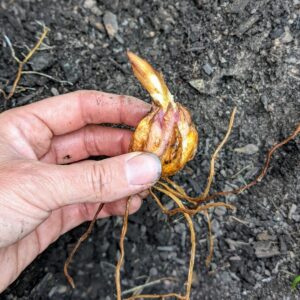
- Take good care of the parent canna plants. Cannas grow best from rhizomes, so be sure to dig up and overwinter cannas to keep them healthy and alive.
Once you finish collecting canna seeds and safely storing them, you’ll be all set to try growing them!
Take a peek at our post on how to grow cannas from seed, with special tips on germinating these tough-coated seeds.

Canna Lily Seed Pods
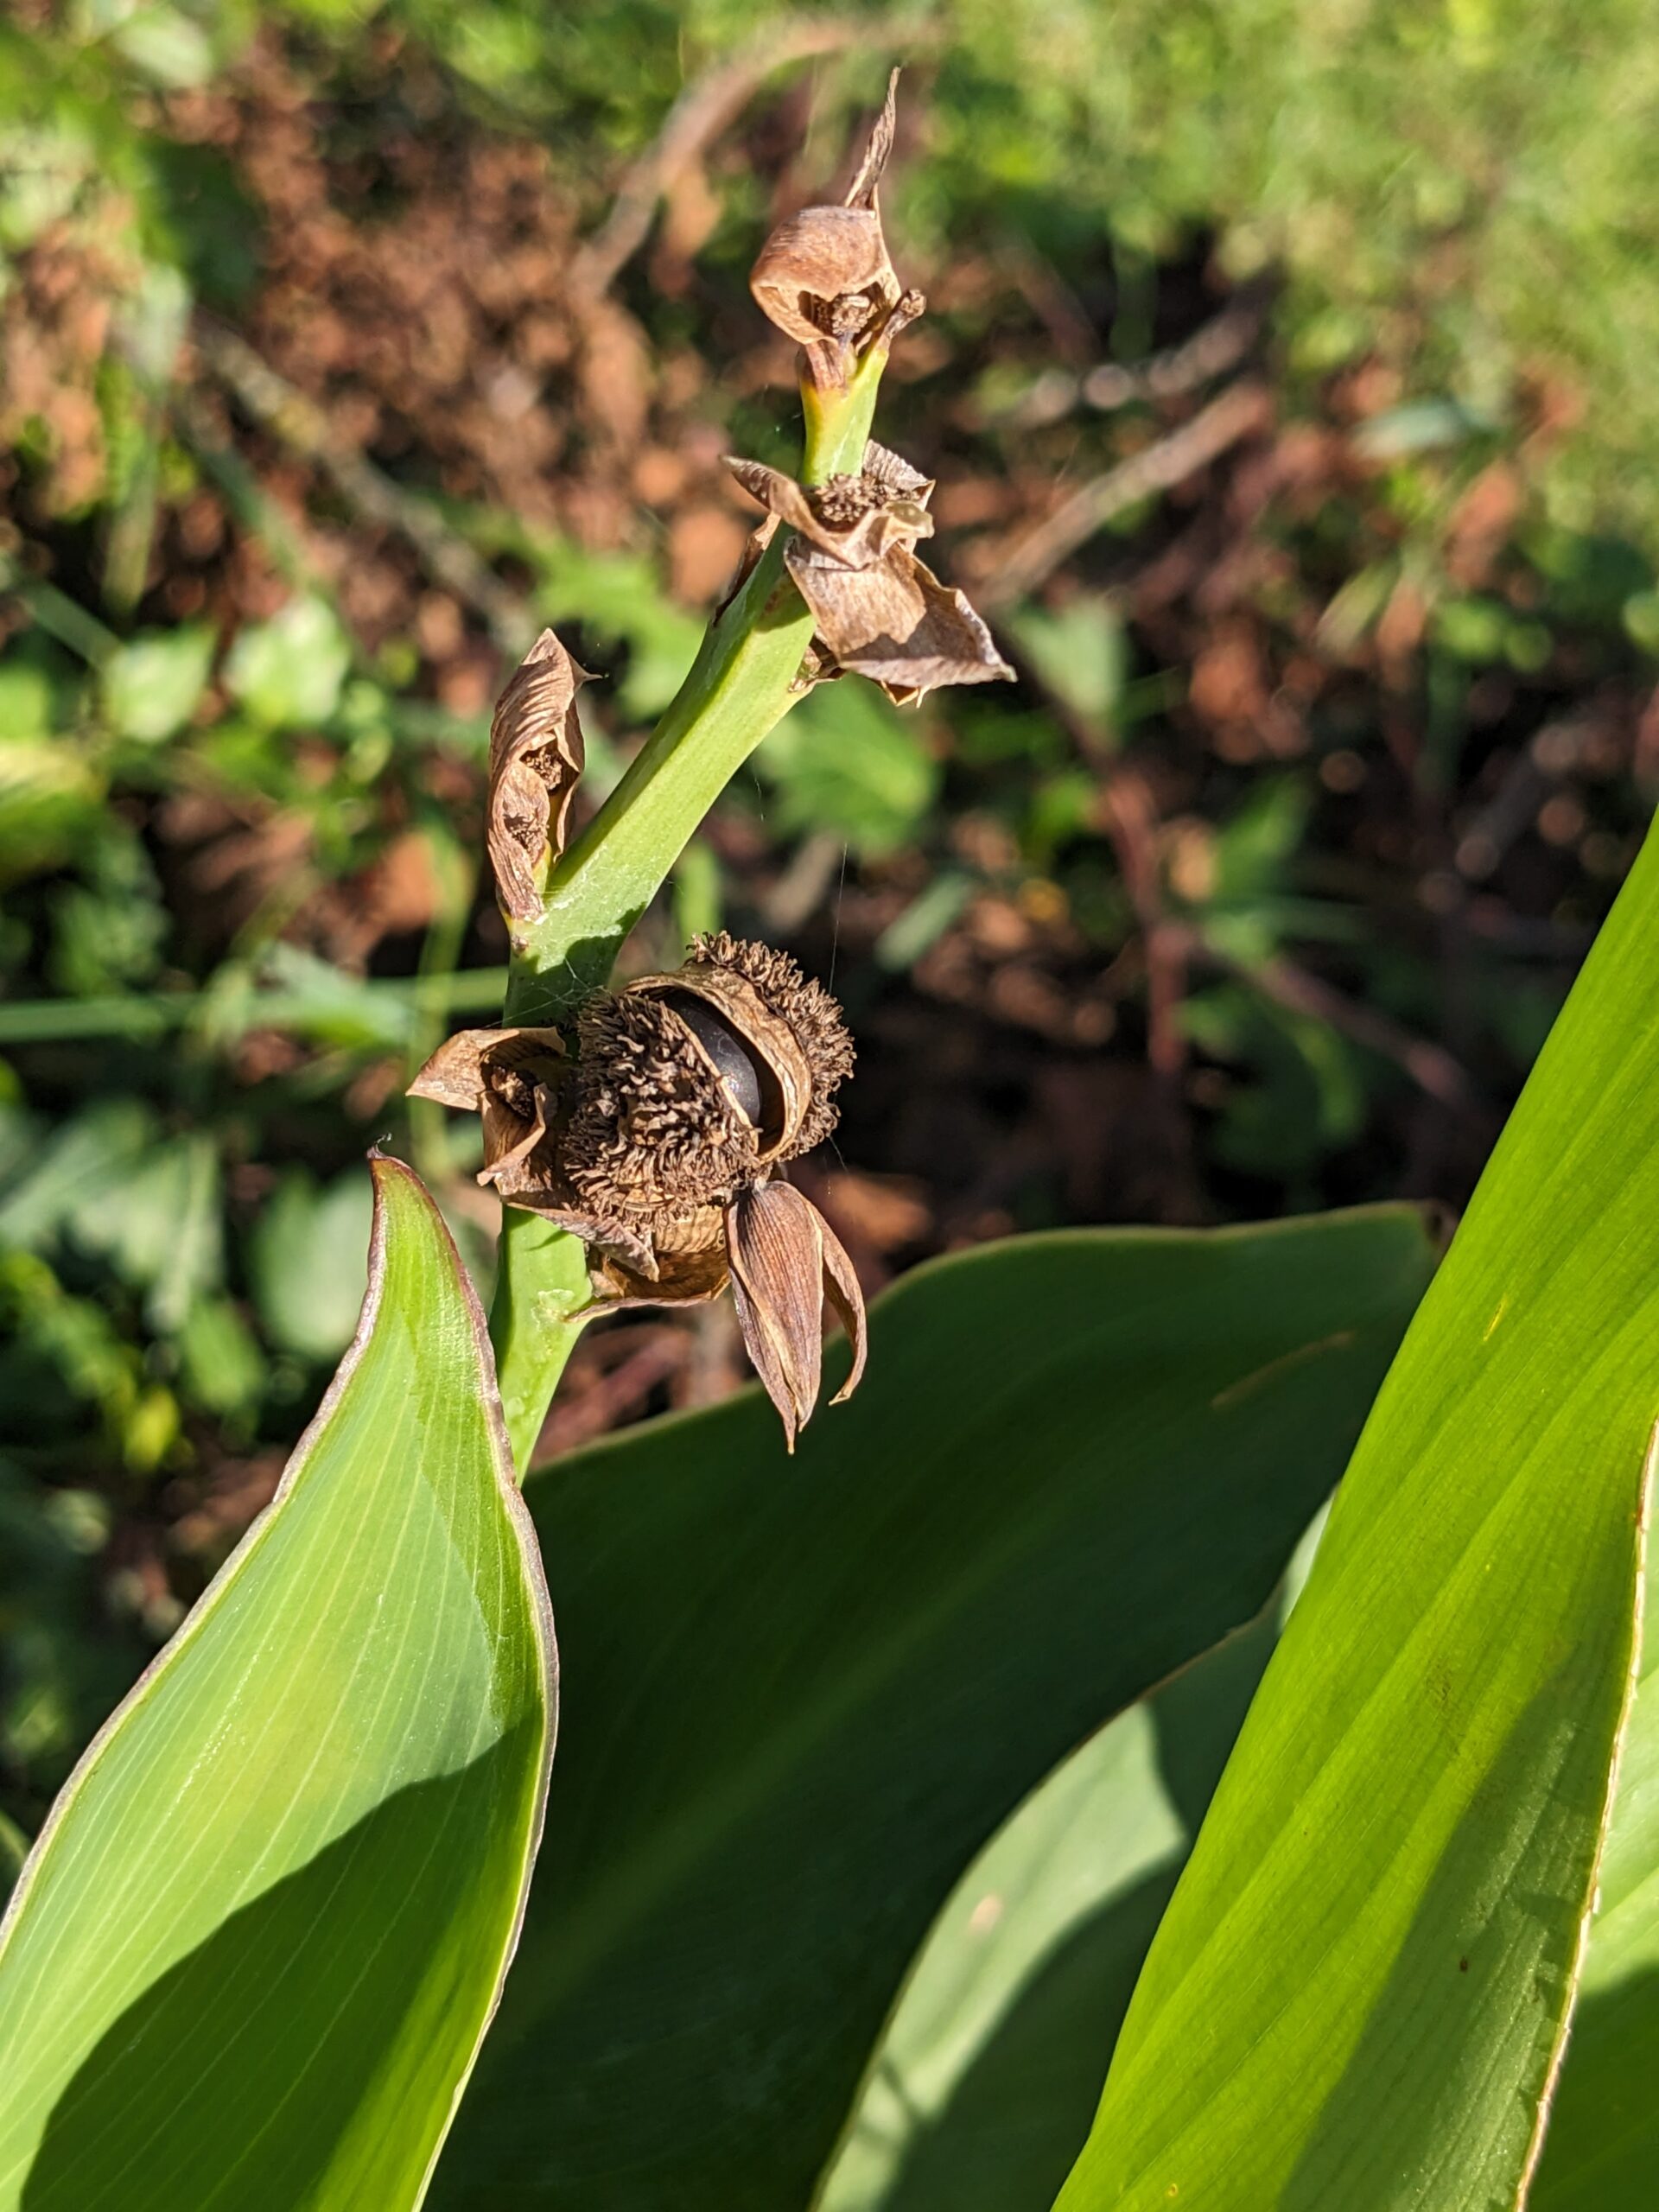
Keep your eyes peeled for canna seed pods. These papery pods look much like wrappers around the hard, round seeds.
But! Before the papery seed pods appear, you may notice green spiky balls on the spent flower stalks. These green balls are the start of the seed pods with viable seeds inside.
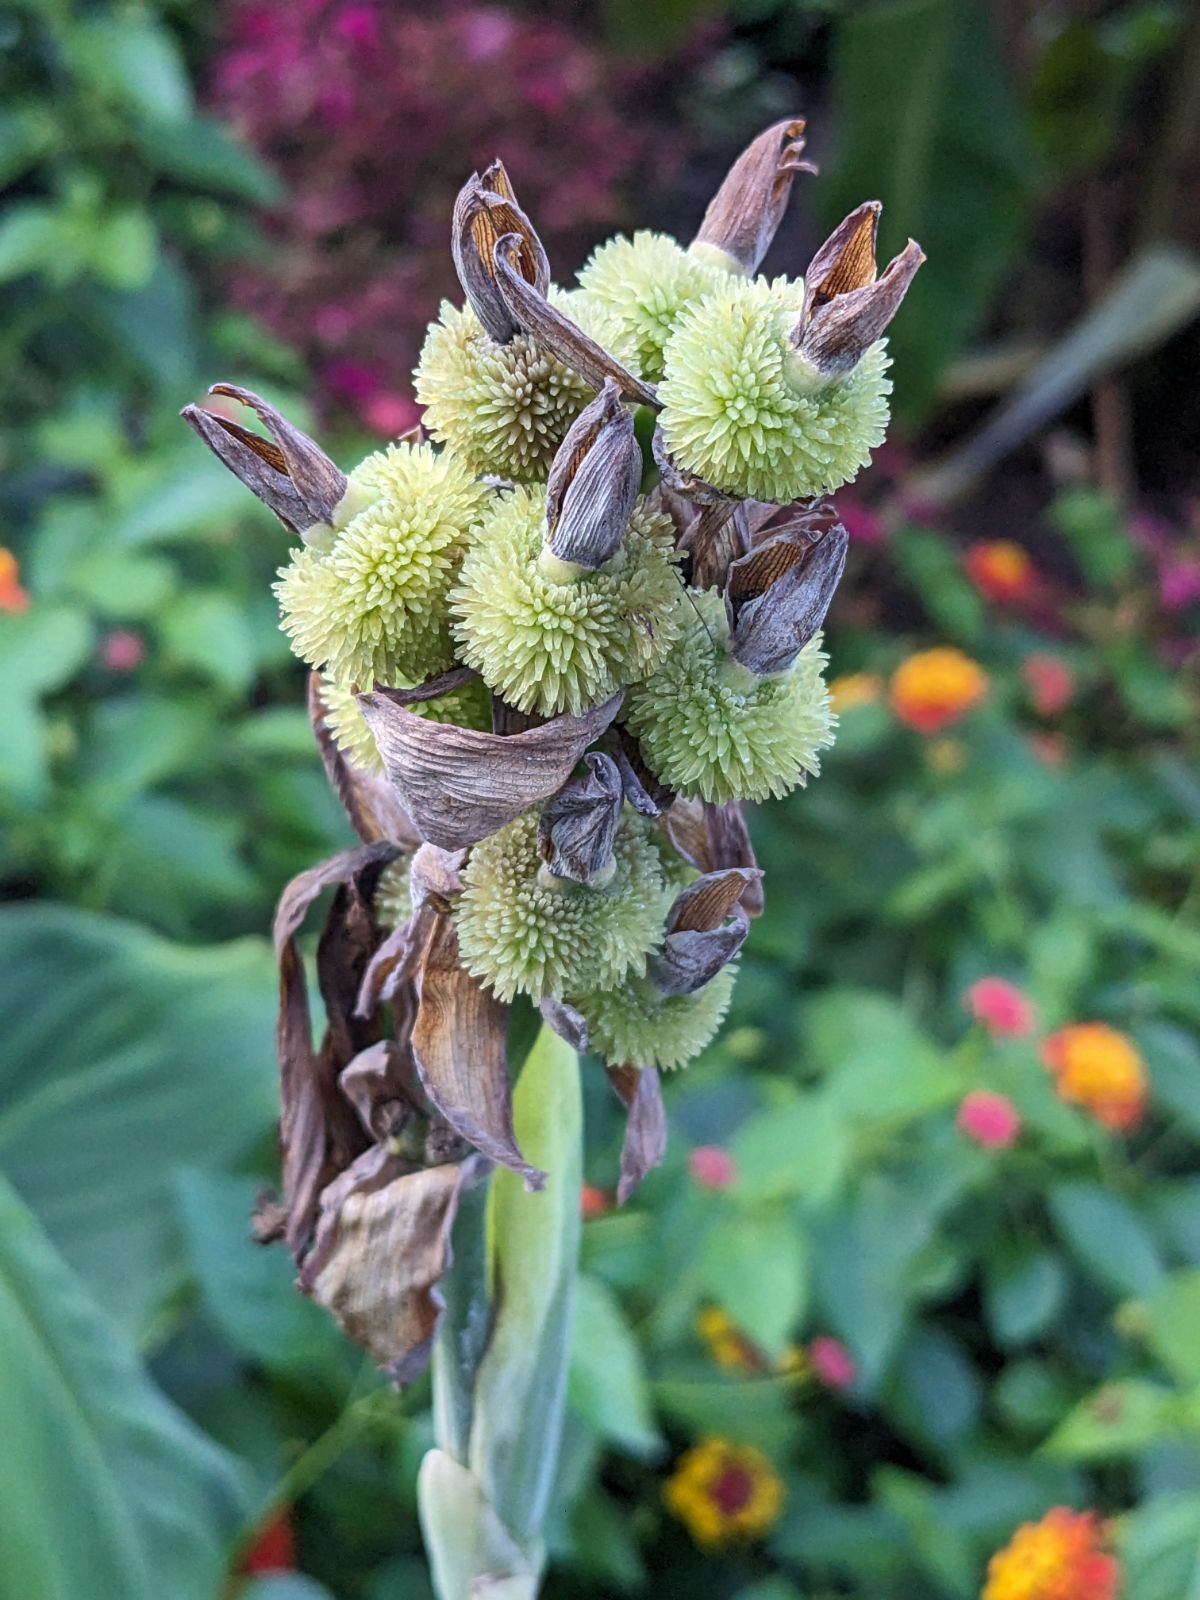
Leave the canna lily seed pods on the plant until they are brown and dried. You might even see a bit of the canna seeds peeking through!
What to Do with Canna Lily Seed Pods
When canna pods ripen on the flower stalks, you can cut them off to remove the seeds more easily.
Some cannas grow quite tall and others may be somewhat inaccessible. Deadheading canna lilies first should make seed harvesting a lot simpler!
Here’s what to do with canna seed pods:
- Use pruning shears or sharp scissors to cut the dead flower stalk and seed pods off the cannas.
- Gently remove the seeds as per the instructions below.
- Discard dead canna flower stalks and empty seed pods with your yard waste.
Removing canna seed pods from the plant first helps to collect as many viable seeds as possible.
I can’t tell you how many seeds I’ve dropped simply by reaching across my deck to try and grab the seeds!
FAQ

Saving Canna Seeds for Fun!
Collecting canna lily seeds can be an easy task for your kiddos to try in the garden. It’s also a cool experience if you grow multiple varieties of cannas and want to see what cool offspring you can get from saved seeds.
Now that you know how to save canna seeds, be sure you check out our other posts about cannas:
- Are Canna Lilies Perennials?
- How to Deadhead Cannas
- Overwintering Cannas (Cutting Back, Lifting, Storing Rhizomes)
- How to Care for Canna Lily Bulbs
- Germinating Canna Lily Seeds
Do you have any questions or tips to share about saving canna seeds? Hit us up in the comments – we love hearing from you!
Happy Gardening!