Saving Pumpkin Seeds for Planting
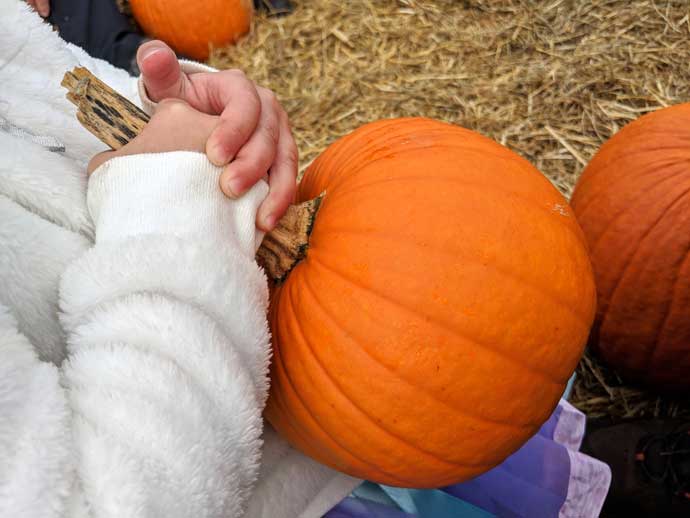
In October, I bought 14 different kinds of pumpkins and gourds to decorate our front step. Flash forward a month and I am happily drying pumpkin seeds for planting next spring! Saving pumpkin seeds was a fun activity with the kids, too.
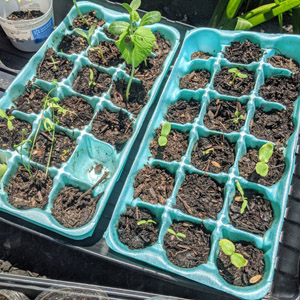
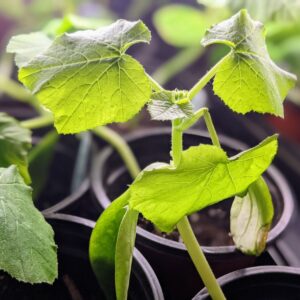
I couldn’t be more excited to see what they grow into, although I’m definitely wishing we had more ground for planting.
Halloween rolls around and everyone sees pumpkins and gourds for decorating.
Not me. Nope, I see seeds, seeds, glorious seeds!
My fall theme this year revolved around stacking pumpkins. I loved the elegant look of different colored pumpkins stacked like a jolly snowman. We set a stack outside our front door, and also decorated the family room and kitchen with gorgeous, colorful pumpkins.
Saving Pumpkin Seeds for Planting
In a local post on Facebook, I saw these orange, green and white striped mini pumpkins (or possibly gourds?) that I simply couldn’t live without, so I ended up making a second trip, which brought me to so many different varieties. We had large, medium, and small, along with gourds galore.
The zombie jack-o-lantern we carved for our daughter’s contest through school was AWESOME. But… I don’t think the elementary kids were as into zombies as Bunny. Oh well. I saved a bunch of seed!
We stacked a beautiful greenish Cinderella style pumpkin along with a reddish pumpkin, white ones, tan ones, and others all over. Some on the front porch, some on the craft cabinet, and a set of stacked pumpkins on the fireplace. So fun and festive!
OMG – let me tell you, I am in seed heaven!
Best Way to Get Pumpkin Seeds Out
Getting the seeds out of our jack-o-lantern was easy. I have years of experience doing that so we can roast pumpkin seeds! For all the others, though, I tried a bunch of different methods searching for the best way to get pumpkin seeds out.
Here’s where I landed:
- Check with a sharp knife if the skin of the pumpkin is tough. If no, then cut. If the knife cuts into it easily, you can get pumpkin seeds out by cutting gently but firmly all the way around the pumpkin to cut it in half. You can also make a hole as with a jack-o-lantern if it’s easier and pull the seeds out.
- Consider smashing pumpkins. I’m not joking. I actually found this to be the best way to get pumpkin seeds out in most cases. For hard, bumpy, or otherwise unwieldy pumpkins, dropping the pumpkin a few times in your driveway from hip height ought to do the trick. You can even kind of throw it down for added pressure and force!
- What I Love: This method doesn’t tend to damage ANY of the seeds. When you cut into a pumpkin, I find there are usually a few casualties. Of course, pumpkin seeds are fairly prolific so it’s not the end of the world.
- Cut off a “corner.” Even if you can’t cut the pumpkin in half, you can still get the seeds out from a medium to large opening.
- Keep a spoon handy. In addition to smashing, I find using a spoon to scoop is also the best way to get pumpkin seeds out of your pumpkin. You can use a small spoon for gourds and mini pumpkins and a regular or large serving spoon for the bigger pumpkins.
Tips to Dry Out Pumpkin Seeds
I don’t know why, but I find harvesting seeds from pumpkins to be fairly therapeutic. It’s gross at times, but also rewarding. And it’s pretty easy now that I’ve found a great method on how to dry out pumpkin seeds for planting next spring!
- Scoop out the pumpkin seeds.
- Remove as much of the goop as possible.
- Cut open a cereal box or other lightweight (non-corrugated) cardboard box.
- If you are saving seeds from more than one kind of pumpkin, write the type of pumpkin seeds on the cardboard. (You can also use picnic style paper plates if it’s easier.)
- Spread out the seeds as much as you can so they touch as little as possible.
- Allow them to dry for at least four days or as much as a week.
- Once or twice every day, go over and mix up the seeds with your hands.
- Gently break apart any seeds that are stuck together.
- You are now ready to save pumpkin seeds for next year!
After four to seven days, you should be successful in fully drying pumpkin seeds for planting.
Now comes the hard part – waiting until planting season!
How to Save Pumpkin Seeds for Planting Next Year
Once you’ve removed and dried pumpkin seeds as far as the eye can see, it’s time to keep them safe until next season. My method involves saving pumpkin seeds in paper bags, envelopes, and breathable cardboard boxes until next year.
Here are some tips on how to save pumpkin seeds for planting next year:
- Complete the steps above to remove and dry pumpkin seeds for saving.
- Once seeds are totally dry, gather some breathable seed storage materials. Some good options for pumpkin seed storage may include:
- Paper lunch bags
- Prescription bags
- Large paper envelopes
- Small cardboard boxes (I used an animal crackers snack box!)
- Write the name of each type of pumpkin seeds on each envelope, bag, or box.
- Pour in the seeds.
- Gently roll or fold the end of the bag, envelope or box to close it up.
- Store the seeds in a cool, dark, dry place, such as the basement or inside a closet.
- Be sure to keep the seeds away from critters that may destroy your seed collection. You may wish to save the individual seed bags and envelopes inside another type of seed storage for extra protection.
You can save seeds from pumpkins, gourds, and squash this way if you like! It’s so easy and fun and helps to keep the gardening season going.
By the way, if you like this post, you might also enjoy my post on 15 Decorative Pumpkins for Your Doorstep!
I hope you liked this post and found it helpful! Please share any feedback or other tips on drying and saving pumpkin seeds for planting in our comments below.


