DIY Plant Tags for Seedlings: Free Gallon Jug Garden Tags
When growing seedlings indoors and later transplanting them, it’s so helpful to have large supply of garden tags on hand. You can quickly and easily make your own DIY plant tags for seedlings through the full lifecycle of your plants.
Why do I need to use garden tags for plants?
Garden tags make it easy to identify plants in your garden, especially those with a similar appearance. Garden tags make it easy to keep track of planted seeds through seedlings and even mature plants.
What is the best way to label plants in the garden?
Mark and label plants using permanent inks or paints that will not fade. You can recycle and upcycle other materials to create your own plant name tags DIY projects to use over and over again.
Plant Name Tags Benefits
Making your own plant tags brings a number of benefits to your creative gardening efforts.
- Free – Make free plant tags from used gallon jugs!
- Upcycling – Reusing milk jugs or water jugs for garden tags creatively reuses an item otherwise discarded.
- Recyclable – When you are done with the DIY plant tags, you can either reuse them or drop them in the recycling!
- Easy to Make – It’s so easy to make DIY garden tags from gallon jugs. The empty containers cut easily and you can write on them with Sharpies.
- Stay Organized – Move your plant tags everywhere you transplant seedlings and plants! Never lose track of a cucumber vs. zucchini seedling. 🙂
My favorite benefit is that DIY garden tags made from milk jugs make it easy to move from seed starter trays to container or in-ground gardens.
Simply pop them back in the soil after planting!
How to Make DIY Plant Tags: Cutting
Follow this plant name tags DIY tutorial to go from a milk jug to little reusable plastic garden tags.
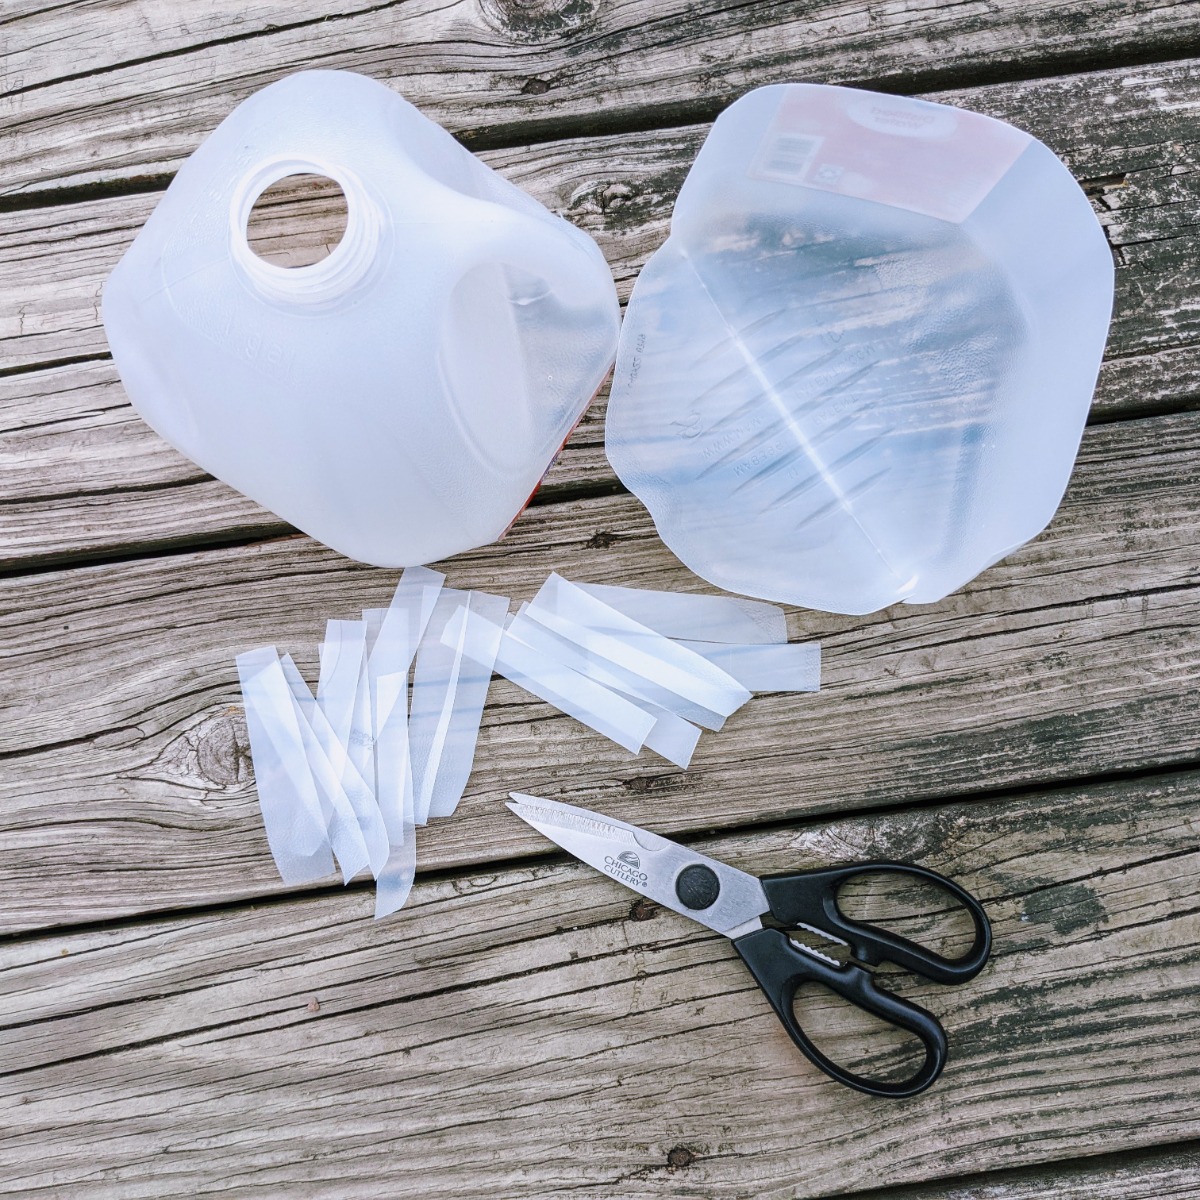
- Start with a clean, empty gallon milk jug or water jug.
- Use sharp scissors to puncture a hole just below the handle.
- Cut all the way around the gallon jug to cut it into two pieces.
- Begin with the bottom half and cut one of the side panels completely off of the gallon jug.

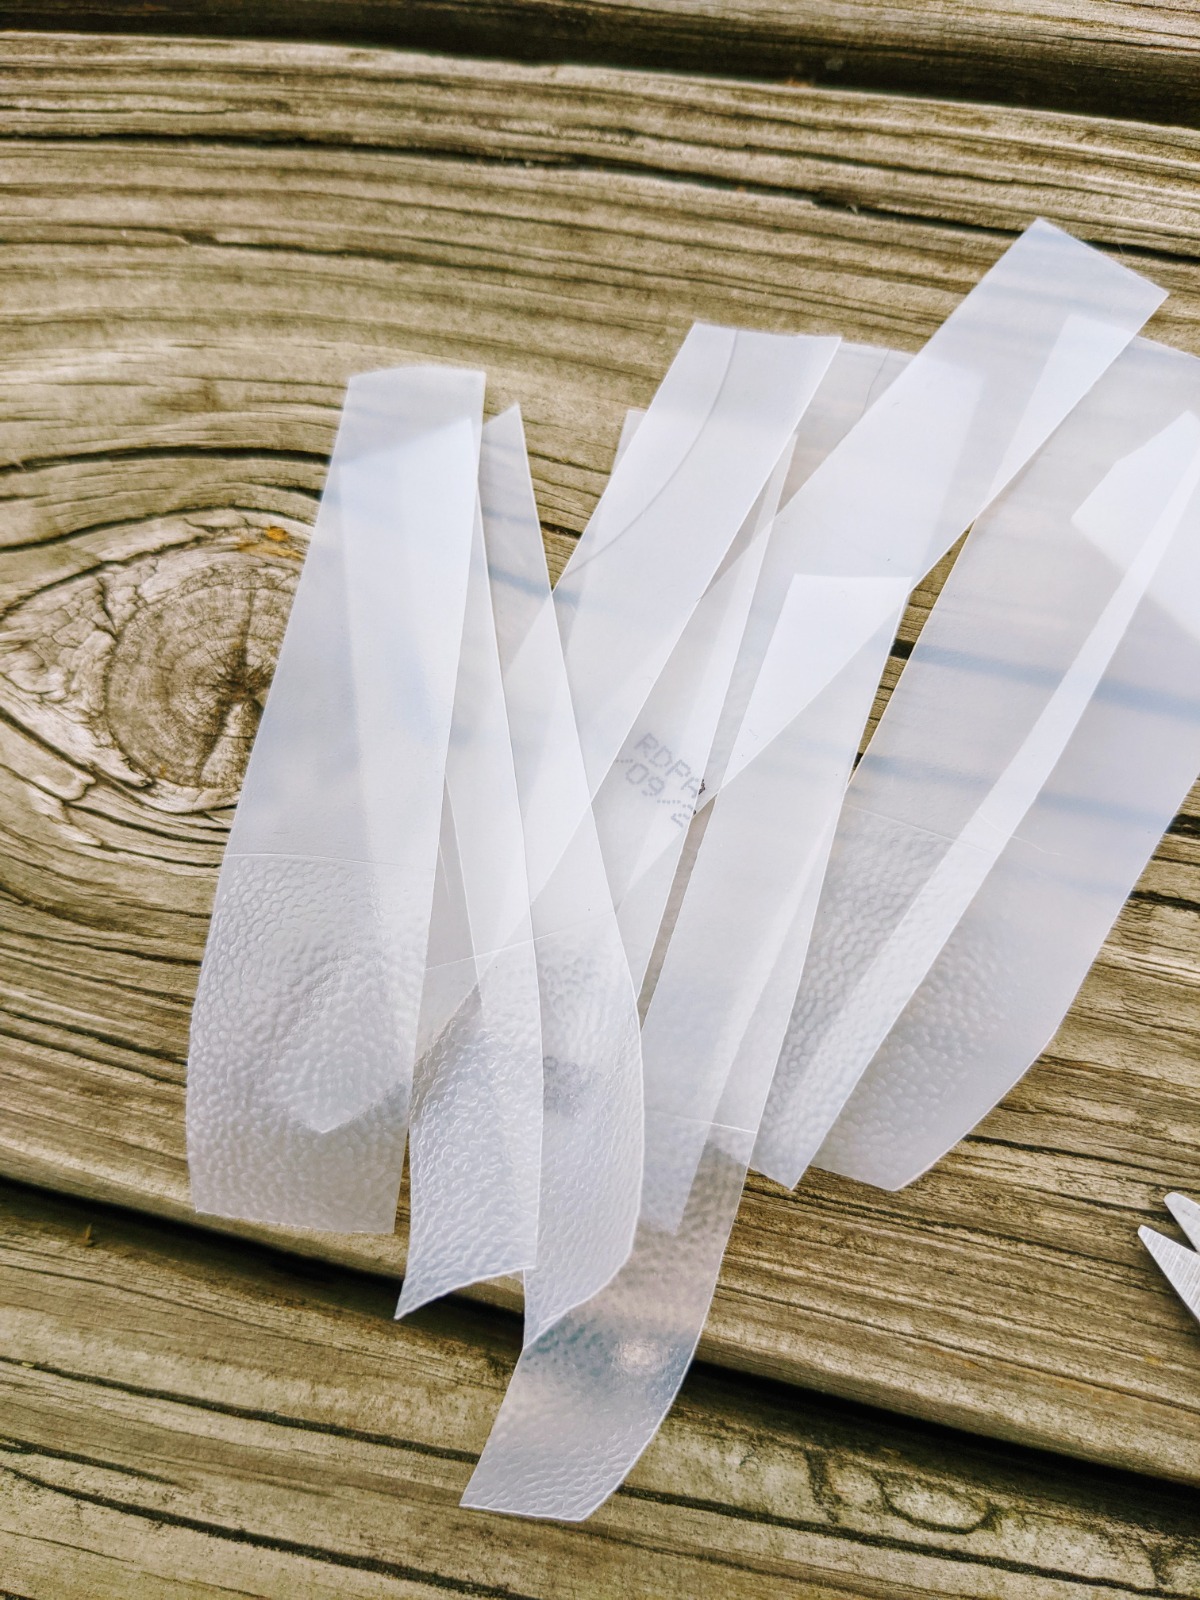
- Cut the panel into strips that are about 1/2 to 2/3 inch thick.
- Repeat to cut all the panels into DIY plant name tags.
- After the panels are done, cut the bottom of the jug as best you can. If it proves too tricky, just recycle any parts you don’t want to cut.
- Next, cut panels out of the top of the milk jug. Try to cut strips of plastic about the same size as existing plant tags when possible. However, remember that shorter and longer tags will still be useful as some plant names will be short while others are long.
- Continue cutting plant tags until all the good plastic is used up.
- Recycle the ring and the handle along with any unneeded scraps.
- Store the garden name tags in a plastic baggie or container and use them on demand!
DIY Plant Name Tags: Labeling
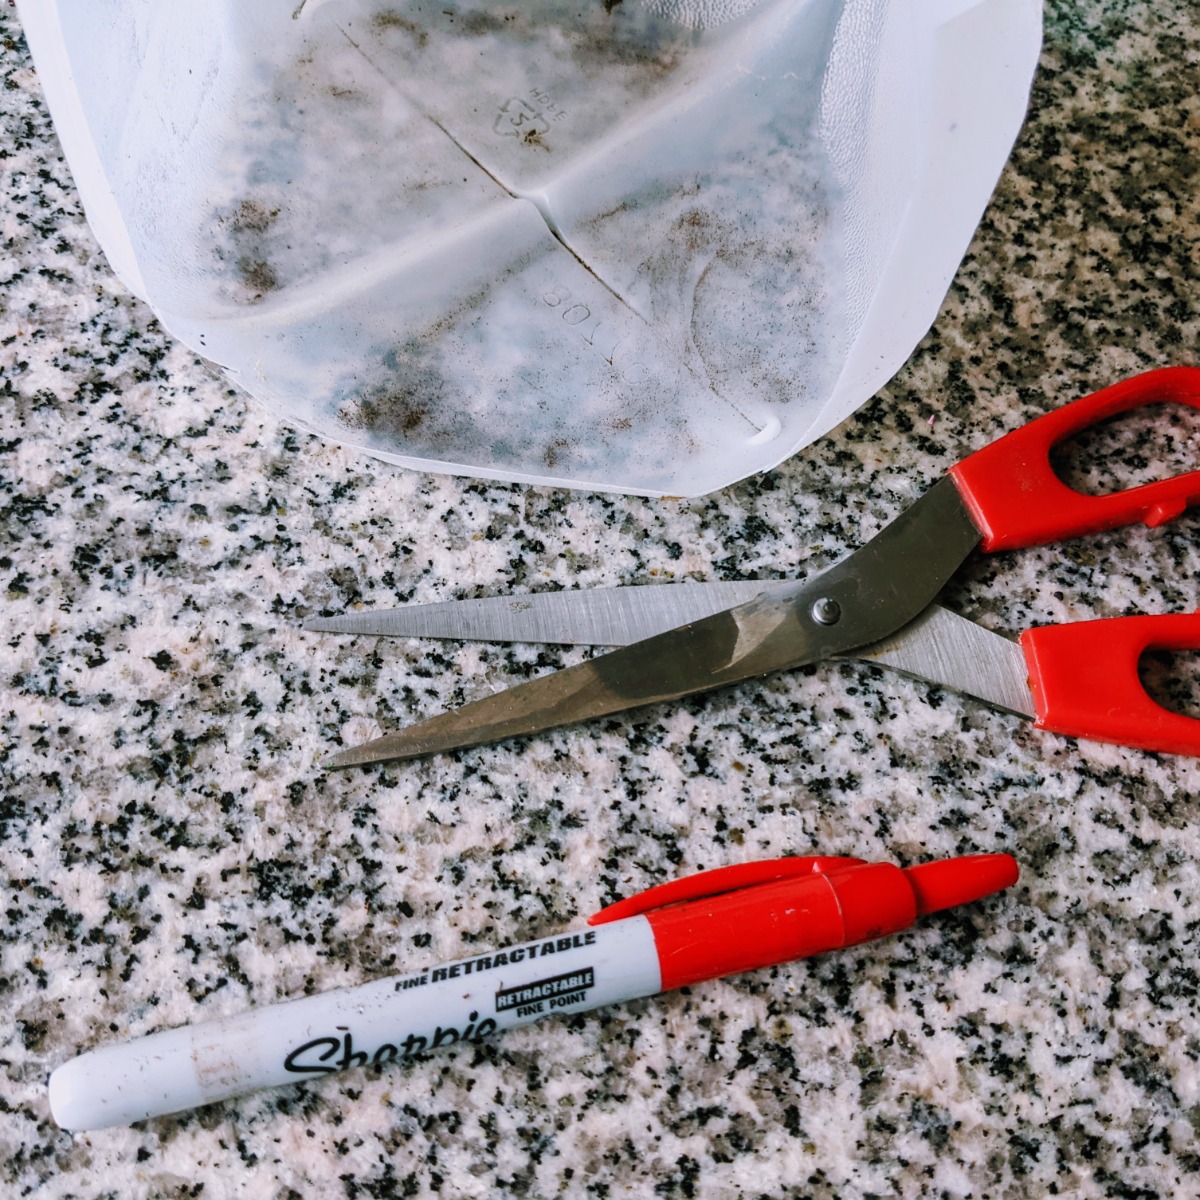
After cutting out plant name tags, it’s time to actually write the names on!
This process works best when you are actively planting seeds or transplanting plants.
The steps are really easy to label plant tags. Grab a Sharpie and get to it!
- Pick a Size – Choose a plant tag that is long enough for the name of the plant. Some tags may be short while others may be much longer.
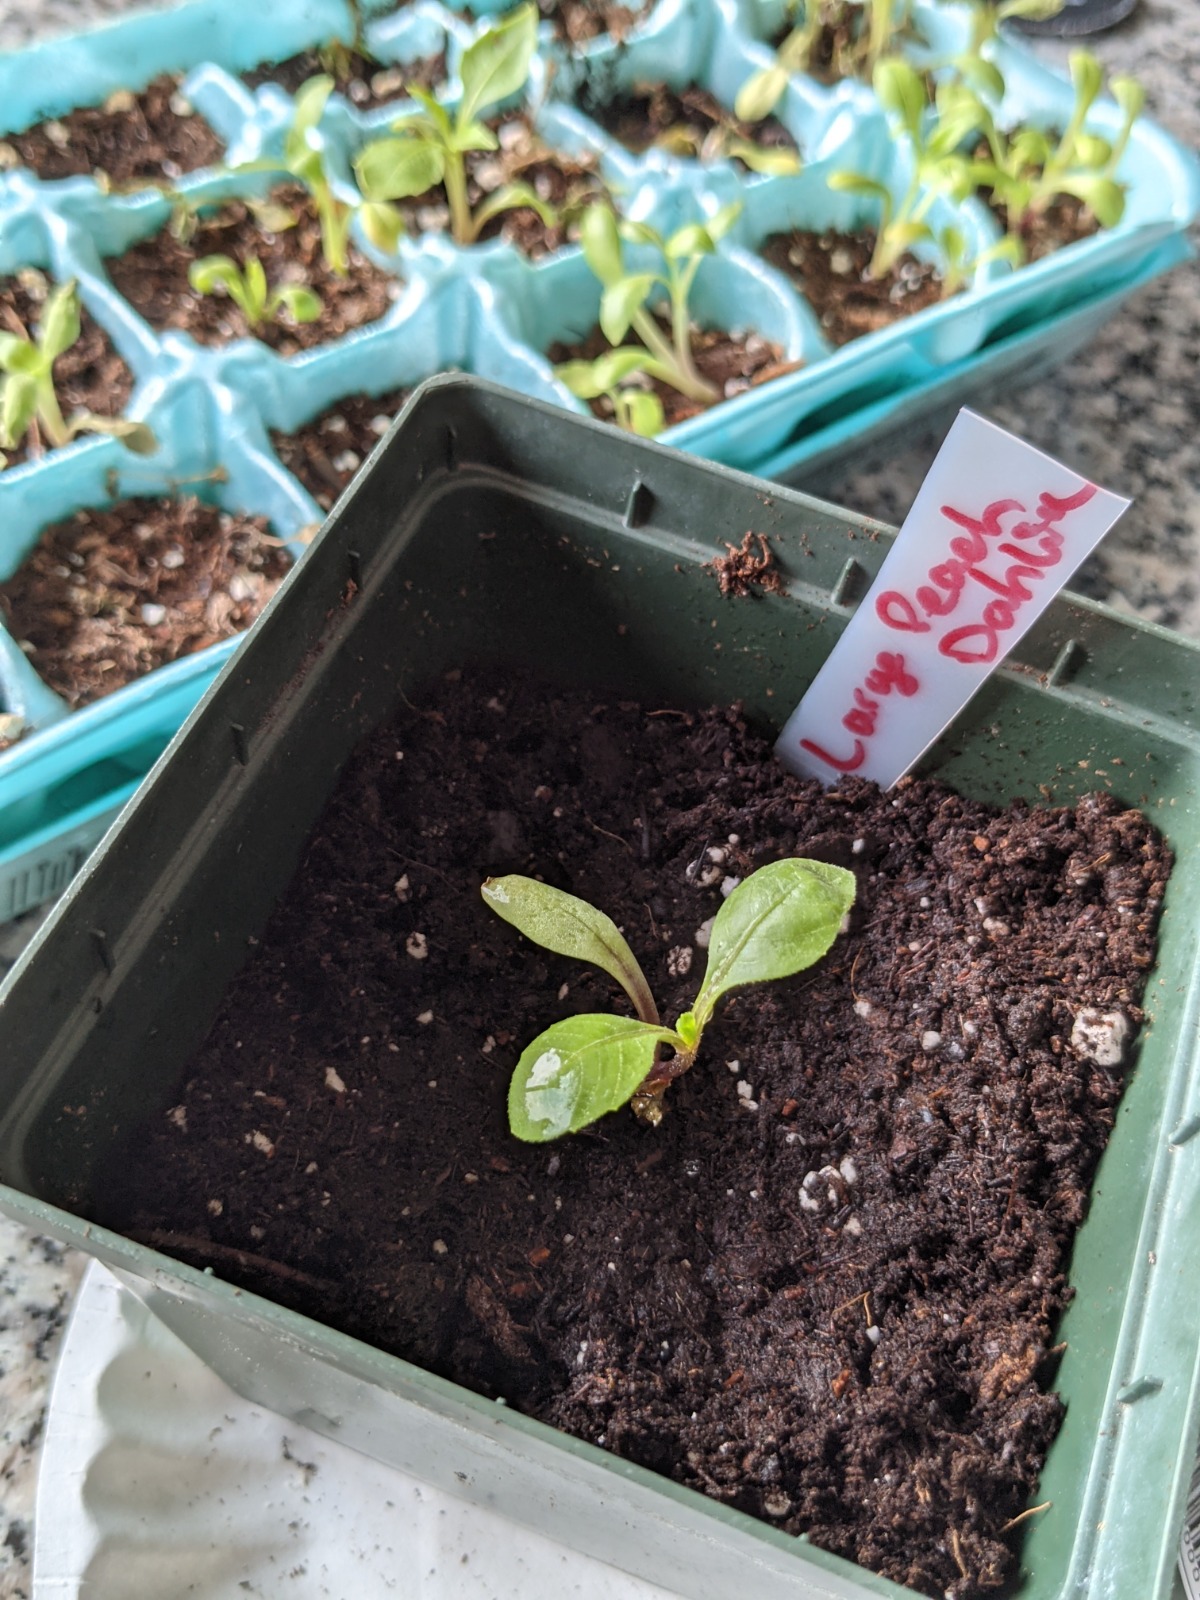
- Name It – Write the plant’s name with Sharpie or another reliable permanent marker.
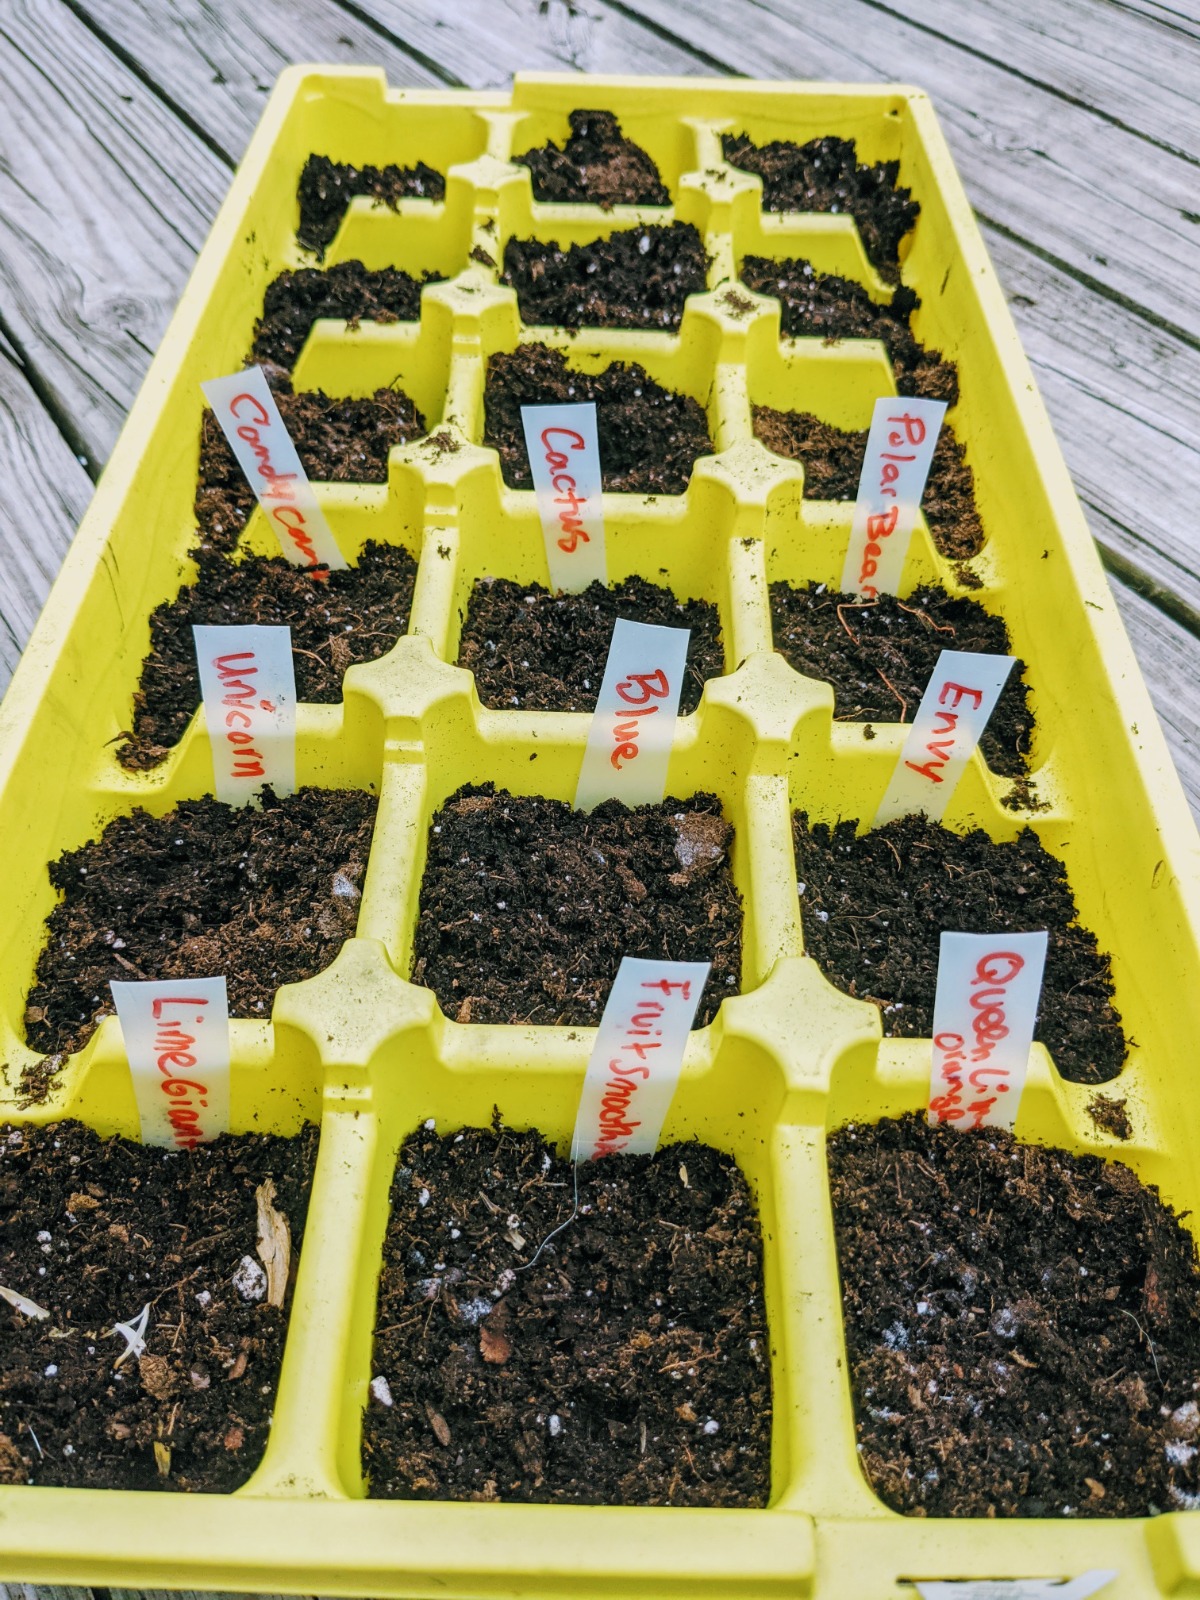
- Mark the Location – Stick the plant name tag inside the seed cup or directly in the flower pot or garden soil where that specific plant lives.
More DIY Garden Tags
If you enjoyed this garden tags DIY project, be sure to check out our other creative plant tags craft.
Embrace memories of the beach while you make gorgeous seashell plant markers. Paint and design to your heart’s content and never forget what you’ve planted where again.
Do you have any other favorite ideas for making your own garden tags for plants? Feel free to share or ask any questions you may have in the comments below. We always love hearing from you!
Happy Gardening!