Composting Do’s and Don’ts – 7 Gardeners Share Their Best Tips
Are there some gardening techniques that leave you feeling a bit intimidated? For me, I could really use some composting do’s and don’ts to get into the game. I don’t know why, but I feel overwhelmed when thinking about making compost!
I decided enough is enough and I am really thinking about how I can enrich our gardens with compost.
Composting for Beginners
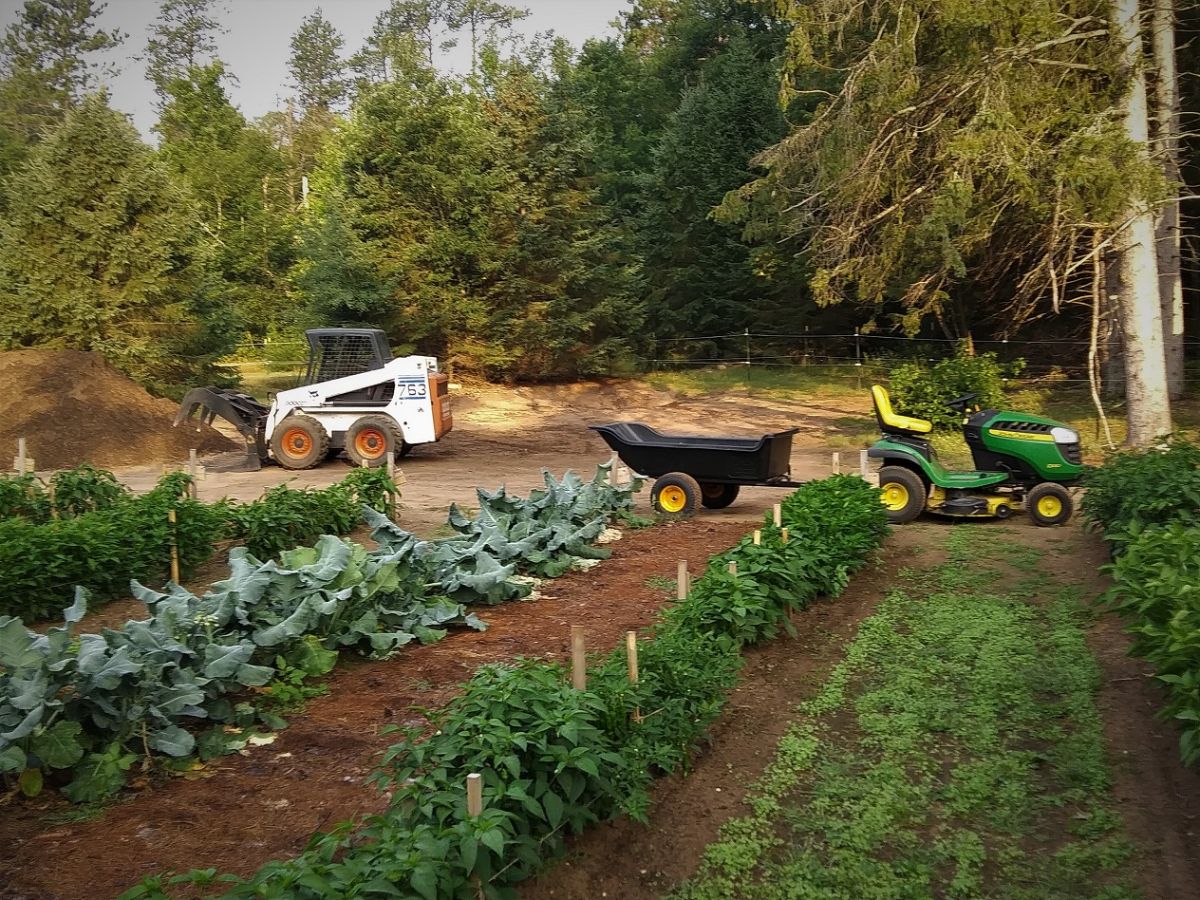
In our garden, composting looks a lot like taking our food scraps like banana peels and clementine peels and burying them directly in the garden. That’s after I’ve mixed in leaves to bulk up my soil, because dirt sure is expensive!
Anyway, since I am a total beginner, I called in a lifeline. I reached out to a bunch of more seasoned compost gurus to share some composting tips for beginners.
My bestie actually tipped me off on this topic, as she’s been wanting to compost as well. She requested some composting do’s and don’ts and beginner tips.
Like me, she’s wondering what’s okay to compost and what isn’t. (I already steered her away from potatoes!)
And how do you save compost scraps without smelling up your kitchen, of course!
It seemed easiest to collect all the composting tips in one place to refer back to as needed, so that’s what I’ve done.
I hope it helps you as much as I am sure it will help me!
What do you need for good compost?
“You want to make sure you have a nice mix of browns (carbon sources) to greens (nitrogen sources),” says Dr. Bonnie Gasior, a zone 10b gardener who has a Master Composting course in the works.
“What you list above [fruit peels] are all nitrogen-based. Think about also adding leaves, paper, etc. to your compost. It’s like baking: you won’t get a cake unless you have all the right ingredients. Good luck!”
How to Get Started Composting
Anyone can start composting! You can try making compost for the first time during any season, even winter.
Each person’s composting situation may be a bit different from the next.
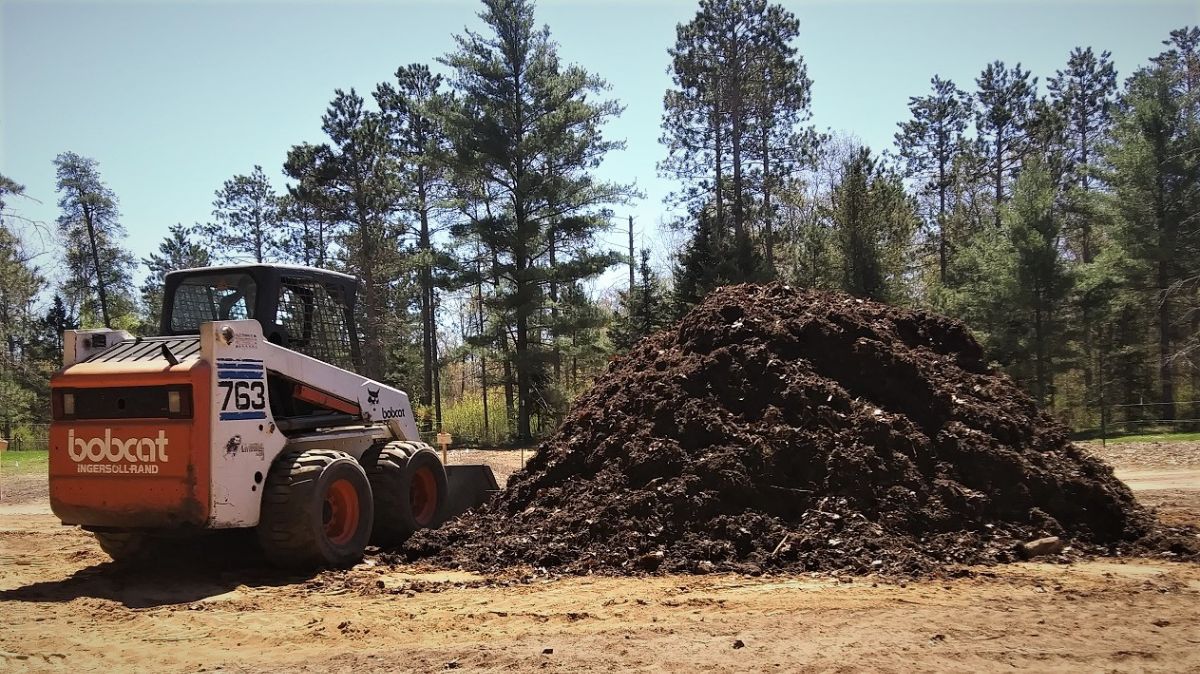
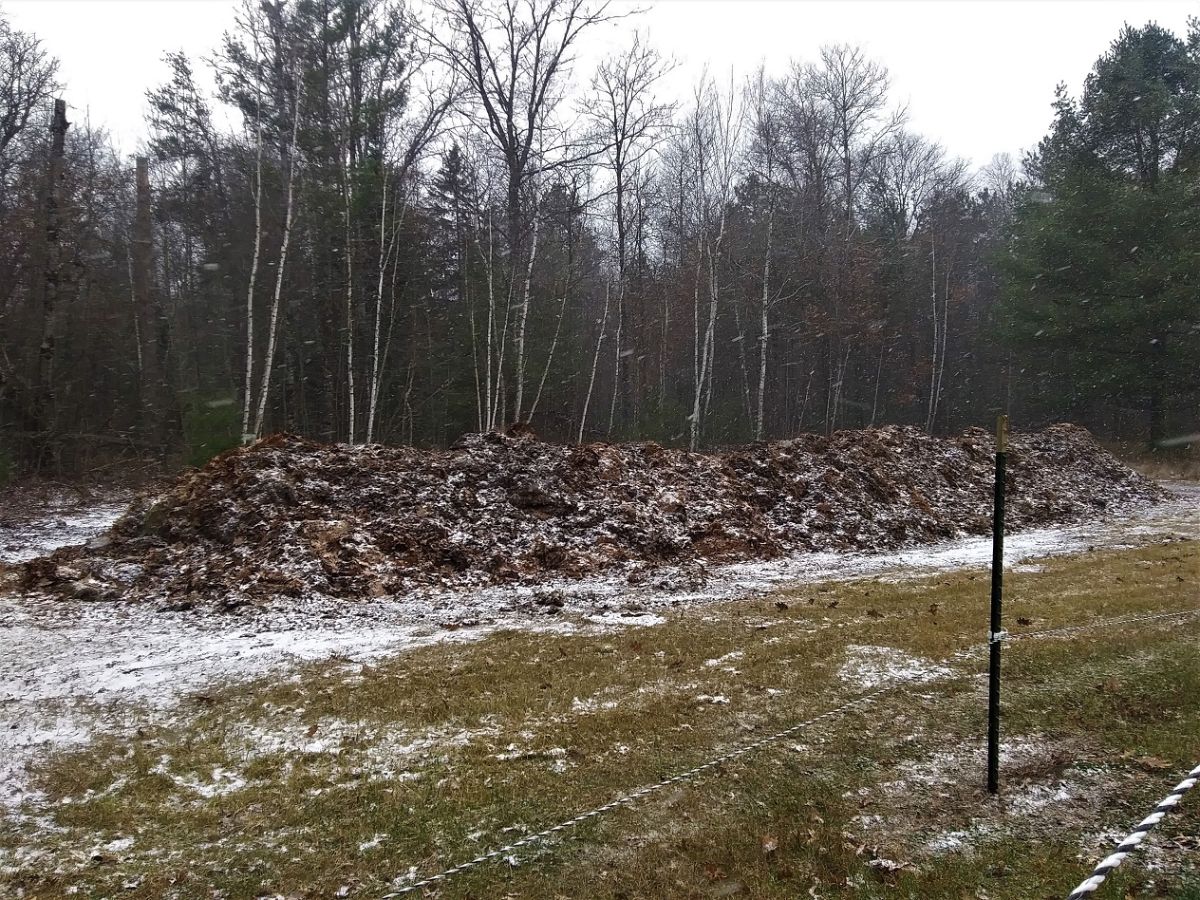
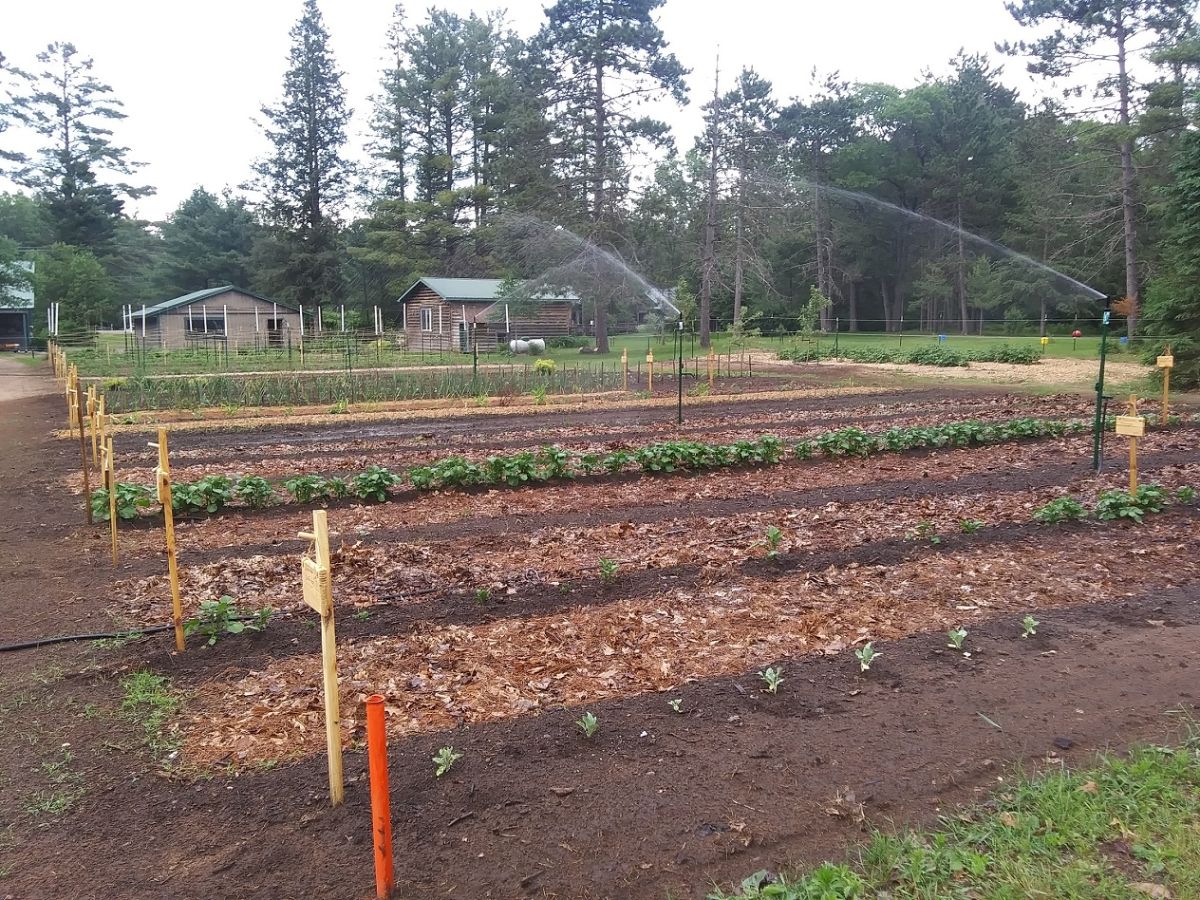
“I started almost 30 years ago with a pitchfork and a wheelbarrow,” says gardener Paul Lueders, who lives in Lac du Flambeau, Wisconsin on part of the Lac du Flambeau Indian Reservation, zone 4a. “Now I make 35 to 40 cubic yards of compost for my own use every year.”
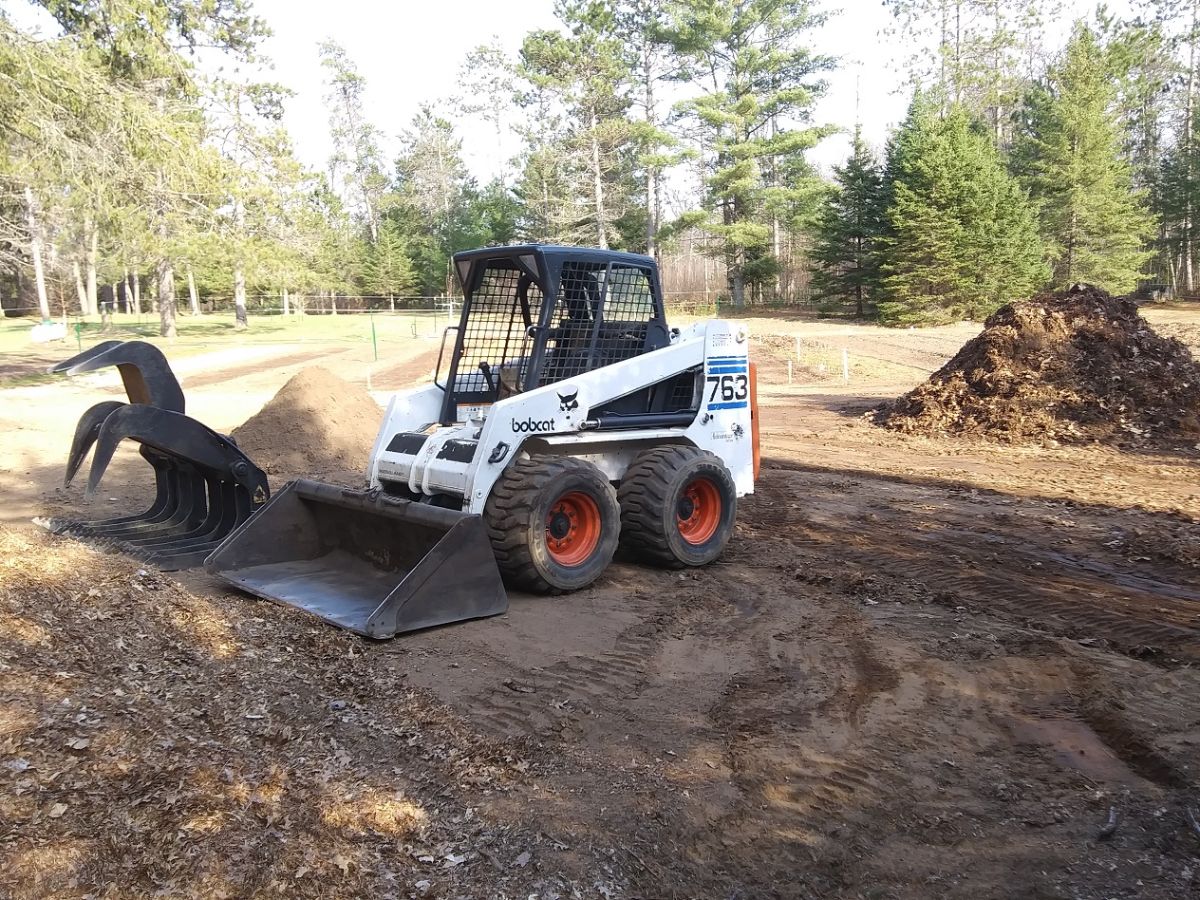
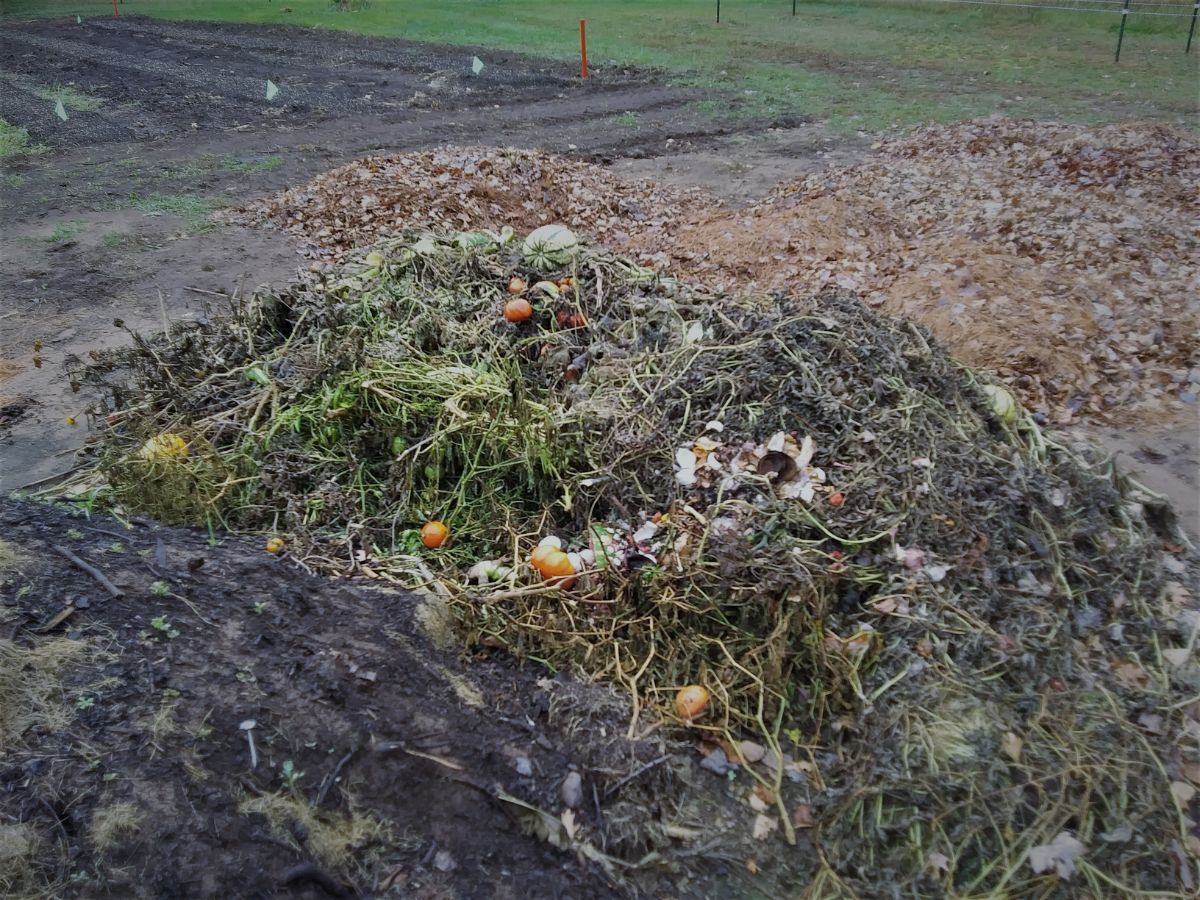
“There are tumblers, bins, and piles,” he says. “I’m in the last category because it’s the simplest. You really need a pile, whether in a bin or just a heap of at least 3 feet high. This will be the minimum mass you need to create enough heat to get the job done. “
With some encouraging words, he tells me, “Keep turning and mixing, get your browns and greens in the correct proportions, (it’s not rocket science), and keep your pile wet (consistency of a wrung-out sponge).”
Keep Improving Your Compost Process!
Composting definitely seems to be one of those gardening and homesteading activities that you can build upon year after year.
Take Cheryl Spieldenner for example.
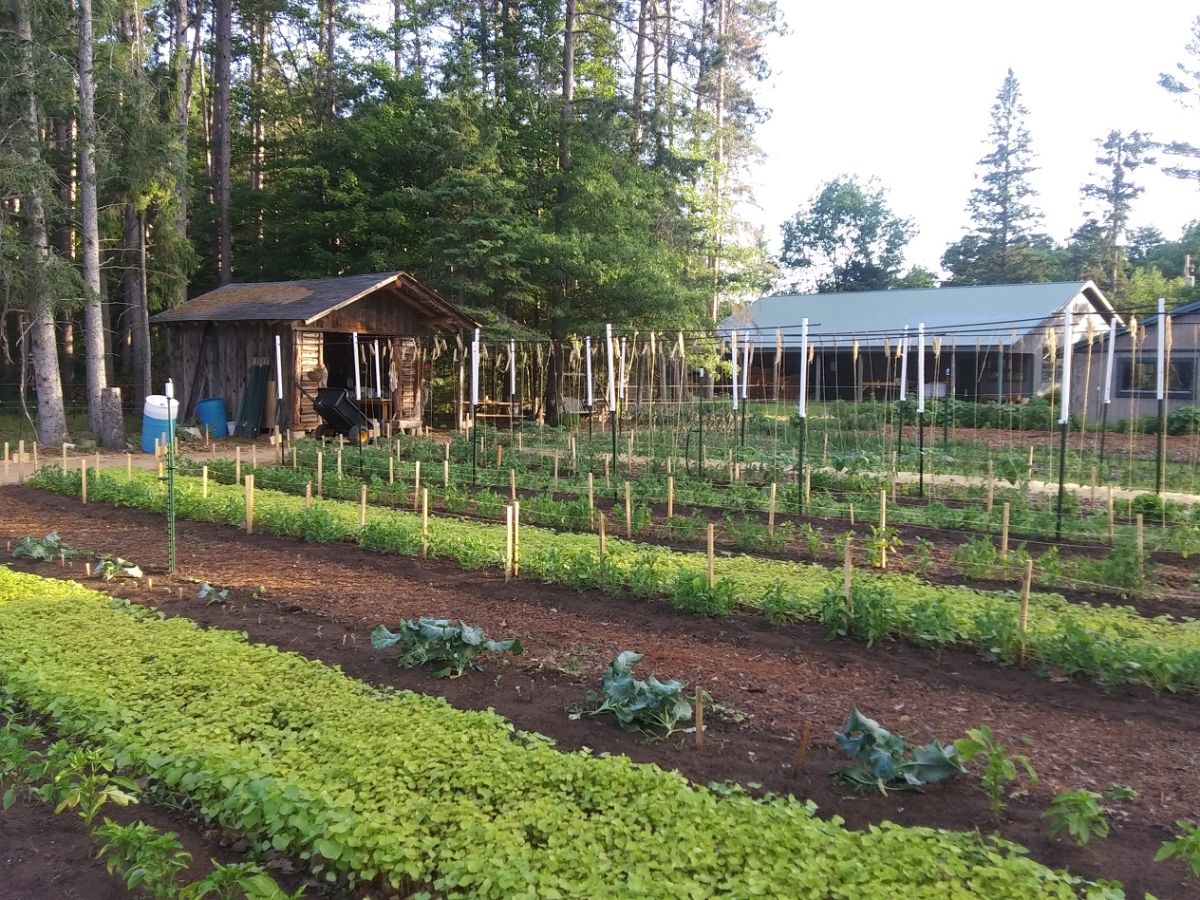
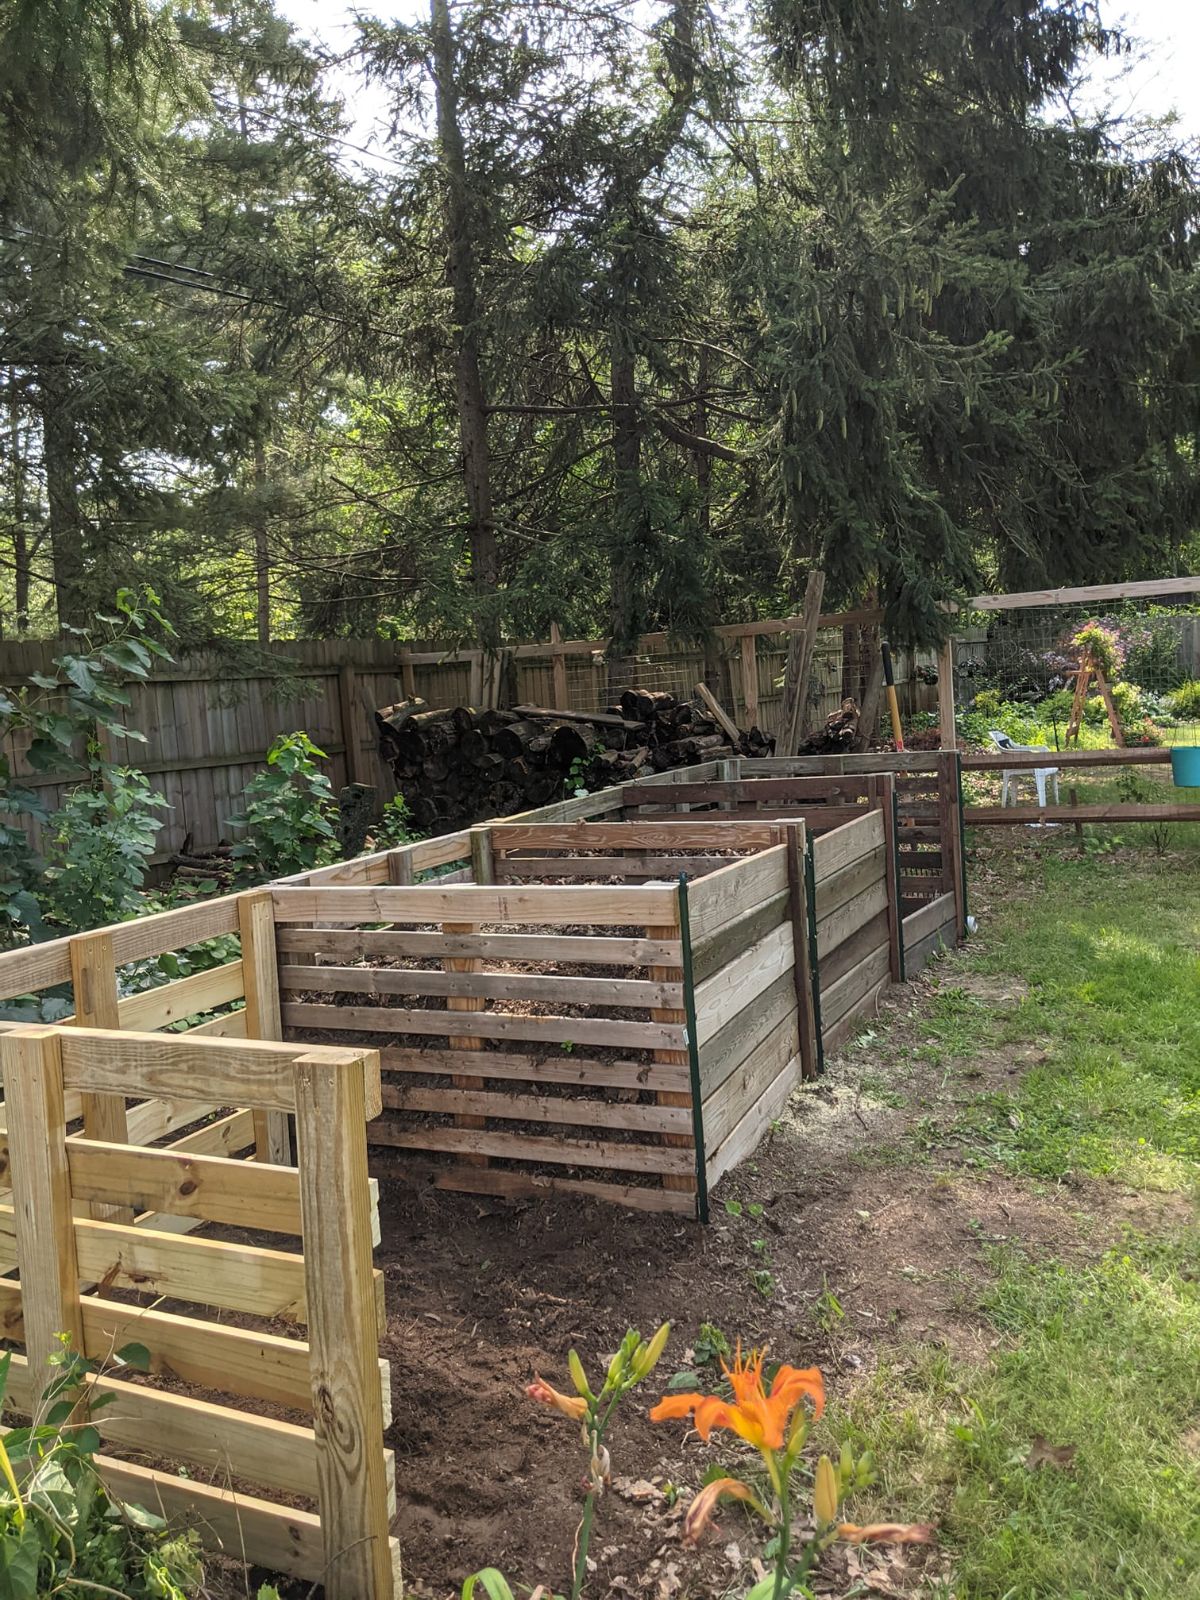
“We started out with three bins which were 4x4x3,” she says. “Then we moved to 4 bins and this summer we’re going to add one more bin. You do not need this in order to make compost but we have a large garden and I have a ton of flower beds, so getting that black gold is worth the extra effort.”
Her husband built the bins with lumber and then they coated it with a whey-based sealer. They have numerous bins because they have two “hot bins” going at once and two ready-to-use bins.
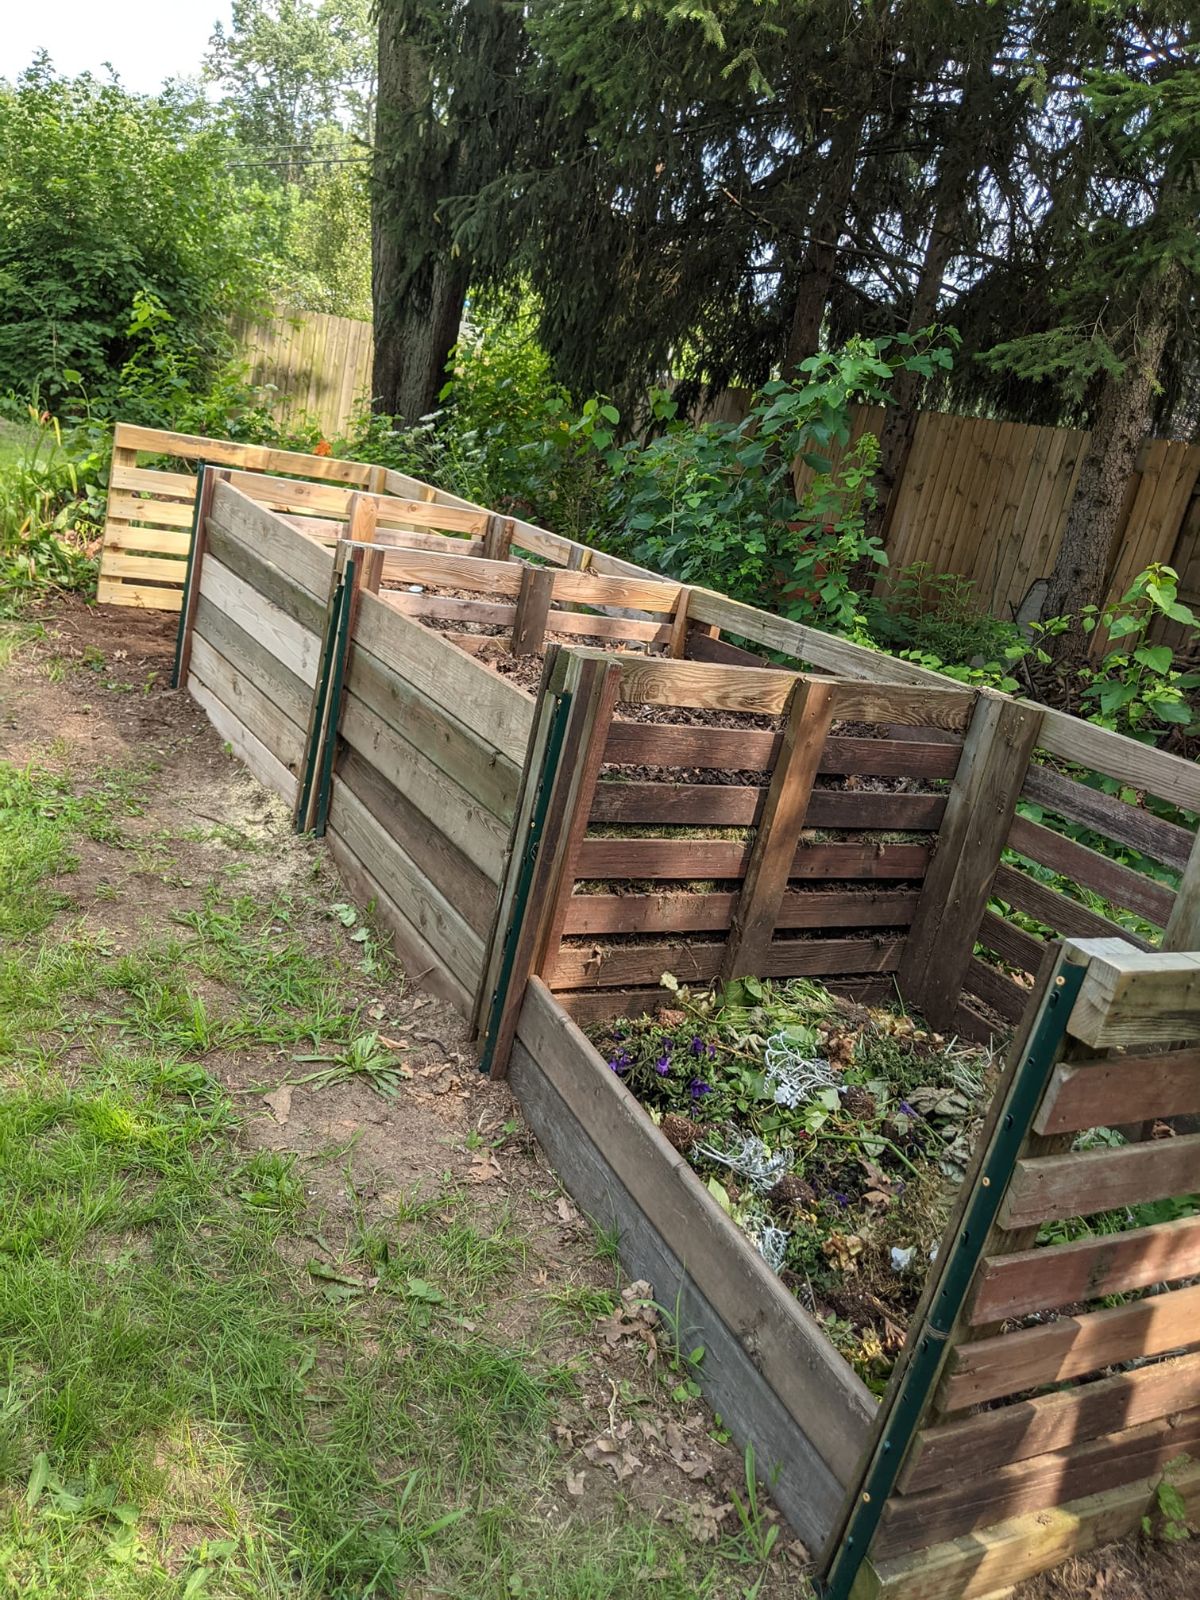
Meanwhile, some gardeners prefer to make composting bins out of pallets they find for cheap or free.
The choice is yours!
Composting Do’s
When getting started in composting, don’t bite off more than you can chew all at once. Figure out the basics, ease into it, and go from there.
1. Do balance greens and browns.
Keep a mix of greens and browns to create a healthy batch of compost.
“When you are trying to balance greens and browns, remember that it needs to be in the neighborhood of 50/50 by weight, not volume.” – Allison Tyler
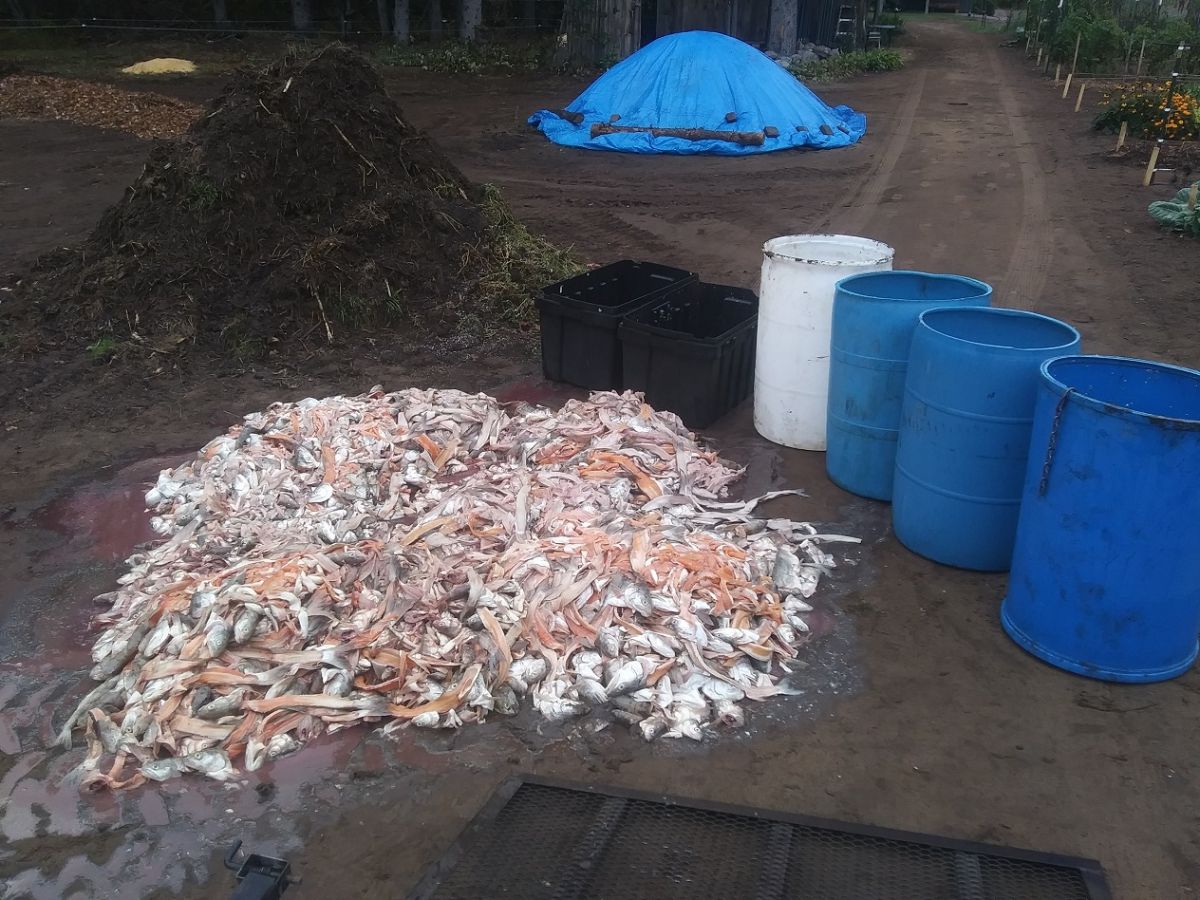
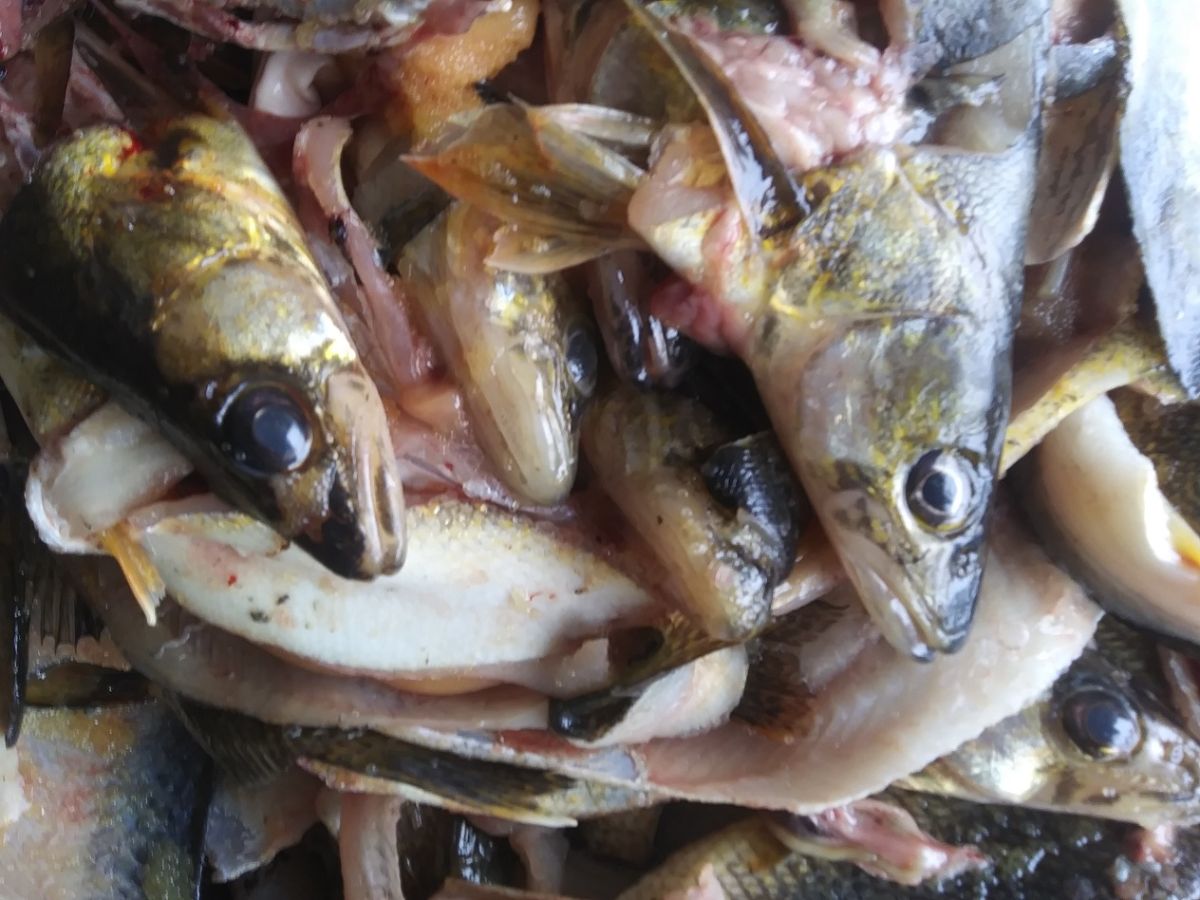
2. Do compost organic matter.
Many things like fruit and vegetable discards, dead plant matter, leaves, and other materials can be composted.
“I put all the spent vegetation from my garden in the compost pile,” says Paul Lueders, of Wisconsin, zone 4a. “Use this adage, ‘If it rots it rocks,’ meaning anything that was once living can be composted. I even put four 55-gallon drums of fish scrap, (heads, skins, and guts), in my piles every spring. I get them for free from a commercial fish house on Lake Superior.”
3. Do turn your pile or bins.
Composting is not just set it and forget it, so remember to check in from time to time.
“My number one recommendation would be you need to turn your bins to keep the process going,” says Cheryl Spieldenner.
4. Do use a compost thermometer.
A composting thermometer can help you keep track of when to turn the pile or add water.
“I would also strongly recommend that you get a compost thermometer,” Spieldenner adds. “You can get those from Amazon for around $25. That will tell you when you need to either add water or when your bins need to be turned. Worth the investment.”
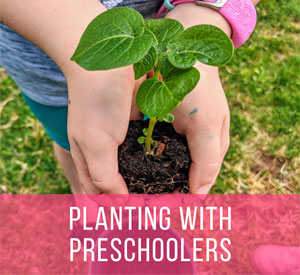
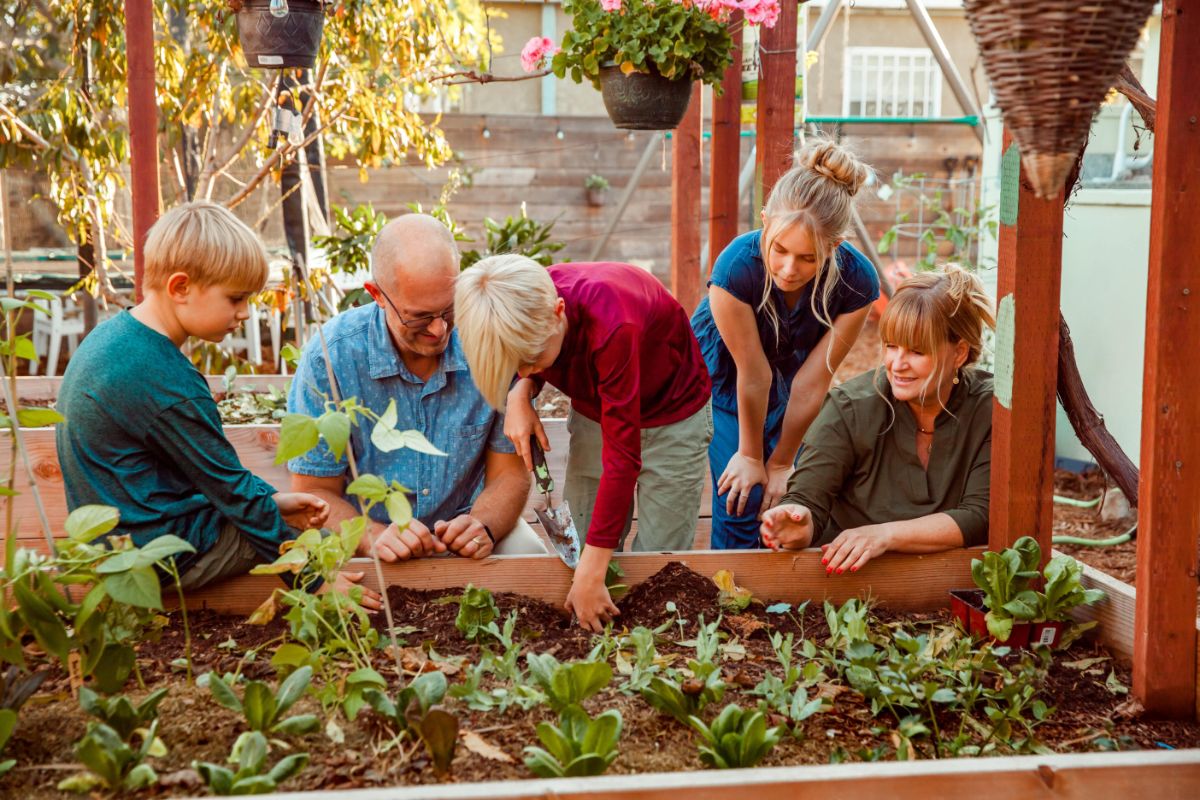
5. Do get the kids involved!
Composting is a great gardening habit that shows how to reuse and repurpose waste in a positive and beneficial way. This can be a great lesson for your own kids or a student gardening club.
“There’s a fun kids’ book called ‘Compost Stew’ it’s actually a pretty good guide. 😀” – Emily Lawrence, zone 5b
6. Do compost lots of food scraps and things from the house!
“We add just about everything from the house into the pile except meat, fats, or dairy,” says Cheryl Spieldenner.
“I’ll wet down toilet paper rolls and paper towel rolls and tear them up and put them in the pile. I shred up non shiny, low color ink papers, put coffee grounds and filters into the pile. I put eggshells and I always crunch them up because they break down easier and I throw those into the pile.”
“We have a small white bucket that sits right on the edge of our kitchen sink that gets filled up and emptied every two to three days.”
7. Do compost year-round, even during winter!
It’s possible to keep your compost heap or bin working for you all year. Composting in winter is something all of us can do to help get the garden ready for spring.
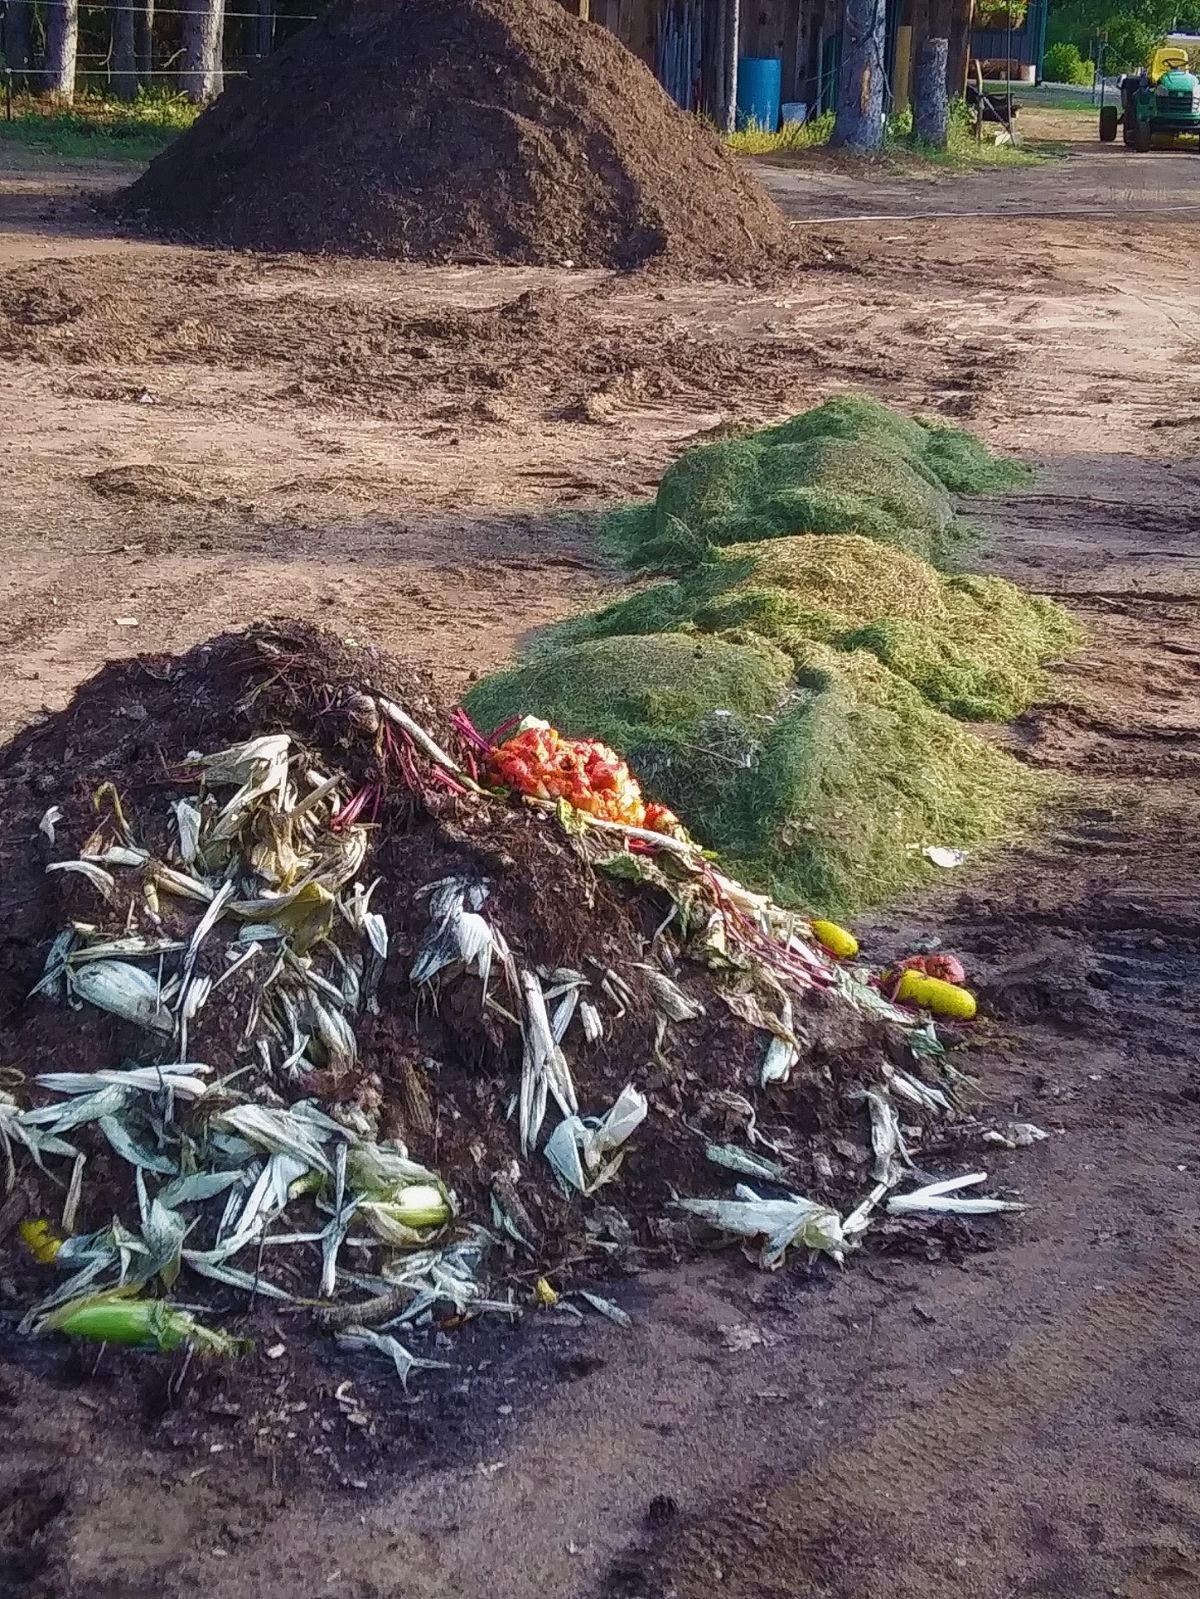
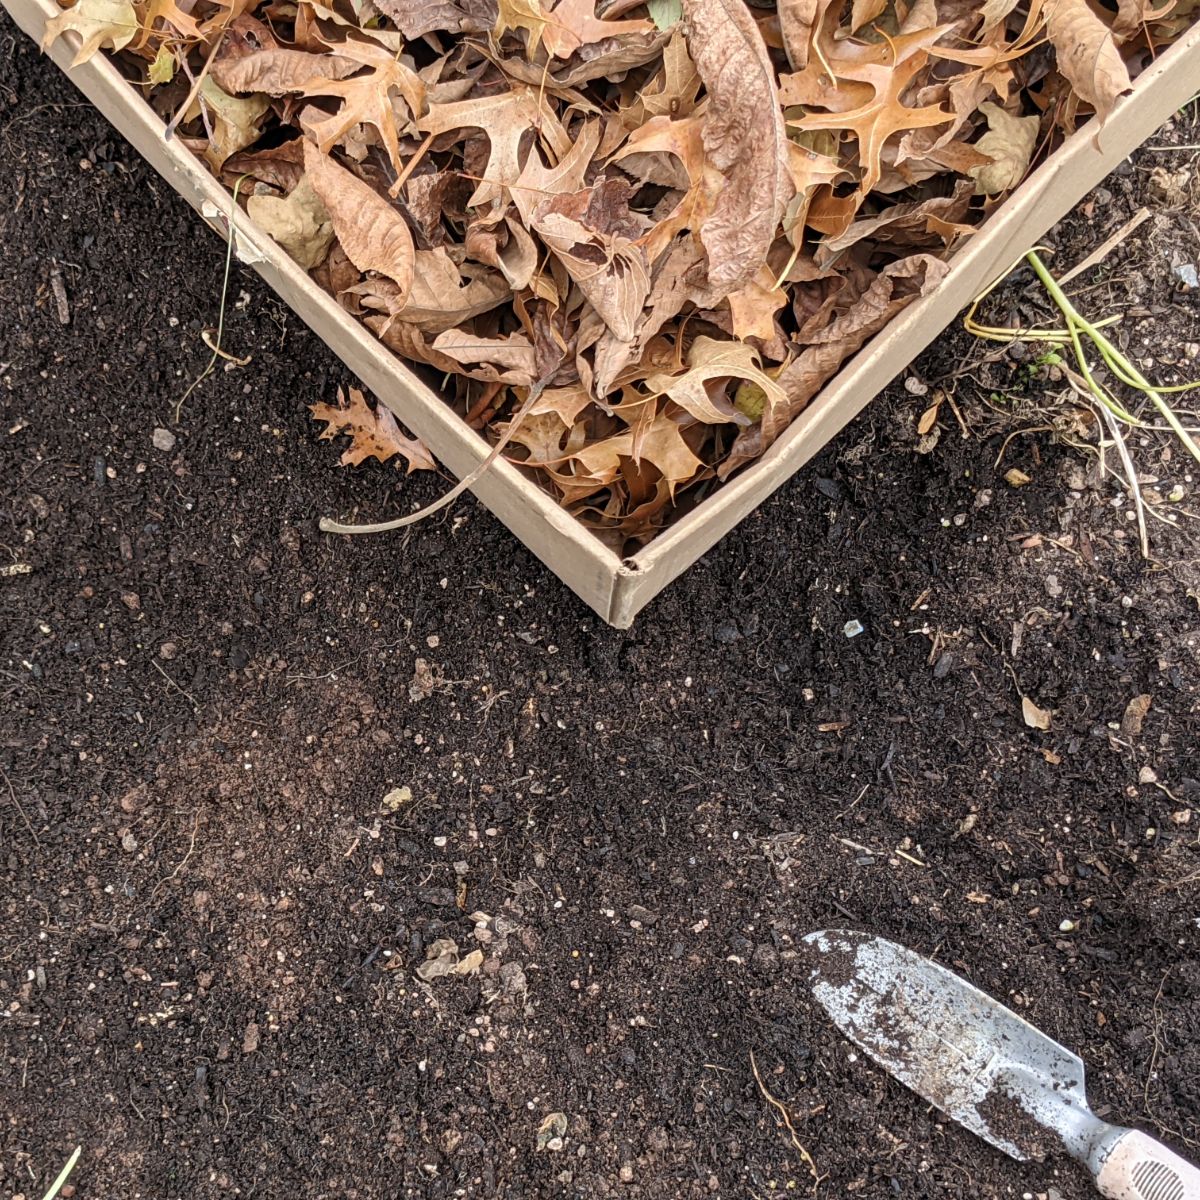
“We have a space behind our bins where we store the extra leaves from the yard to add throughout the summer,” says Cheryl Spieldenner. “We add household scraps to the pile all year even in the winter. And when we get a layer of household or yard (green) scraps or grass clippings, my husband will go back and throw some leaves on top. That way we have a good mix of green and brown.”
Composting Don’ts – Tips What Not to Do
Now that you know how to compost, here are a few points to avoid.
1. Don’t overcomplicate your compost plans.
Start out by simply burying banana peels and clementine peels like I do, and go from there! You don’t have to be a composting pro to enjoy some benefits.
“Keep it simple. Compost is not supposed to be an art. Look to the forest, for example.” – Beverly Danahy
2. Don’t freak out about composting!
Composting may seem overwhelming, but you can start small and keep learning!
“We have been composting for close to 30 years with the first half being just yard waste and grass in a pile and the second half full on composting,” says Cheryl Spieldenner.
“Don’t freak out about percentages of brown and green. You definitely need the brown so your green doesn’t go rancid but don’t sit there and say if I put 1/3 green in, I must add 2/3 brown or it won’t work. I think that is what scares people away. If you’re using leaves from the fall, you should be okay.”
3. Do not compost chemically treated materials.
Remember that what goes in must come out. Avoid putting in plant matter or anything exposed to RoundUp or other pesticides or harmful chemicals.
“We do NOT add grass clippings that have been treated with chemicals, which is rarely, because I like to attract bees to the yard,” says Cheryl Spieldenner.
4. Do not compost meats, grease, bones, dairy or cooked foods with traditional composting.
These materials may cause rodents to feast upon your compost heap. And the last thing you want while composting is a rodent problem!
In traditional compost, in general, avoid cleaning out your fridge leftovers into the pile.
5. Don’t be surprised to see wildlife in your piles.
My dad’s compost heap always attracted the raccoons. I think he fed them on purpose, to be honest. 🙂 However, keep in mind that you may see mice and rats or other critters helping themselves to your cast outs.
“For full disclosure we do not have issues with rodents,” says Cheryl Spieldenner. “We do however have squirrels, raccoons and opossum who periodically come help themselves to any fruit or veggie that we put on the pile.”
Composting Support for Beginners
Sometimes getting started is the hardest part of any operation. Composting as a beginner can be extremely intimidating. For me it was!
The first time I tried composting, it was by simply making a pile of leaves and veggie scraps in an unused raised bed. I threw a lettuce stump and some other scraps out there.
The next day, I saw a bunny running away with the lettuce and a hawk flying above in pursuit.
Honestly, I don’t want to watch National Geographic unfold in my own backyard, I’ve done that a time or two and my heart can’t take it.
When I get my compost plan going, I’ll work on a more secure plan using these tips going forward!
Some gardeners like Cheryl Spieldenner have a really great system down that really works for their families.
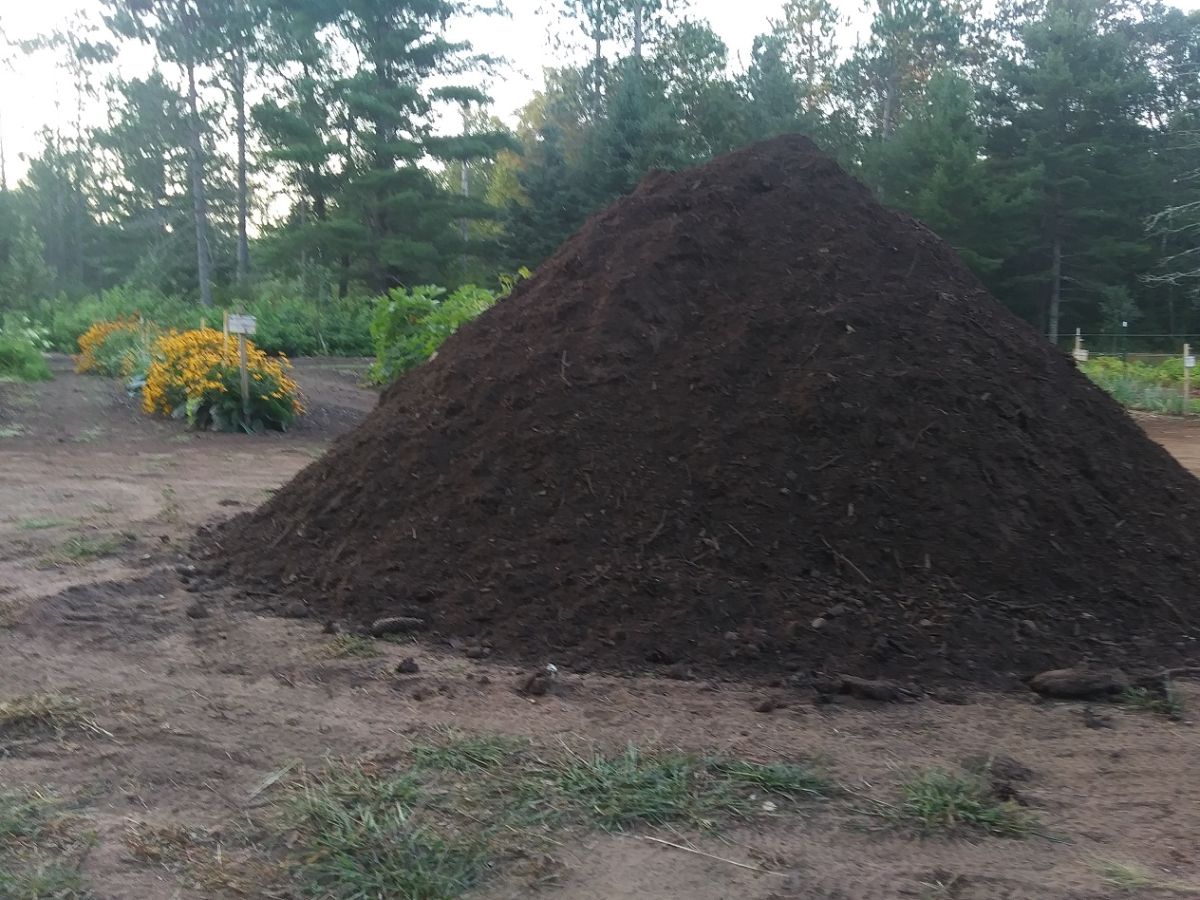
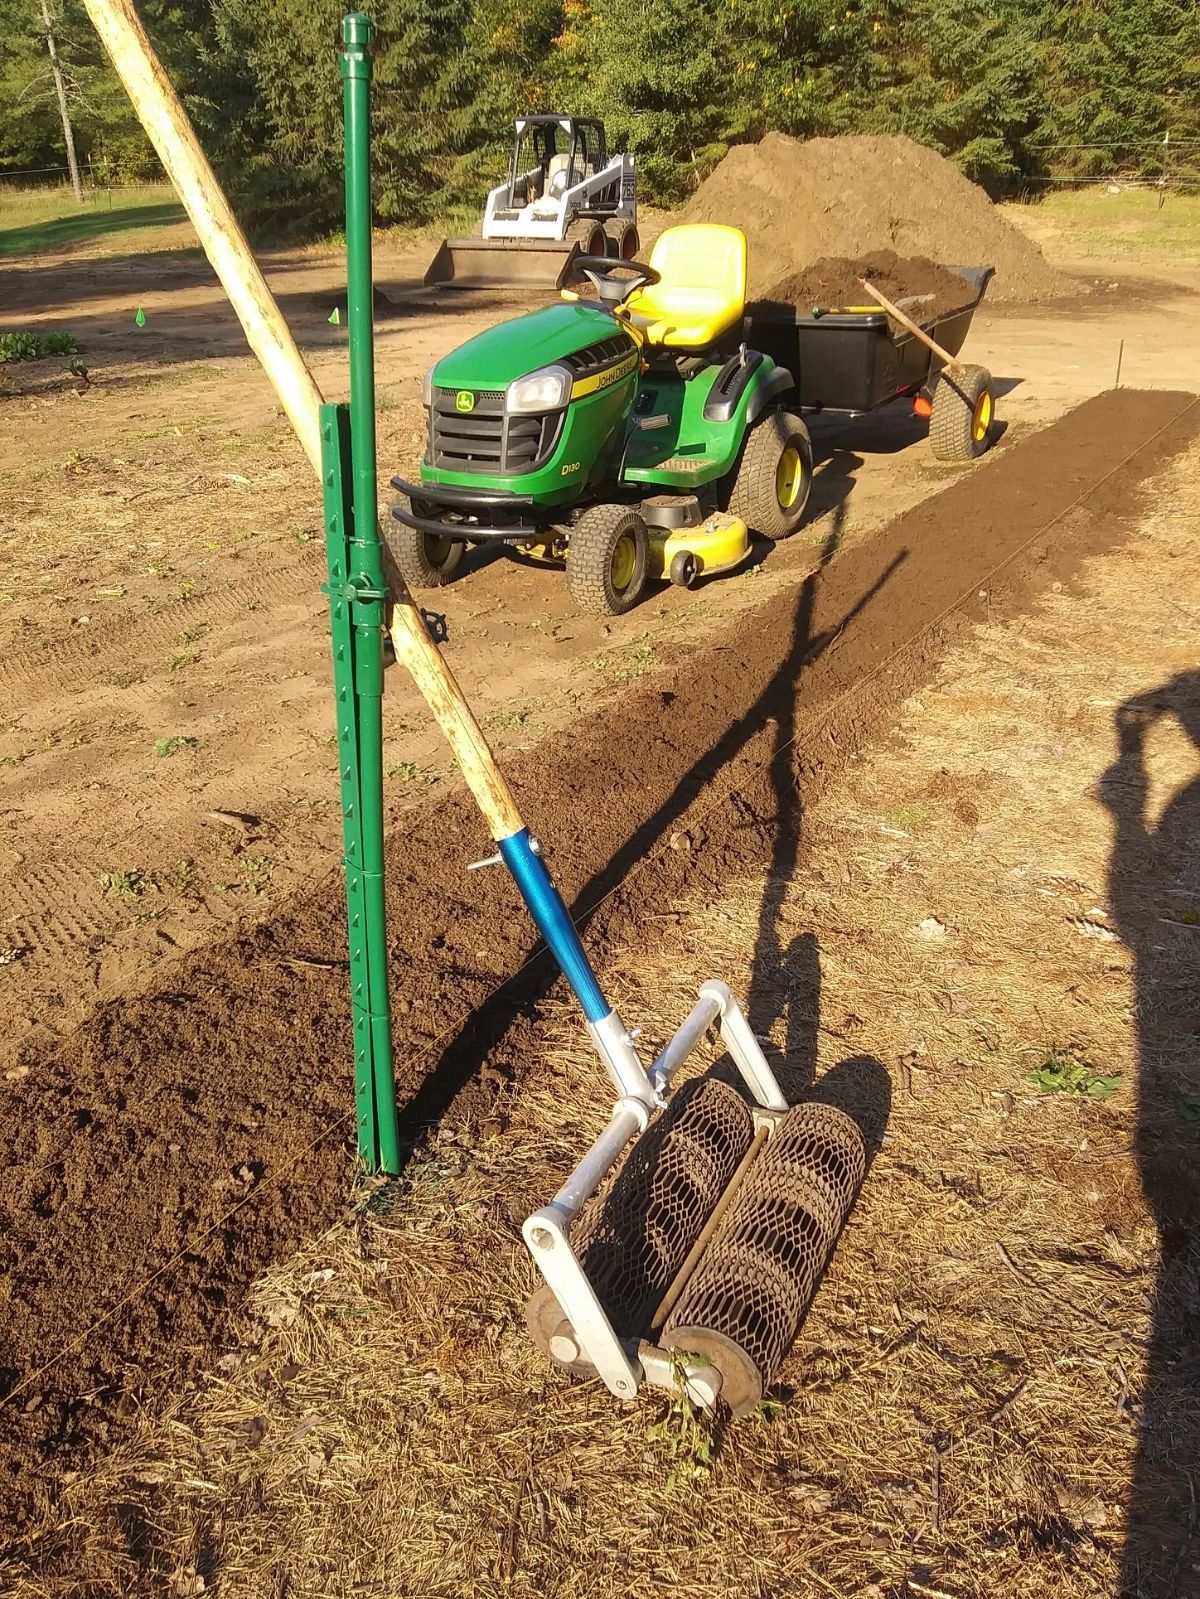
“Our current system is incredibly productive and we always have enough to top up all the food production beds,” she says. “And for my flower beds, I’ll get whatever’s left over and then I’ll use some of the compost as it comes off the system once it’s done.”
We can all hope to be so organized and lucky!
DIY Worm-Composting Bin from Plastic Buckets –
Compliments of Fredrika Syren from the Zero Waste Family
Making a worm bin using plastic buckets can help you jump start your composting quickly and easily.
“My family lives zero waste and in 2016, we turned our backyard on a normal city lot, which is 1/8 of an acre, in zone 10A, 10 minutes from downtown San Diego, into a vegetable garden,” says Fredrika Syren of the Zero Waste Family.
“Our plan was to grow as much food as possible to feed our family of five the very best that is also package free and sustainably grown. It’s a huge part of our zero-waste lifestyle. Our garden is a zero-waste garden.”
“We grow about 35 different vegetables and herbs and 15 different fruits and berries throughout the year,” she adds. “Our favorite things to grow are kale, onions, potatoes, lettuce and peaches.”
Photographer credit: Elena Shur
Here are the steps Fredrika Syren uses in her Zero Waste Family lifestyle.
Worm Bin Materials:
- 2 similarly sized plastic bins (that can stack inside each other)
- 1 bucket lid
- Drill with 3/16- and 1/8-inch twist bits
- Brick of Coconut Coir or Shredded newspaper / cardboard
- 250 to 500 Red wiggler composting worms
- 4 small blocks
Our website features affiliate links to products that we personally believe in. If you make a purchase from a link on our site, we may earn a small commission at no cost to you. Thank you! This helps our girls chase their garden dreams! Thanks for your support. (View full affiliate disclaimer at the end of the page.)
Steps to Create a DIY Worm Compost Bin
Prepare the worm compost bins.
- Drill 8 to 16 holes in the bottom of one bin. (This is for the bin that fits inside the other bin.)
- Drill another 10 to 20 holes on the side of that same bin, just under the lid.
- Place the 4 small blocks inside the bin without holes.
- Place the bin with holes in the other bin (on top of the blocks).
Prepare the worm bedding.
- Hydrate the Coconut Coir in the bucket with holes or add shredded newspaper and cardboard.
- Make the bedding moist but not dripping wet.
- Add the worms to the inside bin.
- The next day, add food. Mix food scraps into the bedding (see tips below).
Healthy Worm Bin Tips
- Feed the worms once or twice each week. “Make sure they’ve eaten through most of the food you previously added before adding more,” Fredrika Syren says. “If you have more food than the worms can eat, then add more worms.”
- Help the worms work smarter, not harder! “Pro tip: I will put the food scraps in a food processor before putting it in the worm bin,” she says. “The worms will eat through the food much faster!”
- Place the worm bin in the shade. “Keep your worm bin somewhere that is shaded most/all of the day,” Syren says. “Keep the environment moist (but not dripping wet). If the worm bin dries out, the worms will die. Add water if you need to, but food will also add moisture.”
For more gardening tips from Fredrika Syren, check out her book, A Practical Guide to Zero Waste for Families (available on Amazon).
Thank you, Fredrika and all of our gardeners, for sharing your amazing tips and guidance on composting for beginners!
FAQs
Good Luck Composting!
I hope this beginners’ guide to the do’s and don’ts of composting helps your family get started!
Hopefully I will also move on from just composting leaves, coffee grounds, and fruit peels!
By the way, if you are adding coffee grounds to the garden, you might enjoy my post on 47 Acid Loving Plants! Acidify the soil where it counts!
As always, we love hearing from you! Please leave a comment with your own compost tips or any questions you might have.
Happy Gardening!